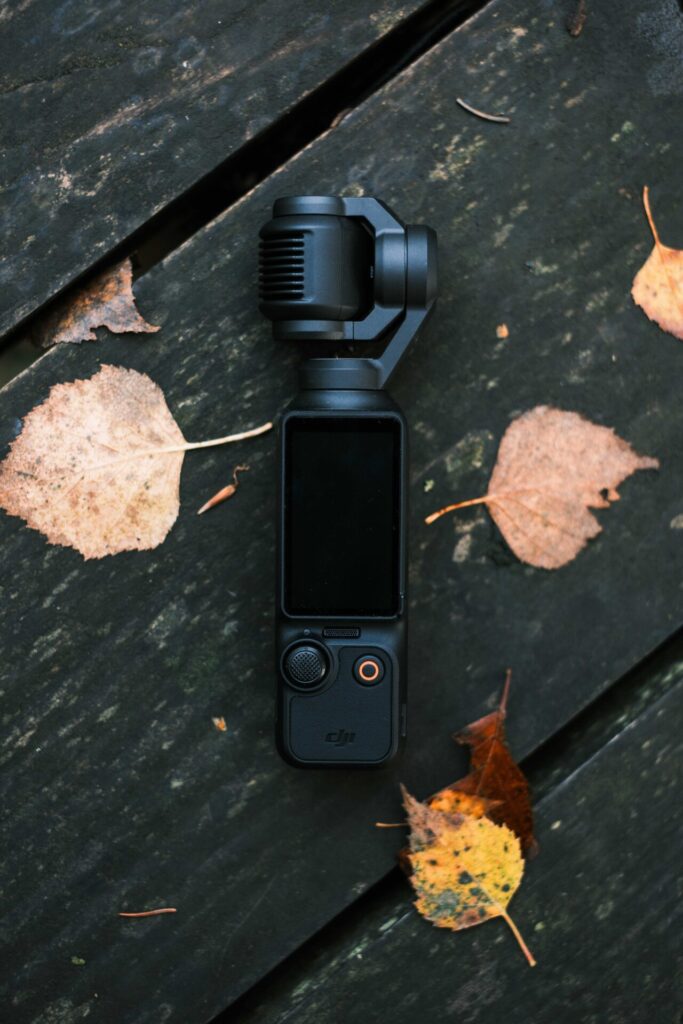
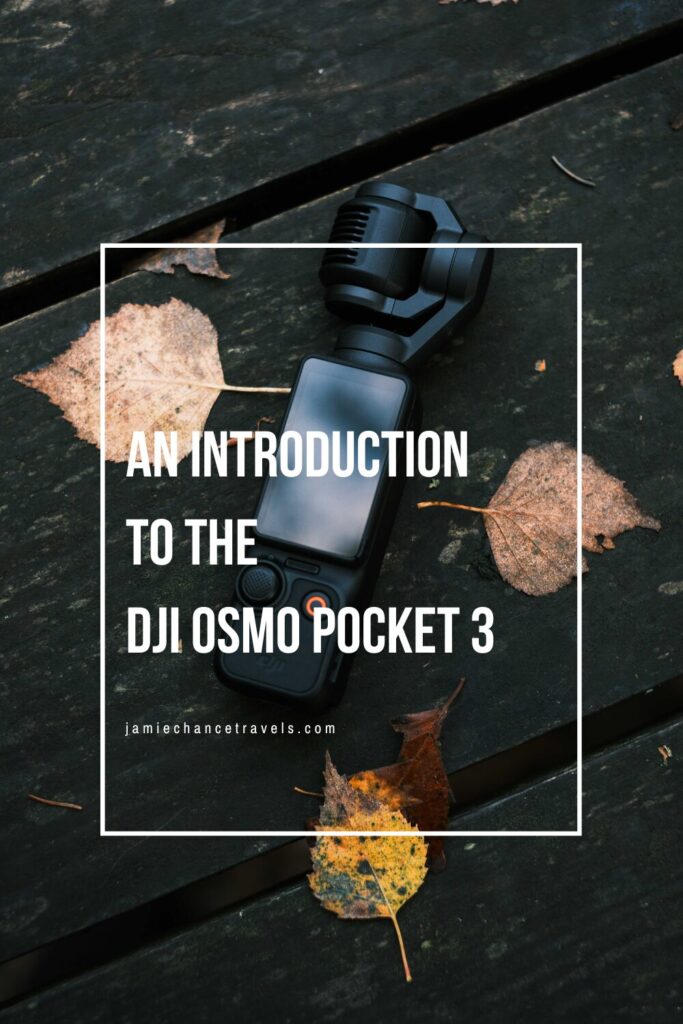
I’ve always had a longing to create cinematic videos and vlogs and I’ve finally found the ideal tool to inspire me; the DJI Osmo Pocket 3. This post pulls together my first impressions and thoughts as I dive into some basic filmmaking.
Whilst I’m primarily a photographer and a travel blogger, there’s always been something in the back of my mind telling me that I need to get back into filmmaking. Don’t get me wrong, I love photography; it’s how I capture memories of my daily life, my family, my travels and, most importantly, high quality imagery is what you can find across my travel blog. Photography and creating blog posts on here keeps me extremely busy alongside my 9-5 career and being present with my family. Why then would I want to add creating some form of cinematic videos and travel / photography vlogging to the mix? I most definitely do not have the time for this.
I actually attempted a YouTube channel back in 2017 when we began our travels around Australia but it was quite difficult with one camera, the Fujifilm X-T2, to switch between wanting to capture images and then video at the same time. The thing is I had all the gear, I’m talking ND filters, gimbals a drone and a Go-Pro, along with a good understanding of video settings and ‘shots’, but I just never really clicked with it all. It was hard enough managing my photography and editing whilst living in a campervan without adding in video production too. Sometimes you need to just live in the moment without worrying about capturing each and every moment in every format imaginable.
Fast forward to 2024 and there’s just so much more video content out there that it’s hard not to be inspired to create more. I love cinematic videos and vlogs and, despite being extremely nervous, it’s been something I’ve been planning on getting into. I’m talking more YouTube videos than reels and TikTok videos as I’ve never been big into those. YouTube videos, I hope, will allow me to inject more of my personality through showing more of me, behind the scenes of my photography and perhaps some cinematic shots too. This is where the DJI Osmo Pocket 3 comes in; I’ve never seen an all in one package like it and it’s the inspiration I needed to showcase a different side of my travels and my photography and, in turn, me.
So, without further ado, let’s dive into my thoughts on the DJI Osmo Pocket 3.
DJI OSMO POCKET 3
MY FIRST IMPRESSIONS
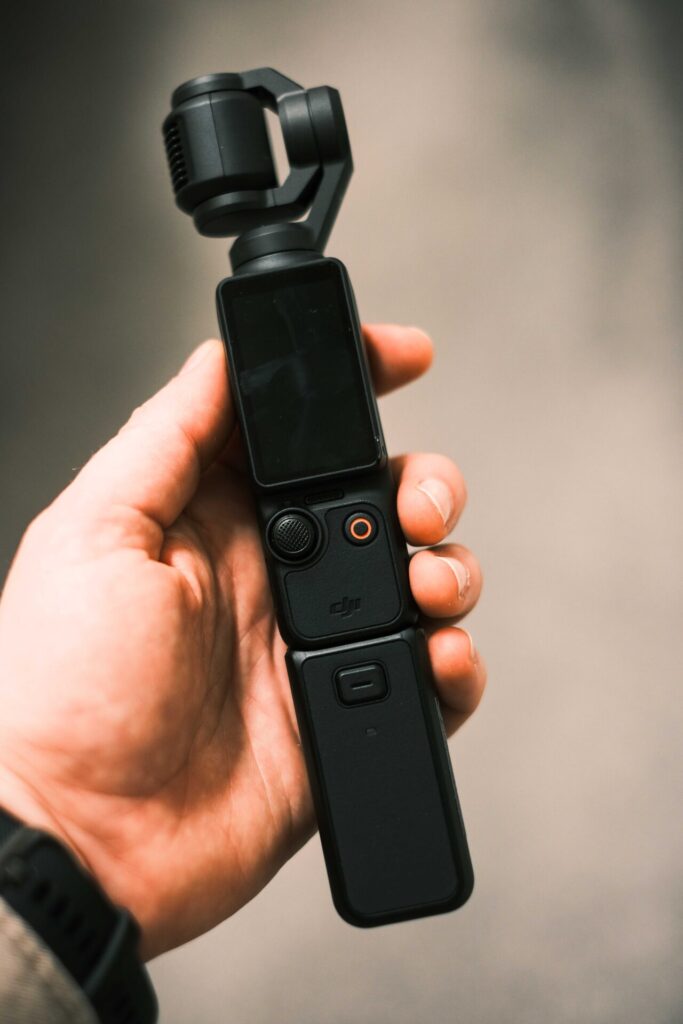
I’m sure you will have seen the many many YouTube videos citing the DJI Osmo Pocket 3 as the best device to capture all of those moving moments. Honestly, I’m fully onboard and agree with pretty much each and every word that those reviewers say. First up, the Osmo Pocket 3 just looks an incredible product; you know that this is good just by looking at it. The flick of the screen to turn it on, the reassuring click of the gimbal moving into place, it just makes you want to use it and document everything. This is exactly the product I need to make some proper videos; whether it be recording my travels, my family or to share photography tips, it just begs to be used.
Despite being laid up recovering from rupturing my Achilles for the past few months, it hasn’t stopped me getting a grip with how to use the DJI Osmo Pocket 3. I’m still very much a beginner (so you’ll have to bear with me) but I’m excited to go on this journey. The footage I’ve been able to capture so far has been incredible and buttery smooth.
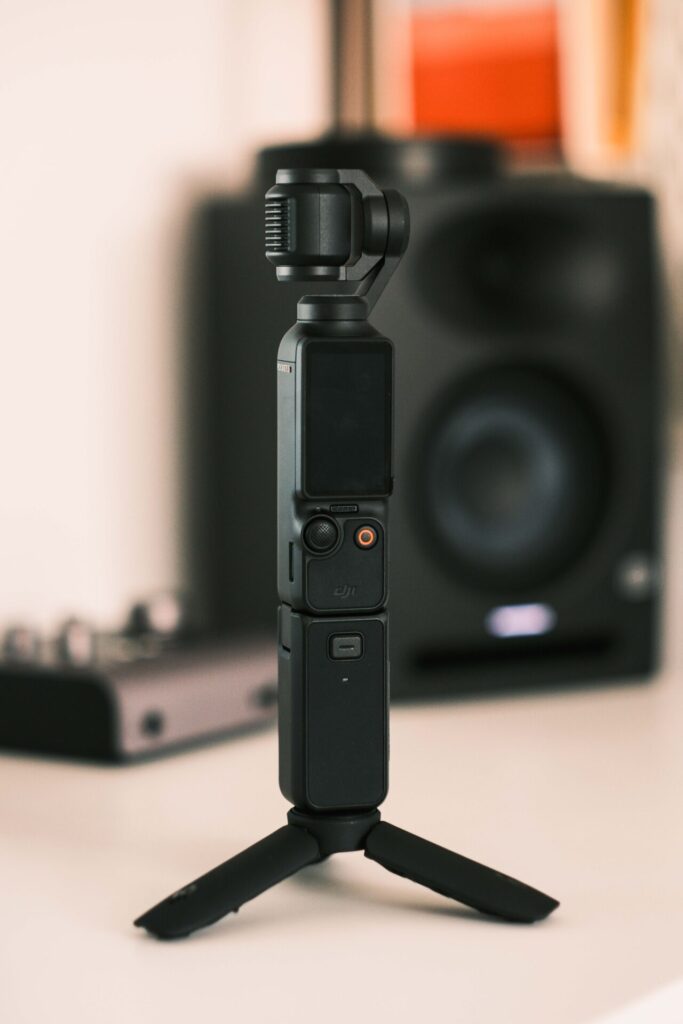
I’ve already talked about the design but the size of the Osmo Pocket 3 is another stand out feature, it’s tiny and literally just fits into your hand. Given it’s size, you are inconspicuous when filming, no-one really bats an eyelid. I would however say that I prefer having the battery handle clipped onto the bottom as it’s just so much more secure when carrying it round.
I love the Active Track feature. Tracking your face with the camera facing you is brilliant for vlogging and, if you need to follow something else, double tap on that beautiful touchscreen and watch as the gimbal tracks along.
Other things that I love about the camera are the fast charging (80% in 16 minutes!), the low light quality and the mic quality. Over time I’m sure I will be able to dive further into the pros and cons but I do have a few niggles already. I’m constantly scared that I’m going to break the gimbal even when using the hard protective shell, it’s not as pocketable as you might think and I don’t think I’ll ever feel comfortable just throwing it into my camera bag. It’s not waterproof so as soon as the weather takes a turn for the worst, you’ll have to stop filming! Another thing I’ve noticed and I would like to find a way to use it is, if you set up custom settings for a range of different scenarios (eg having custom settings set up for normal and then slow motion filming), the auto switch between horizontal and vertical doesn’t seem to kick in. It’s hard to explain but if I have Custom Setting 1 setup for 4k 24fps 1/50 shooting and I want to switch quickly to vertical shooting it will be stuck in 4k horizontal as opposed to auto switching to 3k vertical! Nothing to stop me getting very excited about this camera!

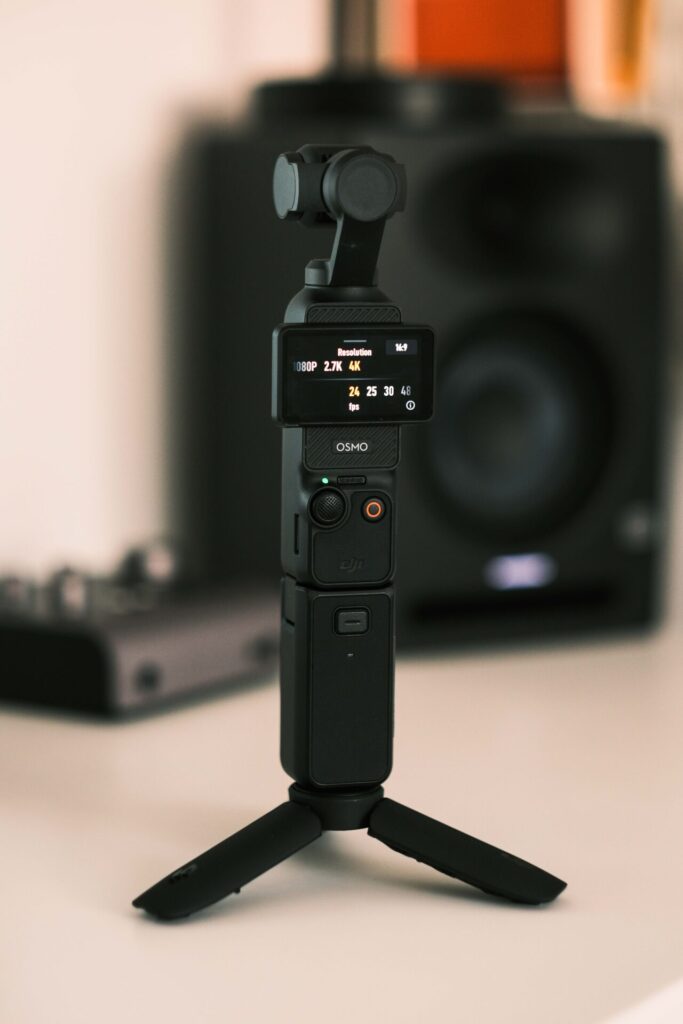
VIDEO SETTINGS
FOCUS MODE – CONTINUOUS
GIMBAL MODE – FOLLOW
PRO MODE
FRAME RATE – 24FPS
SHUTTER SPEED – 1/50
ISO – AUTO 50-1600
AUTO WHITE BALANCE
COLOUR MODE – NORMAL 10BIT
SHARPNESS – -2
NOISE REDUCTION – -1
VIDEO COMPRESSION – HEVC
For these video settings to work properly, with the shutter speed following the 180° rule (where the shutter speed is double your frame rate), you’re going to need ND filters. Neutral Density filters limit or block the amount of light coming into the camera and therefore reaching the sensor. Personally, I use those made by K&F as they absolutely don’t impact on the colours captured and are thin enough to leave the filter on when the gimbal turns into its ‘off’ position. I have this four pack which includes ND4, ND8, ND16 & ND32 filters and I ordinarily use the ND16 filter for most scenarios in daylight. It’s easy to switch out an ND filter too thanks to the magnetic nature of the filters. For example, I’ll switch to a lighter ND filter when I know I’ll be getting shots to slow down later as with an increasing frame rate the shutter speed increases (for example, shooting at 60fps would require a 1/120 shutter).
One thing we do have to talk about that is entirely avoidable through correct settings is ‘flicker’. I’m almost certain you’ll have seen those annoying Instagram reels where fluorescent lights flicker like mad and it’s quite simply down to the camera needing to be synchronized with the electrical frequency of the area you’re visiting. In North America and some parts of Japan (eg Tokyo), the electrical frequency is 60Hz whereas in Europe & Asia it’s 50Hz. The easiest way to do this is by adjusting your shutter speed slightly so it lines up. I shoot in 24fps (which is actually 23.98fps) and so I would use 1/50 as my shutter speed in Europe & Asia (including Osaka in Japan) and change the shutter speed to 1/60 in North America and Tokyo for example. Some people may adjust the frame rate (and therefore, in turn, the shutter speed) but I prefer to keep the frame rate constant. For example, moving across to Japan features a unique quirk in that there are two different electrical frequencies so it should be a matter of simply changing up the shutter speed as you change cities. Perhaps we should go and check it out?
THE CREATOR COMBO
If, like me, you’re entirely new to the vlogging world, the Creator Combo perhaps offers the most ideal setup. In addition to the Osmo Pocket 3, wrist strap, hard protective cover, a little handle and charging cable, you’ll find the DJI Mic 2, windscreen, clip magnet, wide angle lens, battery handle, mini tripod and soft case. The mic, battery handle and mini tripod make the additional initial outlay more than worth it.
AdLooking for the best online services?
Explore top-rated platforms and secure your discount before it expires.
AdLooking for the best online services?
Explore top-rated platforms and secure your discount before it expires.
I went with the Creator Combo and honestly I’m over the moon with it. Over time I know that this will help me improve massively as I go knee deep into the world of vlogging. I guess it’s about time to get used to the sound of my own voice! Annoyingly though I can’t find the wrist strap so that’s something I’ll need to order soon as you’re only ever a little trip away from smashing this delicate camera on the floor.
FINAL THOUGHTS
Ok, that turned out a lot longer than I thought it would but hopefully it’s of help to someone out there. I am really enjoying getting out there, getting back to travels and documenting them in a completely different way. I am worried that I’m not perhaps able to focus solely on photography anymore and switching constantly between capturing video and photos might take away some of the fun. We will see!
Anyway, if you’re interested, follow along and we’re sure to have some fun! Please let me have all of your tips too and what you might want to watch from me across on YouTube!
MY 2026 TRAVEL PHOTOGRAPHY GEAR
FUJIFILM X-T5
FUJIFILM X100VI
FUJIFILM 18MM F/1.4
FUJIFILM 23MM F/1.4
FUJIFILM 35MM F/1.4
FUJIFILM 50MM F/2
FUJIFILM 50-140MM F/2.8
PEAK DESIGN STRAPS
RECOMMENDED TRAVEL RESOURCES
BOOKING.COM
EXPEDIA
HOTELS.COM
GET YOUR GUIDE
SKYSCANNER
HOLAFLY E-SIM
DISCOVER CARS
READ MORE OF MY LATEST ARTICLES BELOW
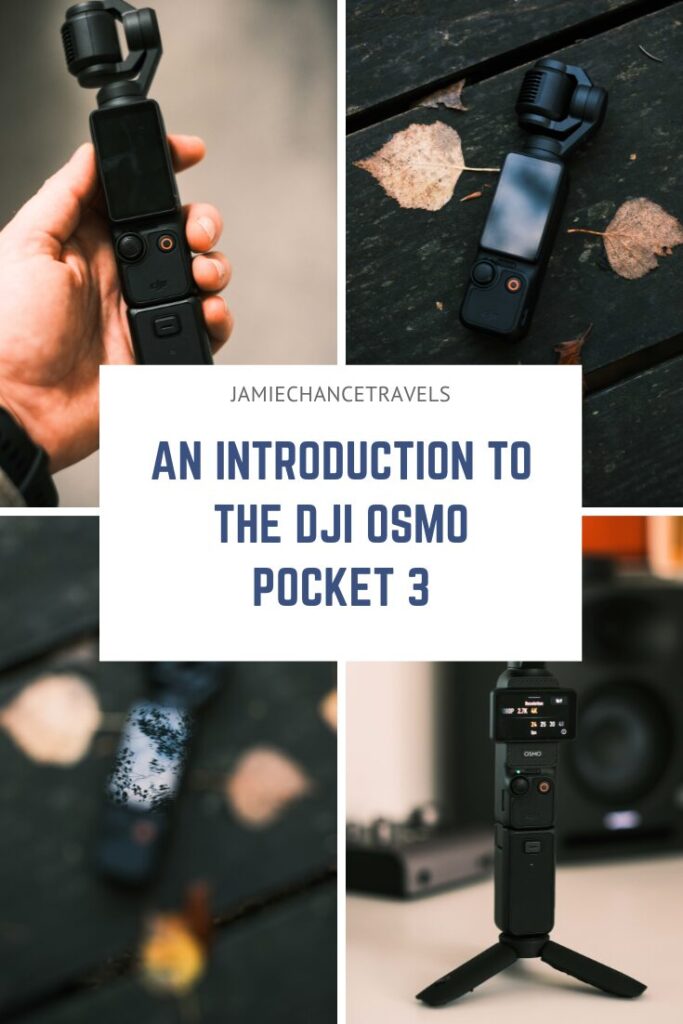
IF YOU ENJOYED ‘AN INTRODUCTION TO THE DJI OSMO POCKET 3’ WHY NOT PIN THE IMAGES BELOW?
Some links on this site are affiliate links. If you make a purchase through them, I may earn a small commission at no extra cost to you.
I need to know the price
I paid £619!