
I think I’ve found the ultimate storage solution for all of my photography needs. This is a guide to my Synology NAS setup for photographers!
Prior to a press trip to Lithuania back in July 2023, I had thought that my photography workflow was relatively seamless. I stored all of my physical photography files on two external LaCie hard-drives and worked mostly using smart previews in Lightroom. Those hard-drives never really got used apart from when I had added original files or needed to export full-size images. However, it wasn’t until Cora from Inside Our Suitcase introduced me to the world of Network Attached Storage or “NAS” that I realised I could create the ultimate storage solution for my photography.
I could, and often do, talk all day about camera bodies and lens choices but there is nothing more important that storage. It’s not sexy and ‘cool’ to talk about but I’m here to show you why a NAS setup is probably the most incredible (and safe!) way to store and access your photography files. This is therefore my brief guide to a NAS setup for photographers.
MY SYNOLOGY NAS SETUP FOR PHOTOGRAPHERS
WHAT IS NETWORK ATTACHED STORAGE?
Network Attached Storage or ‘NAS’ for short is essentially a centralised storage location that’s connected to a network. This means that the files on the storage device can be accessed remotely from literally anywhere in the world; think of it as your own private cloud.
MY SYNOLOGY NAS SETUP
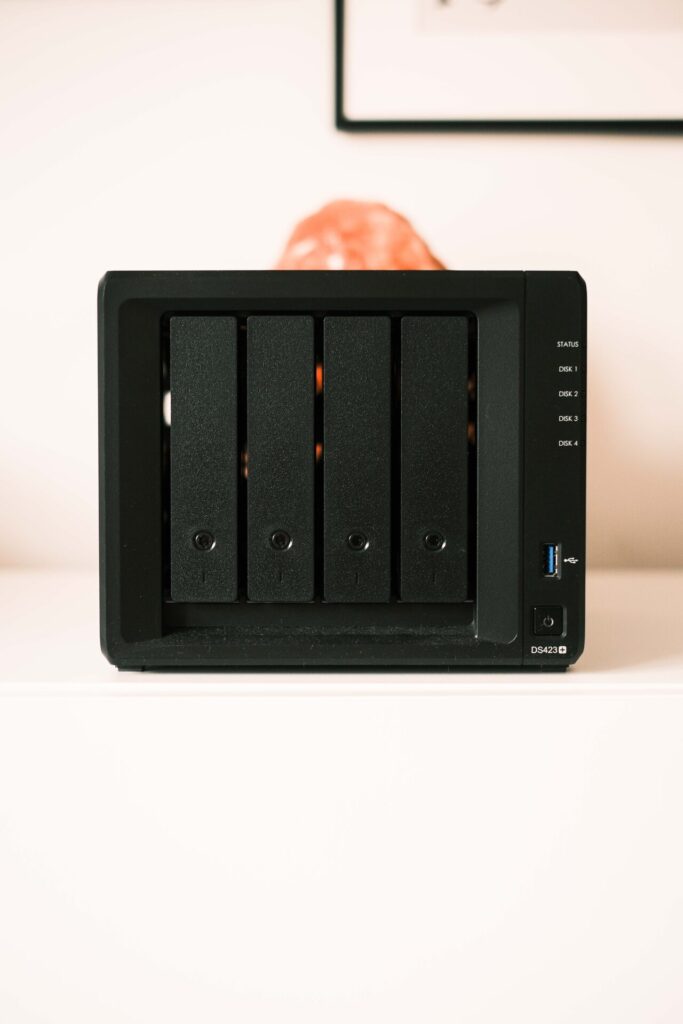
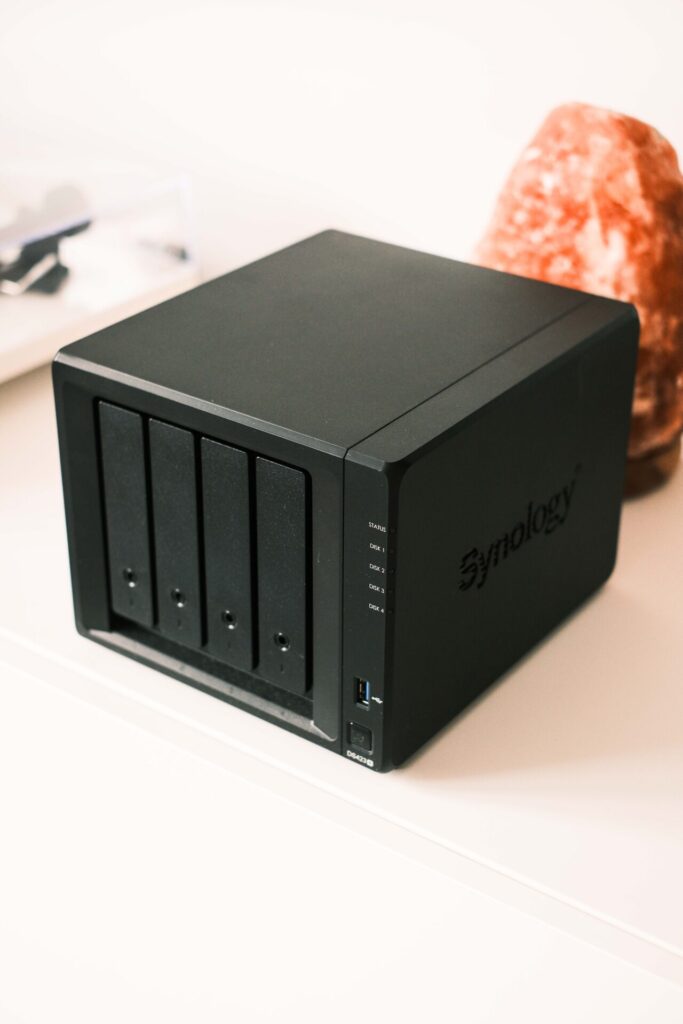
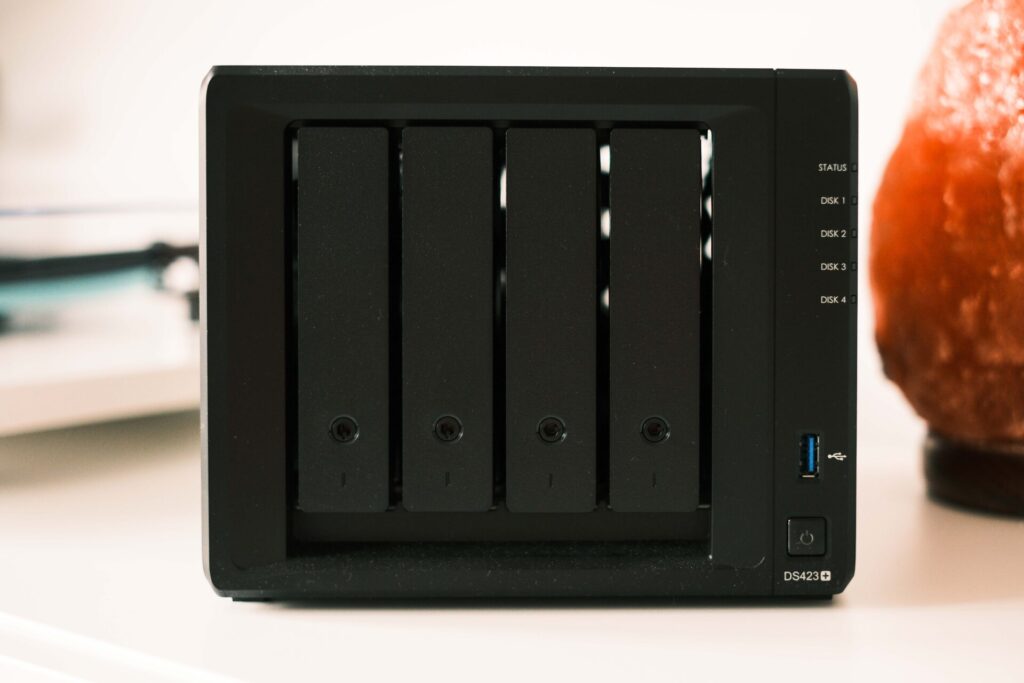
After much research, I settled on the Synology DS423+ 4 Bay at a cost of £481.48 with two Seagate Ironwolf 4TB hard-drives at £100.99 each. As this was my first foray in to the world of NAS, I just wanted something simple for not only photography but just general storage and backup of documents/home office files etc. The DS423+ has four bays for hard-drives up to a total of 72TB which essentially means you will never run out of storage again and can be configured to safely backup all of your files should the worst ever happen. I haven’t filled the final two slots yet but I guess that’s the beauty of the four bays as I’m sure one day the time will come that I need more storage space. There’s even home for two M.2 NVMe solid state drives if I decided I needed even faster access.
I have the two hard-drives set up in RAID 1 which is probably the most basic of backup system where the second drive automatically mirrors the first. My total storage therefore isn’t 8GB but 4GB on the first drive, with the second drive a complete mirror of the first. This means that, if either drive fails, I have a complete copy and simply would manually replace the broken drive. I do wish I had read a little more about this first as apparently Synology Hybrid RAID allows for a lot more flexibility in the long-run if you do add more hard-drives. I’m pretty sure I’m stuck with the 4TB drive (even if I add say a 16TB drive) unless I back-up somewhere else and start again!
In terms of Read/Write speeds, the DS423+ is capable of 226 / 224 MB/s which I consider to be generally ok. It’s not lightning quick but when I’m uploading a day or two’s worth of photos I’ll leave the laptop for a bit, perhaps make a cup of coffee, and it’ll all be sorted by the time I come back!
With Synology you get far more than just a storage device. I have to admit that I haven’t, as of yet, really delved into all that’s on offer but one thing I’m interested in is the Synology Photos app which keeps all of your photos in your own private cloud. It might not necessarily work with Lightroom as all of the slightly edited final versions of all my photos are stored within that catalog and don’t exist anywhere else!
For anyone that needs a little more information about my complete set up this is the internet I’m using at home – YouFibre 1Gbps (Download + Upload) / Eero 6+ (Mesh Network x3) / NETGEAR Gigabit Network Switch / Ethernet Cable to DS423+. This is all currently in my lounge.
I have the DS423+ setup to power down when not in use as I haven’t yet found a need to have it switched on non-stop as I only really need it when uploading / exporting larger files. I did have ‘Wake On LAN’ set up nicely so that, wherever I was in the world, I could send a magic packet to its IP address which would turn it on remotely. I am currently having an issue with this as I’m trying to figure out how to assign a static IP address to the NAS that correlates with YouFibre who want me to pay more per month to have a static IP (if you know the answer, let me know!).
For me, the greatest thing about my NAS setup is that I can, from anywhere in the world, access all of my files and upload original files straight from my SD card after a shoot. This is especially helpful on press trips as I can edit in Lightroom almost immediately and don’t have to rely on the ever-frustrating Fujifilm camera app to connect to my X-T5.


NAS SETUP FOR LIGHTROOM
This is one area that I’ve seen so many questions for online; how do you create a NAS setup that works with Adobe Lightroom. Well, after reading far too many articles which led me to overcomplicate things in my mind, I settled on a very easy solution. There is nothing different to using NAS than an external hard-drive as I used to do for my photography workflow.
The solution is simple. Your Lightroom Catalog file must remain on your laptop (backed up onto the NAS is fine) but you store all of your original files on the NAS. Once I had transferred everything across from my old hard-drives, it was a matter of telling Lightroom where to look. When Lightroom gives you the option to ‘Find Missing Folder’, you navigate to the new location and there you go, it will map out the new drive complete with every single change you’ve ever made to the photos as those are stored in your catalog.
When it comes to bringing new files into Lightroom, I will use the Import tab as normal and navigate to the NAS. You can read more information on my entire photography workflow here though the only update to that is contained within this article.
In terms of real-time speed, as I primarily edit and export using smart previews with the NAS mostly in energy saving mode (powered off), I honestly haven’t encountered any issues as it doesn’t try to load the original file.
FINAL THOUGHTS
Well, after all that, what do you think? Hopefully I’ve helped shed some light on how useful Network Attached Storage is and how a NAS setup for photographers (particularly travel photographers) is.. I’ll admit, it’s not a cheap investment but I’m a complete convert and can’t believe I hadn’t come across a setup like this before. I absolutely love the freedom to upload original files straight from my SD card reader on my laptop wherever I may be in the world all whilst having the security, reliability and flexibility that comes with NAS.
If you want to know more about a NAS setup for photographers or have any questions / thoughts, let me know in the comments below!
MY 2026 TRAVEL PHOTOGRAPHY GEAR
FUJIFILM X-T5
FUJIFILM X100VI
FUJIFILM 18MM F/1.4
FUJIFILM 23MM F/1.4
FUJIFILM 35MM F/1.4
FUJIFILM 50MM F/2
FUJIFILM 50-140MM F/2.8
PEAK DESIGN STRAPS
RECOMMENDED TRAVEL RESOURCES
BOOKING.COM
EXPEDIA
HOTELS.COM
GET YOUR GUIDE
SKYSCANNER
HOLAFLY E-SIM
READ MORE OF MY LATEST ARTICLES BELOW


Please note that some links across this blog are affiliate links.
If you go onto purchase something through these links, I may receive a small commission at no extra cost to you.
If you enjoy what you’ve seen, you can buy me a coffee or a beer here.
Look into a cloudflare tunnel for your NAS. There should be an “app” in the Synology OS. As long as you have a domain to drop it on, you won’t have to worry about your IP address changing on you.
https://synocommunity.com/#easy-install
Something like that.
I also will have my NAS backup to backblaze (though any cloud backup provider will work).
I’m a (Fujifilm) photographer too. But I’m also an IT-Technican for 25 years now, knowing NAS (especially Synos) since they came to the European market (Germany) many years ago.
It was not your best idea to define your harddrives as RAID1. You can never change a classic RAID1 in size. When the capacity is exhausted, your RAID1 is at an end. It would have been better to define a Synology Hybrid RAID (SHR). A SHR with two drives has the same redundancy as a RAID1.
Two or 3 years ago, I expanded my 2*4TB-SHR easily to a 2*8TB-SHR. With a RAID1 this is not possible.
Over the years, I had many discussions about powerstate of a NAS. Always on? Only power on when needed? Meanwhile I have my 2nd generation of Seagate Ironwolf harddrives. Specially designed for NAS. My DS720+ starts in the morning at 7 a.m. and shuts down at 11 p.m. It’s a kind of philosophy discussing this topic. From the technical point of view, it’s better to let the drives run 24/7. On the other hand, it’s wasting energy.
I hope, you have a regular backup to an external usb-drive or another NAS. A RAID1 or SHR is a redundancy NOT a backup. Many clients think a mirror is a backup. In fact, it is not. Your NAS gets stolen? Burning down the house?
Thank you for this it’s extremely helpful especially as I am a complete novice in this area! I’m gutted about the RAID1 but wonder whether at some point in the future I could change that if everything is stored elsewhere and re-loaded on once wiped.
I have a backup on two external drives at the moment but completely agree that if there’s an issue in the home, backups on the NAS are pointless! I will also look into a cloud backup too
Thanks
Jamie
One way to get network connectivity to a device with an indeterminate IP address is to use a hostname, or DNS entry, instead of relying on connecting directly to an IP address. A DNS entry usually maps to a static IP address so you need an extra step for it to work correctly with an IP address that can change over time. Enter Dynamic DNS. Here is the Synology KB article about it: https://kb.synology.com/en-id/DSM/help/DSM/AdminCenter/connection_ddns
I don’t have a Synology (yet?) so I can’t provide much further help but I have used services like DynDNS (https://account.dyn.com/) before to accomplish a similar thing.
Oh wow, thank you so much for this – I’ll look into this now!