


For the last seven years, I’ve always added a little bit extra to my Fujifilm recipes to give the images that come straight out of camera more bite. Find out more about the finishing touches I apply right here!
It’s now over eight years since I fell in love with my Fujifilm X-T2 and the entire Fujifilm ecosystem. In 2018, I experimented whilst at a rooftop bar in Bali with Fujifilm recipes and JPEG images in the hope that it would cut down editing times and bring a consistency to my images. Fast forward seven years and I’m a JPEG shooter through and through – all my images are JPEGs created through the Fujifilm recipe system.
Now I’m writing this post to clarify matters; I do add finishing touches to my images before they reach this blog or social media (though I often post straight out of camera on my Instagram stories for speed). I have done this since 2018 and you can dive back into my oldest article sharing my Fujifilm JPEG recipes which shows that I’ve always added something a little extra onto my images – think of it like a sprinkling of something on top to bring everything to life that little more.
So, given I’ve provided that disclaimer on every post I’ve written about Fujifilm recipes, why am I here now writing this? Well I’ve had a few comments recently asking whether I’ve done any editing at all when sharing images and even one stating that what I do is not ‘pure’ and it’s not what ‘Fujifilm’ is about.
With that said, let’s dive right into it shall we?





FUJIFILM RECIPES: THE FINISHING TOUCHES
I think it got under my skin a little, and I try not to let anything said online affect me, with it being said that what I produce is not what Fujifilm is all about. I honestly thought who on earth is trying to gatekeep or say how Fujifilm cameras should be used. For me, Fujifilm is simply another brand of camera that some love and some do not. I remain in the love camp and the cameras just make me want to create, to get out and shoot, to capture fleeting moments with my family. That doesn’t mean that all images should only be ‘straight out of camera’; it’s almost impossible to get it 100% right in-camera. You want that horizon straight? You want to crop in slightly? Apparently nope, you can’t do that. Well, we can all do whatever we want and what makes us happy with what we create.
So here, I want to show you exactly what edits I make to images and to showcase just what it can add to Fujifilm recipes.
Stay Updated
IN-CAMERA
Since I upgraded to the Fujifilm X-T5, I’ve mostly used one Fujifilm recipe – ‘Summer Negative‘ which I think is absolutely perfect for capturing my travel photography. I also use it on a day to day basis for moments in the home, trips out with the family and for food and drink. If you ask which one recipe defines jamiechancetravels, it’s this one.
I also love to use Acros Punch, Mono Gold and Nostalgic Negative, all of which you can find me. I shoot now in RAW + JPEG so that I can capture my unique colours in Summer Negative and then convert the RAWs to black and white having developed a preset to match, as closely as possible, the Acros Punch recipe.
So, when I’m about and about, what do I in camera to create the images that you see? Firstly, I want to say that most of what you see, at least 95%, is created in-camera. The recipe does the hard work in lifting shadows and adding beautiful colours but I find that I’m always adjusting the exposure compensation before pressing the shutter. Then, it’s all about composition (perhaps something for an entire blog post). This is not something that can be dialled in. It’s your eye, it’s what you see and how you frame it that takes a good photo to something spectacular. I know when I’m wandering around a new city for example what will work and what won’t work, for me, and my photography brain and style is such that I pick out the same details/same shot types no matter where I am.
PromotedDon't miss out on today's trending deals!
Join thousands of users enjoying exclusive benefits right now.
SponsoredDiscover top exclusive offers today!
Click here to learn more and take advantage of these limited-time deals.
So at this point, for me, the image is pretty much done. Some would choose to keep it at that, no further editing whatsoever. Sometimes I won’t quite get the crop right, ie I might have something super distracting that I just need to crop out or the horizon doesn’t quite look straight. I don’t do any other type of editing, dodging/burning etc is way too complicated for me haha!
THE IMPORT PRESET
I’ve talked about my entire photography workflow before so feel free to check that out as well but basically I still use Lightroom (at its original £9.98 per month price) for managing my massive collection of photos and the slight edits I apply. On import of my new images, I automatically apply a standard preset that adds:
+10 Contrast, +15 Clarity, a slight S-Curve & -5 Vignette
From there, I will go through the images culling away the ones that don’t work or I messed up and make final adjustments to exposure (normally +1.00 but entirely dependent on the image) and crop if necessary.
That’s it.

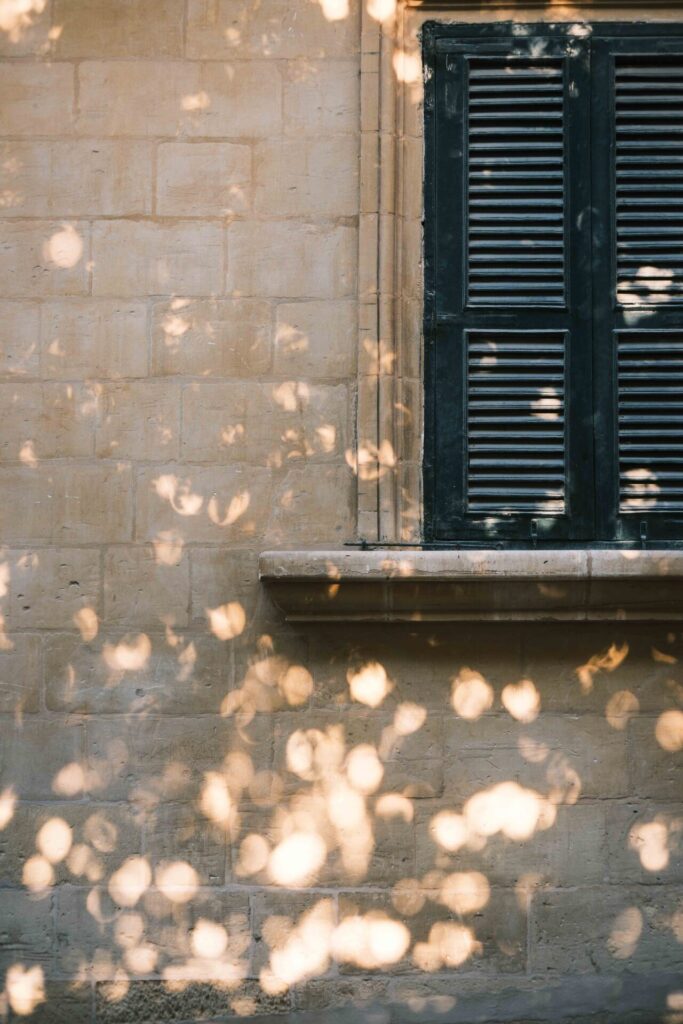
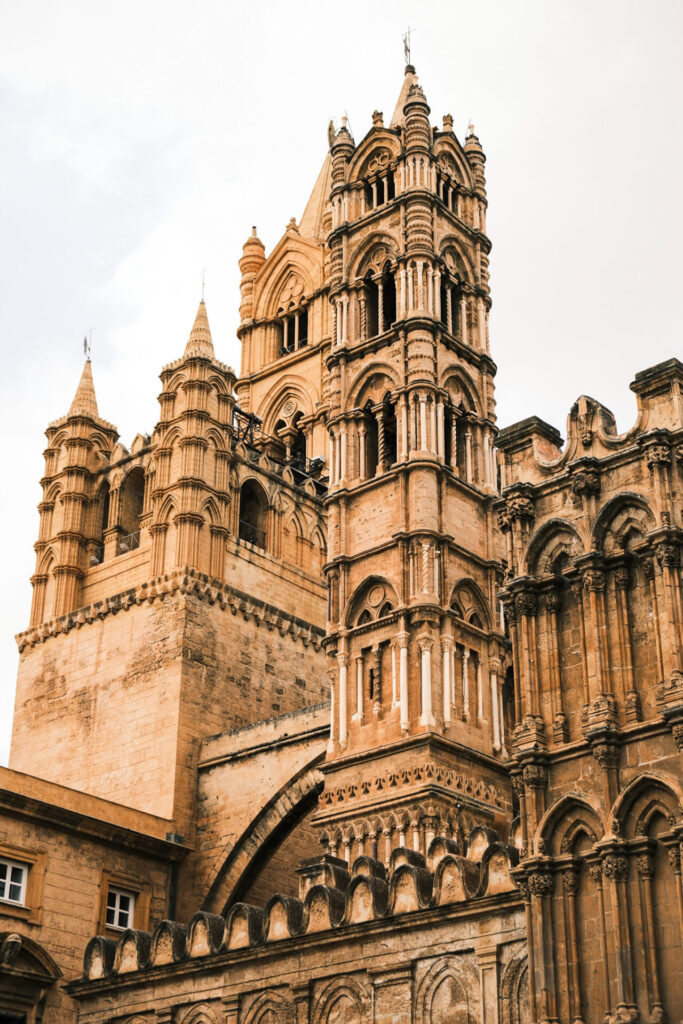
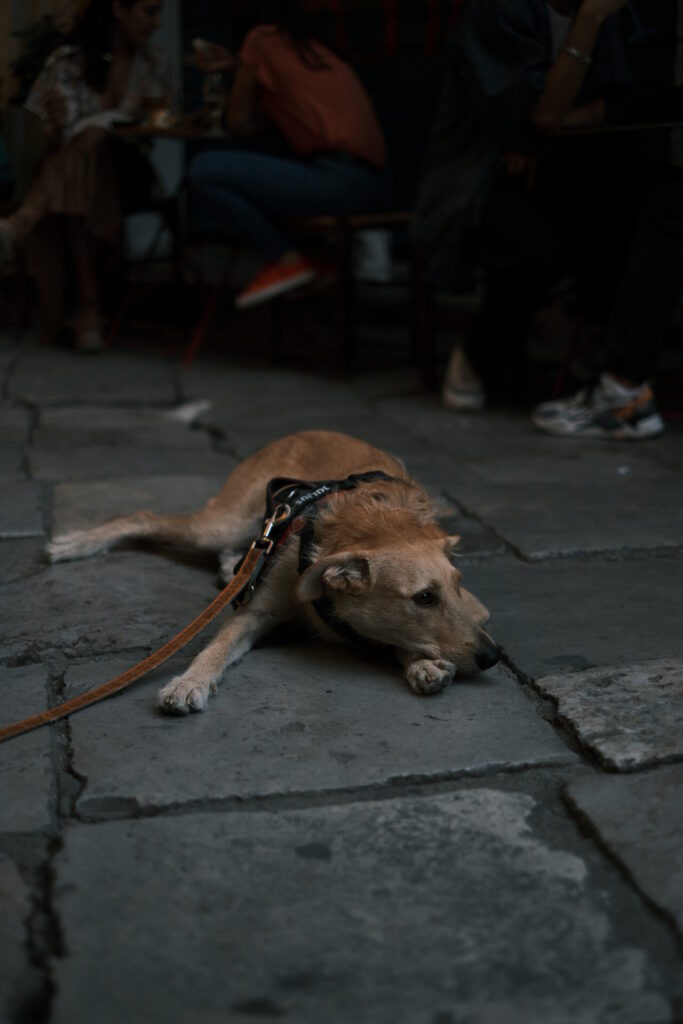
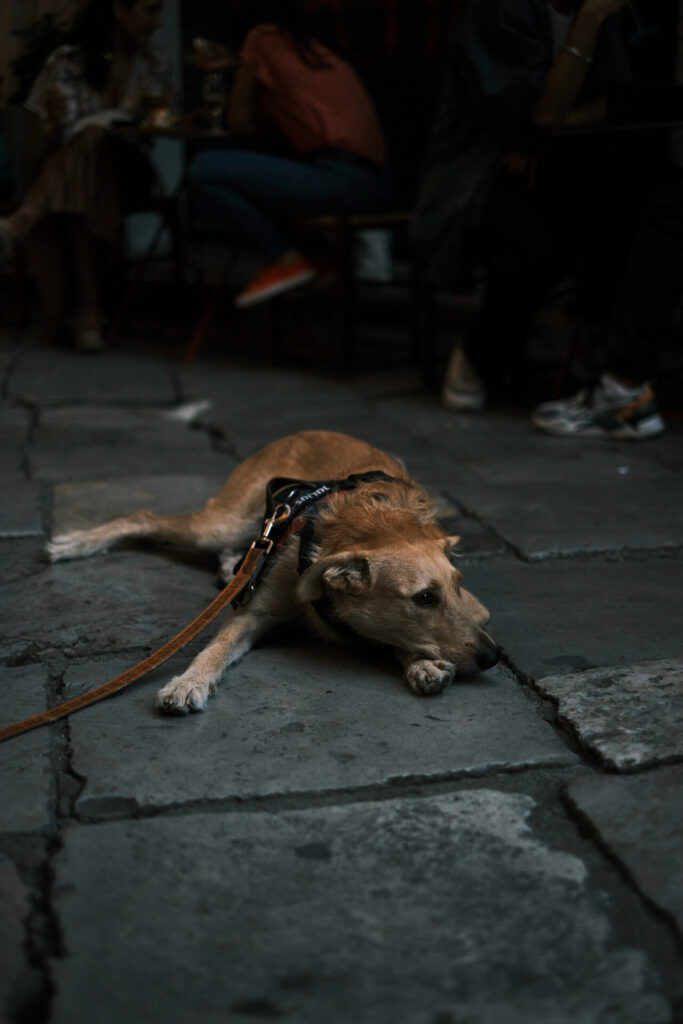
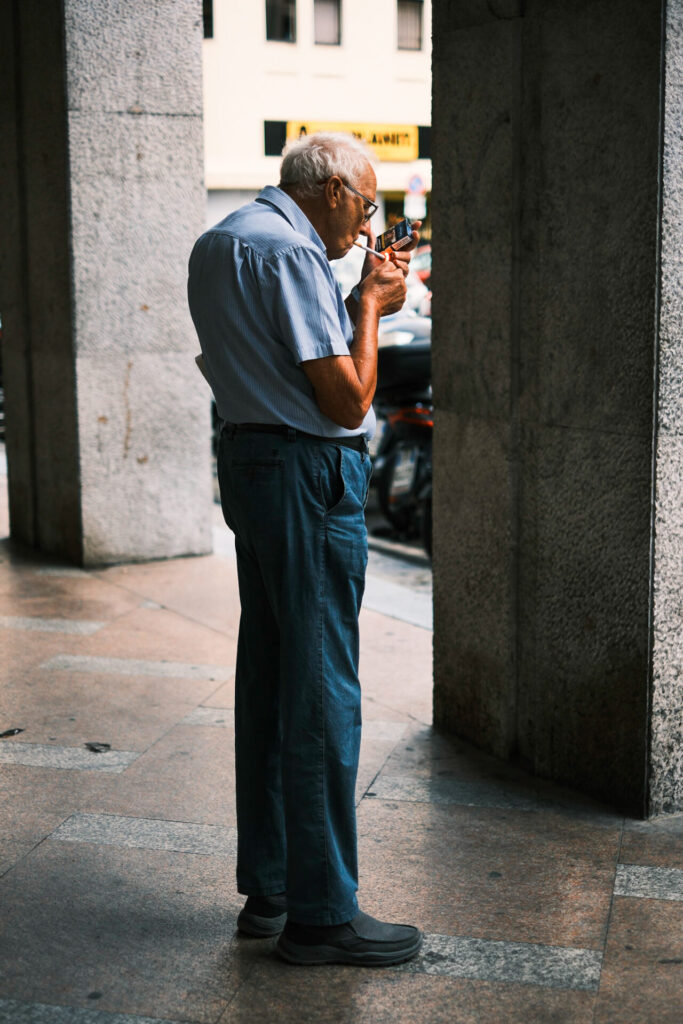
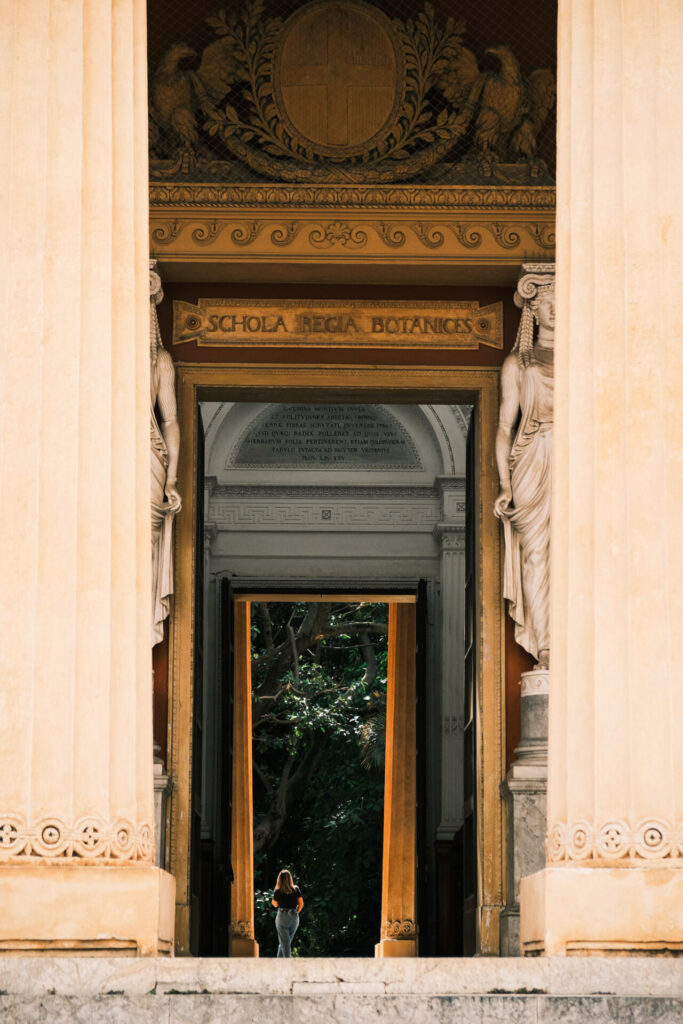
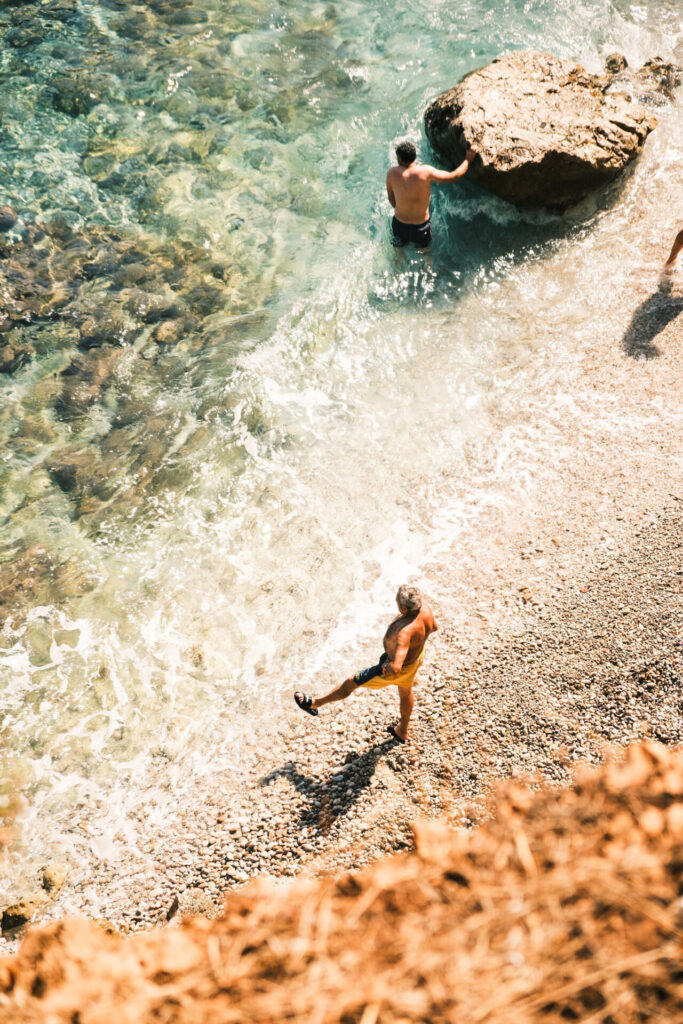
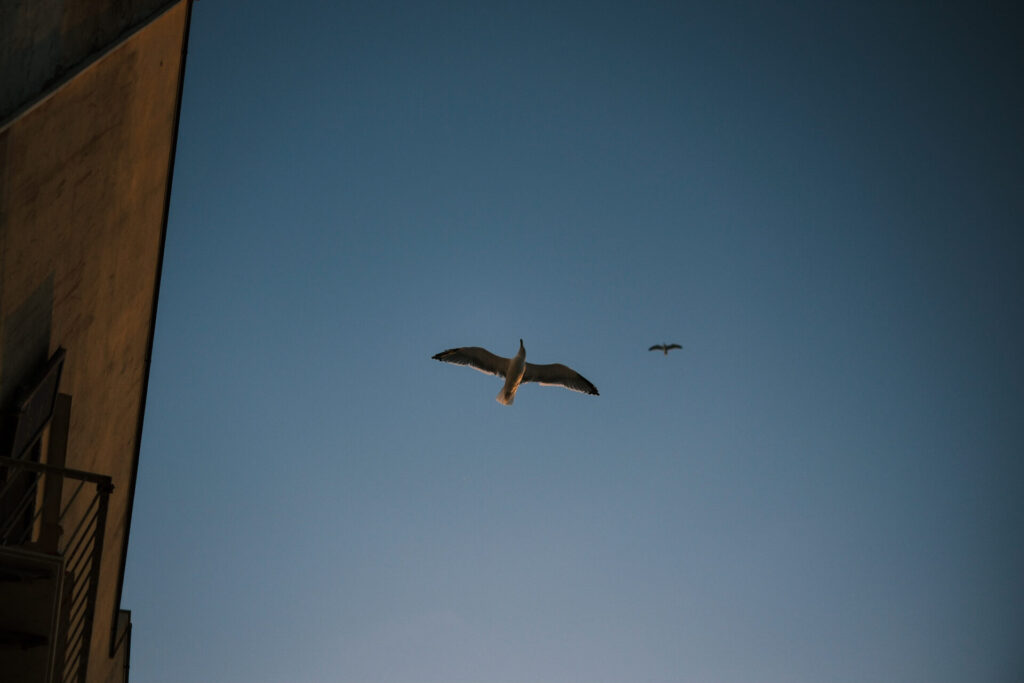
Does that mean my images are not what Fujifilm is all about? Not at all, Fujifilm works for me and I absolutely love the images I create. Now let’s put all that together and show the subtle differences between the straight out of camera images and those with my finishing touches applied.
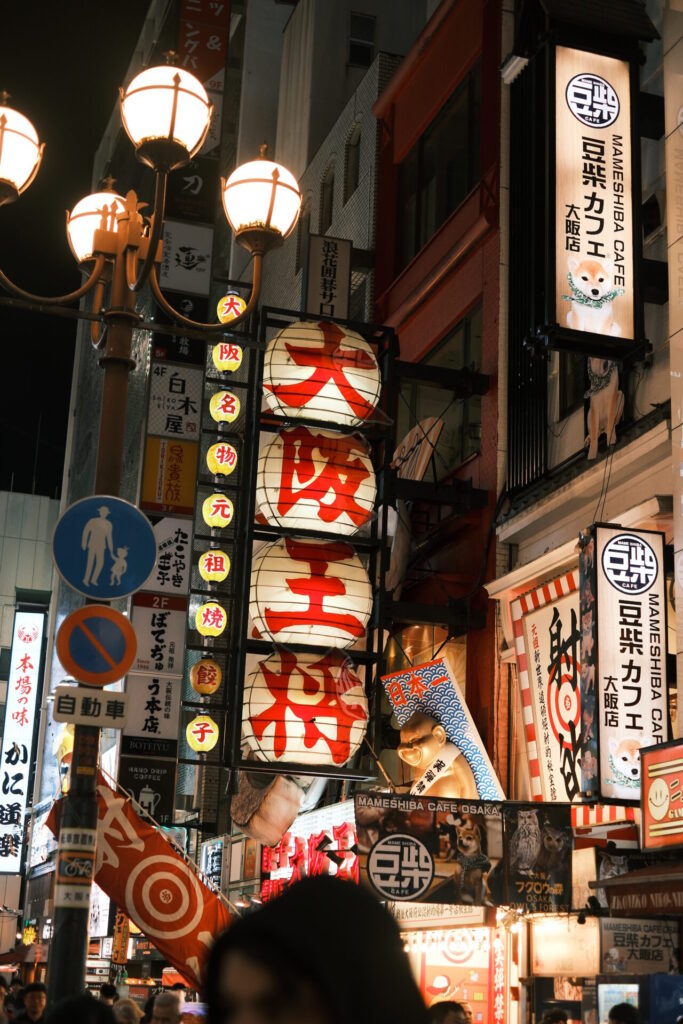
IMAGE COMPARISON
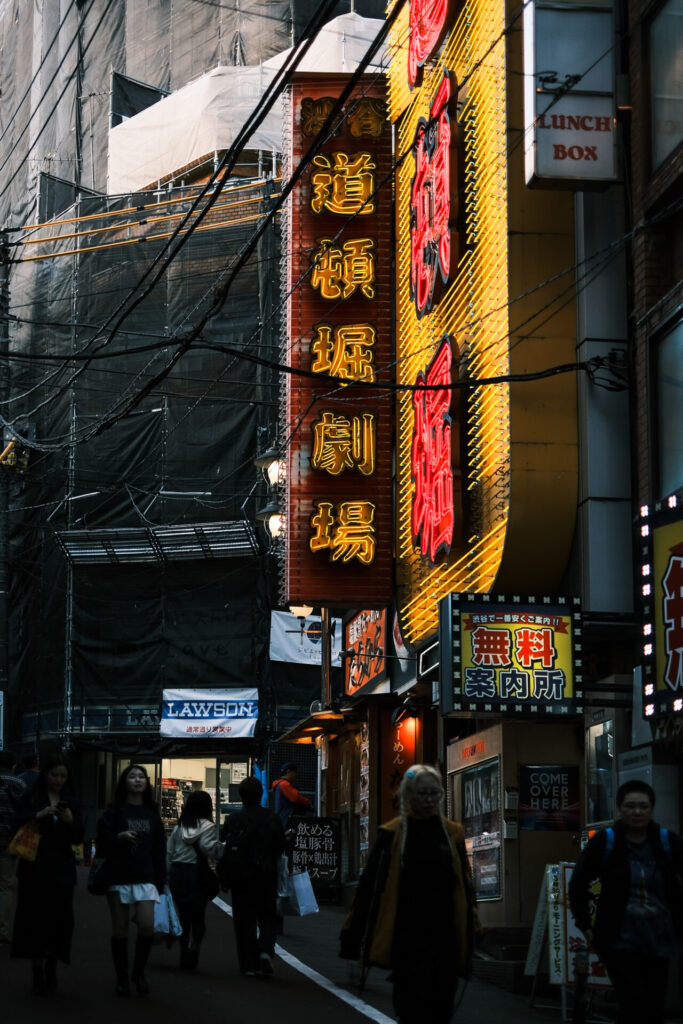
JAPAN


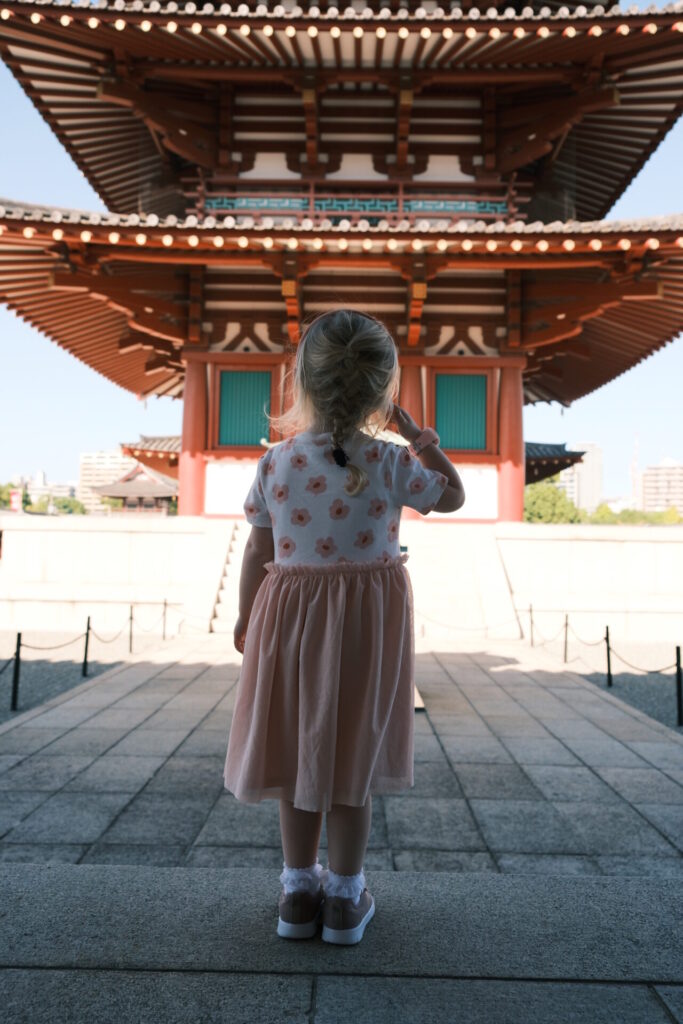


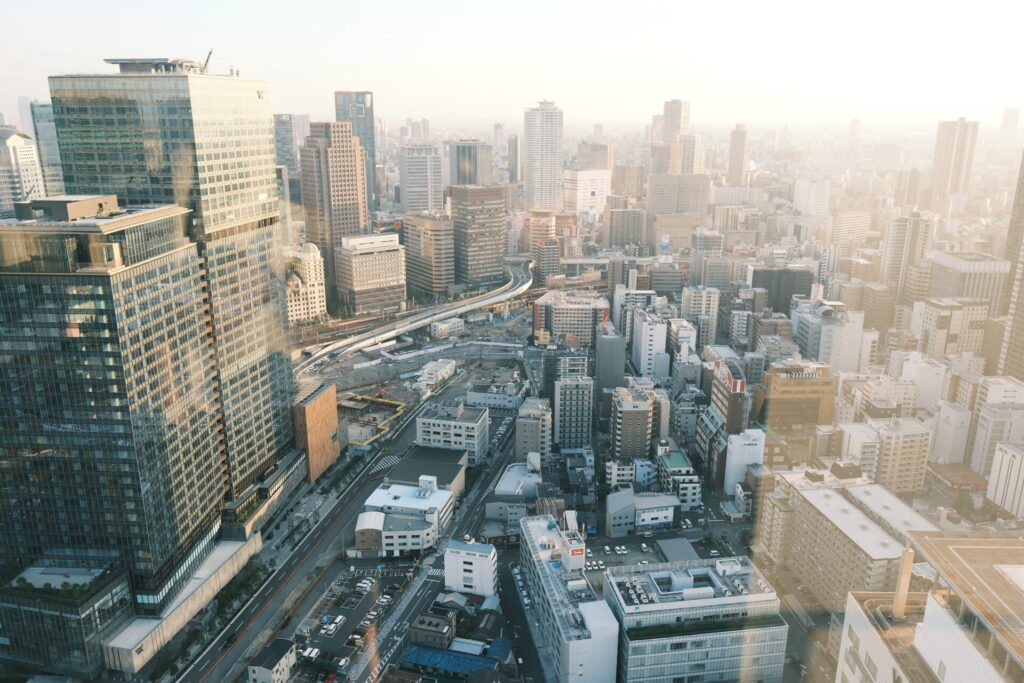


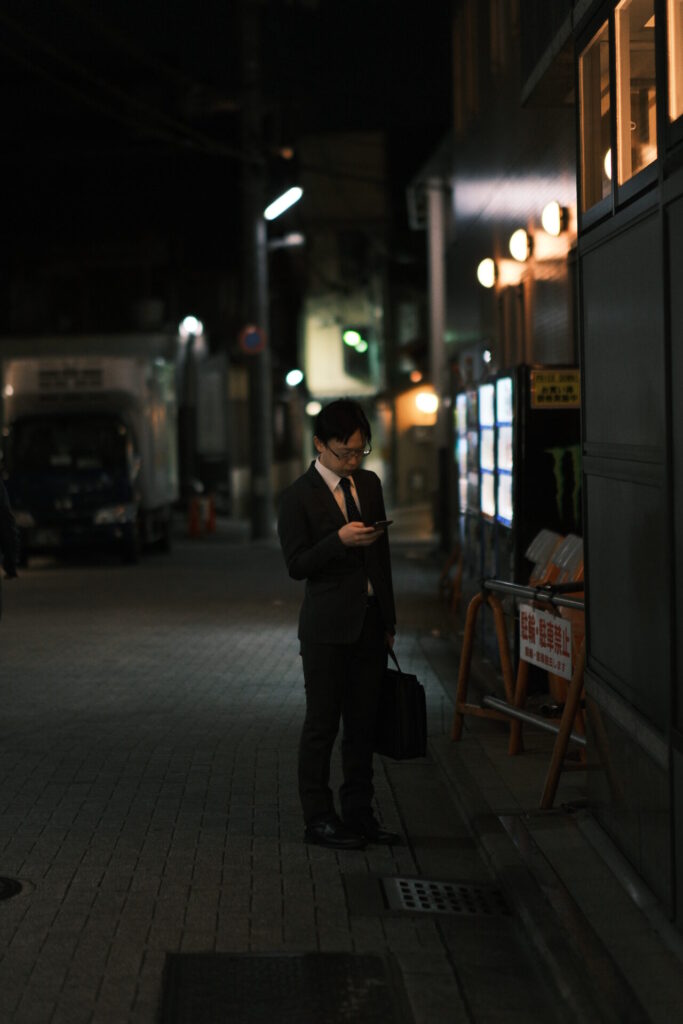


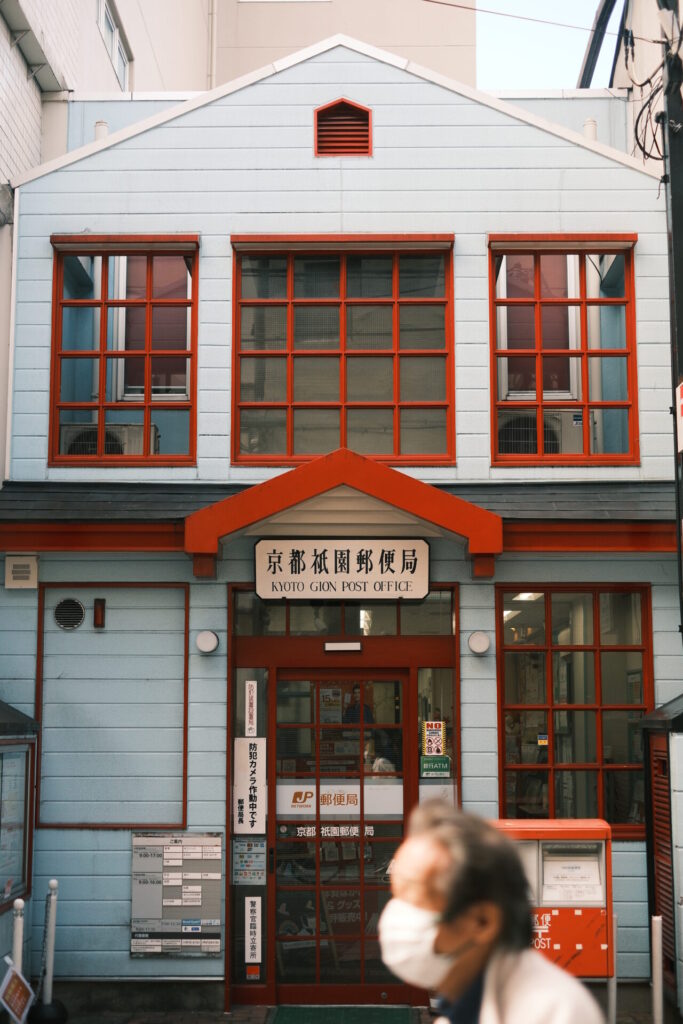


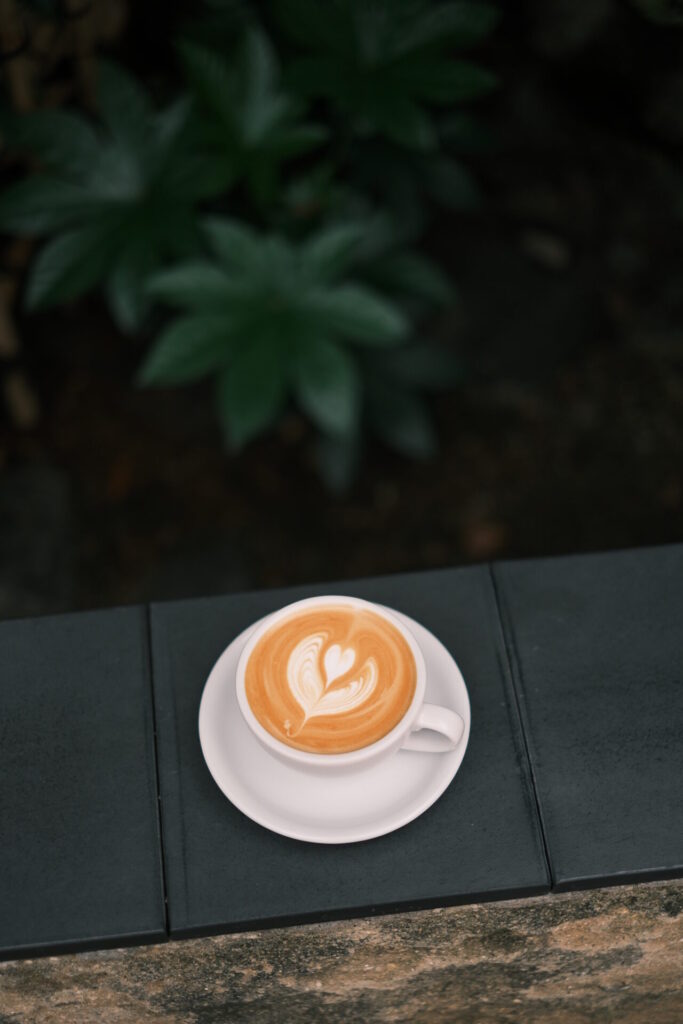
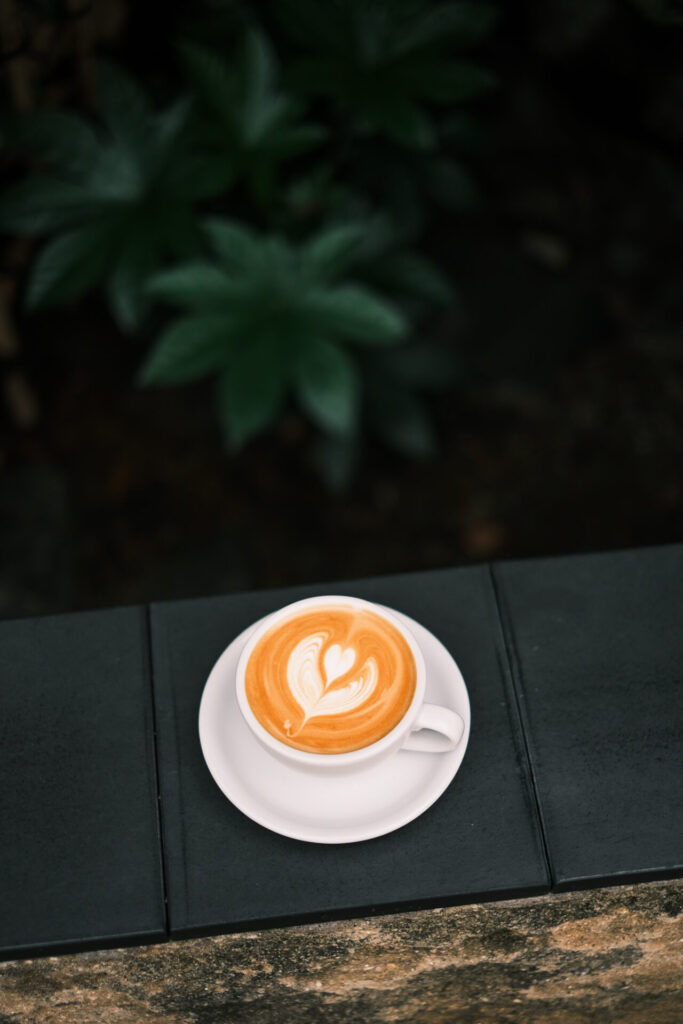
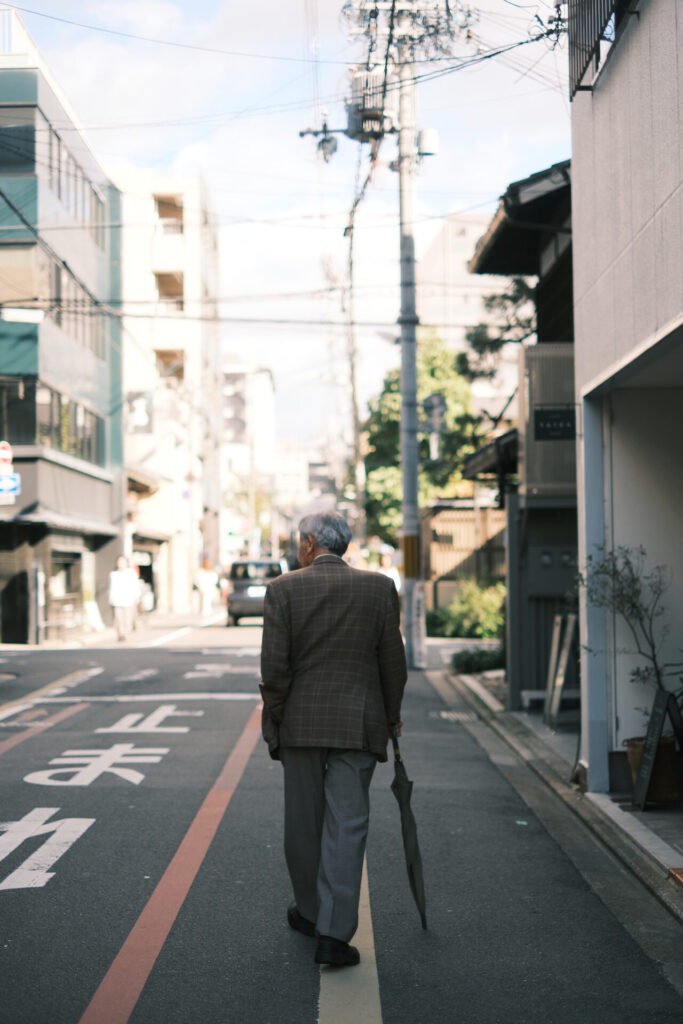


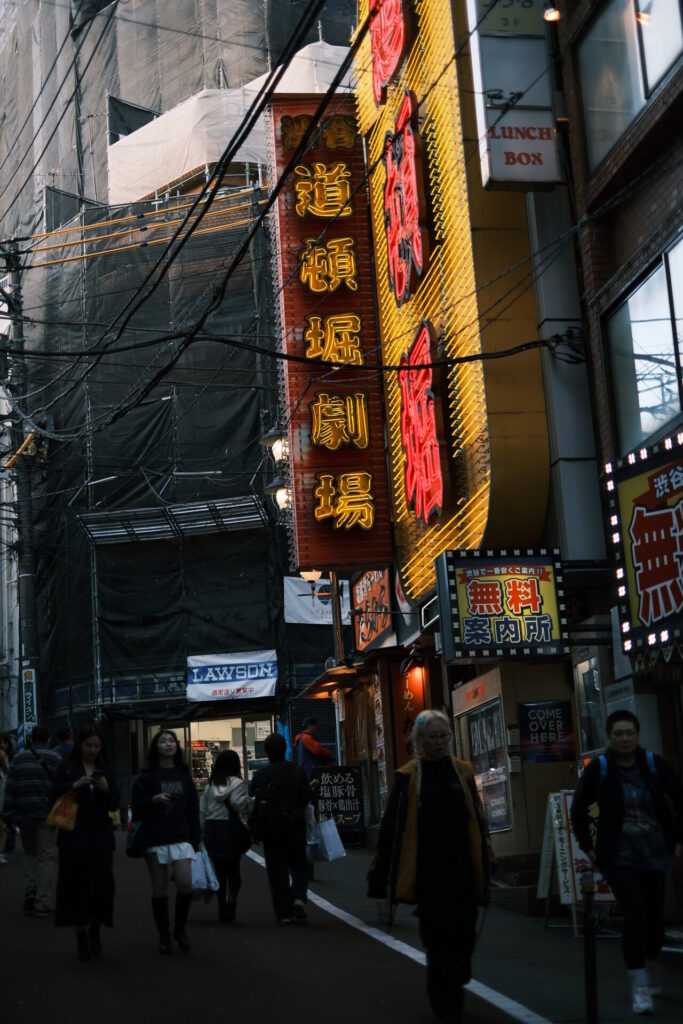


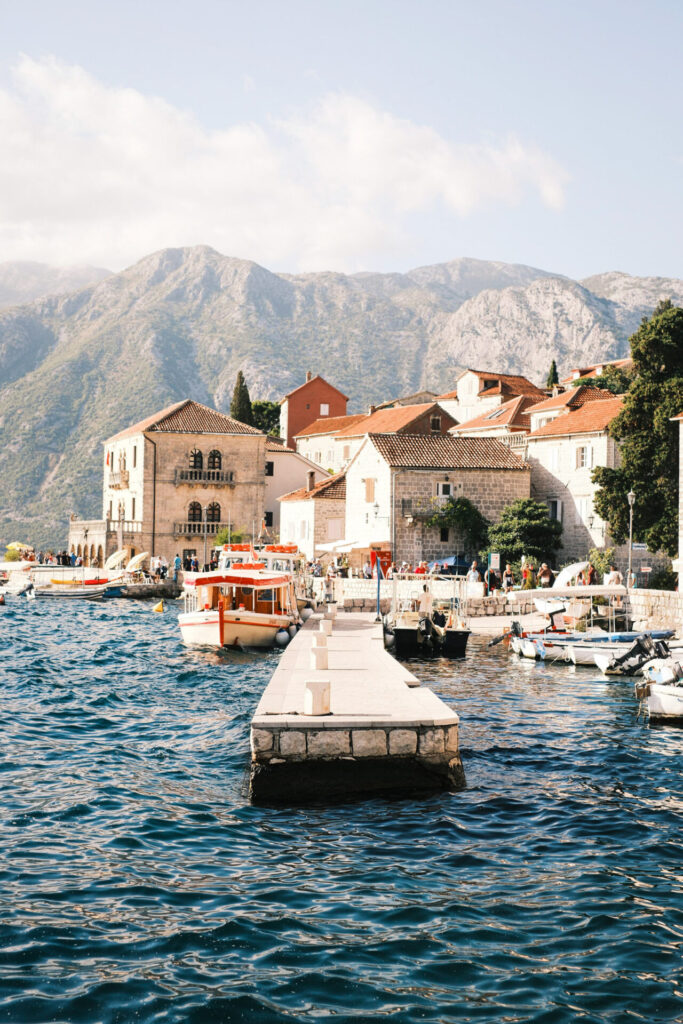
MALTA




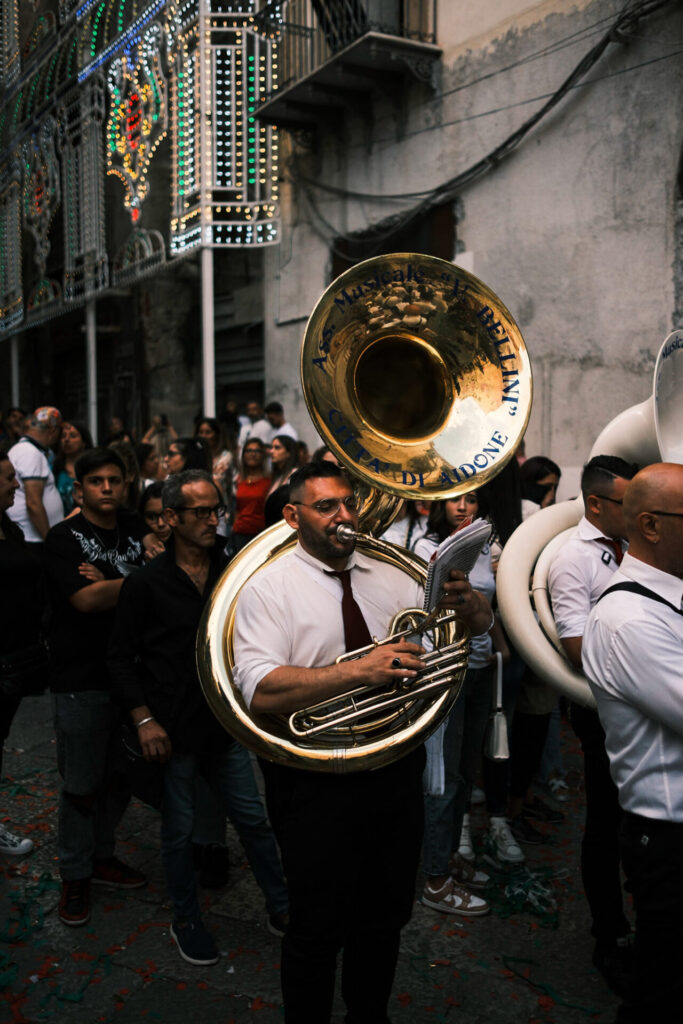
SICILY









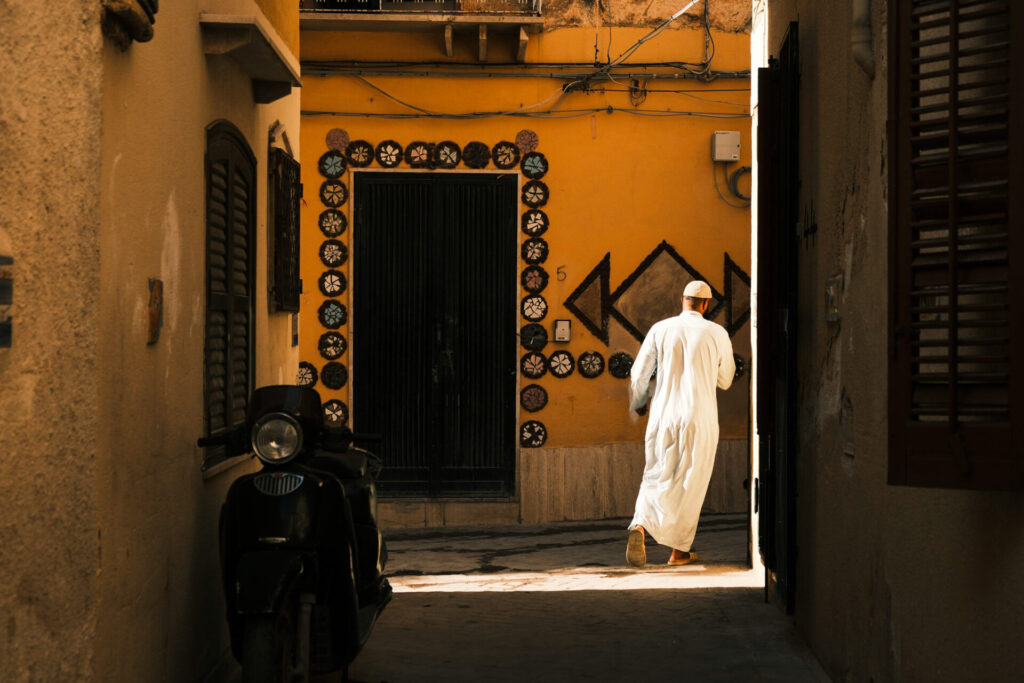

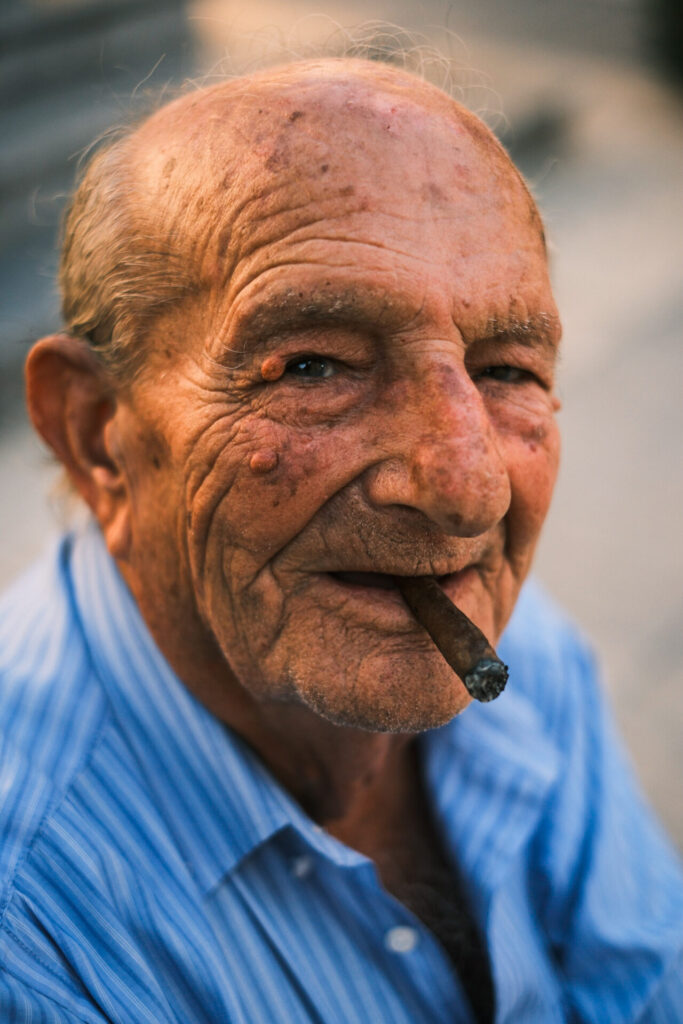


COPENHAGEN


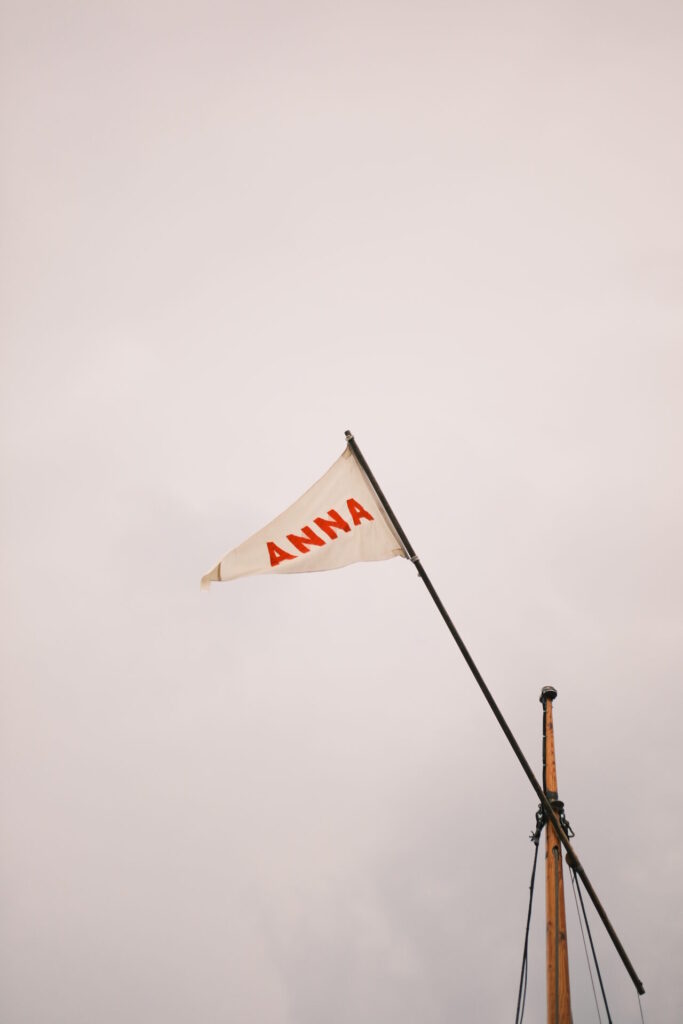


BENIDORM


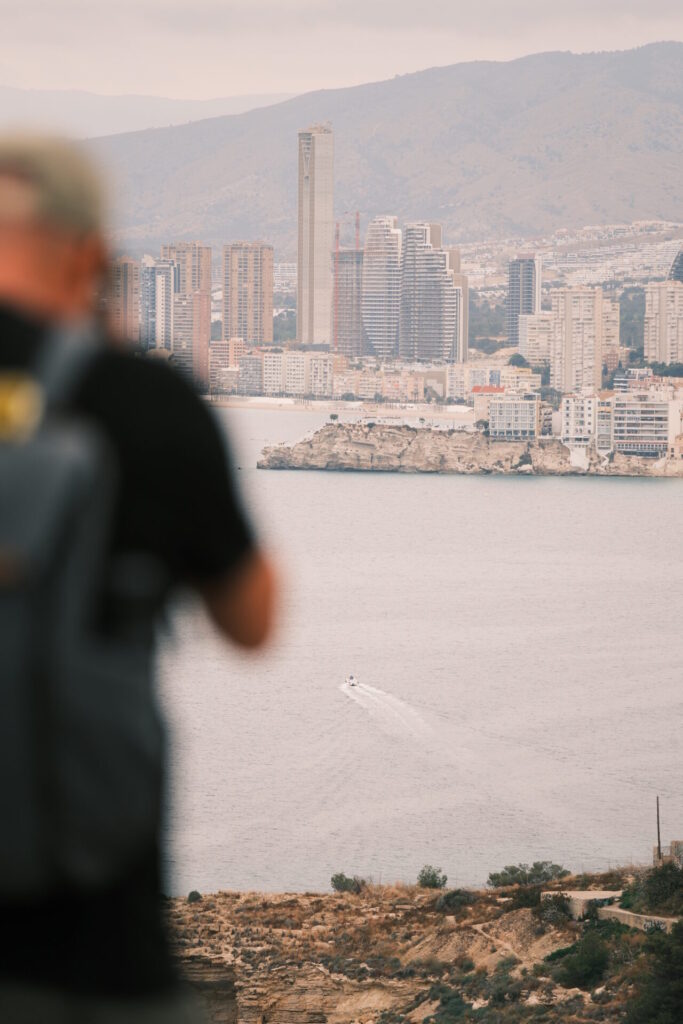


A FEW MORE


So there you go, I’d love to know your thoughts. I’ve quite enjoyed pulling this post together and highlighting that firstly edits are completely normal in photography and secondly even such subtle additions can elevate a photo. The most important thing in all of this is that your photography is yours and you can do whatever you want; you cannot put a label on a brand and say that if you shoot Fujifilm you can never make any edits whatsoever. I’ve no idea if this will be controversial or not but I’m really happy with the way I utilise JPEG images and, even with the slight edits, it saves me so much time in the long run. Time that I absolutely don’t have and would much rather spend with my family!
If you have any thoughts or would like to chat about photography generally or about Fujifilm recipes, feel free to drop me a comment below or an email and I’ll get back to you!
Continue Exploring


Stay Updated
IF YOU ENJOYED ‘FUJIFILM RECIPES: THE FINISHING TOUCHES’ WHY NOT PIN THE IMAGES BELOW?


Some links on this site are affiliate links. If you make a purchase through them, I may earn a small commission at no extra cost to you.
Hi Jamie, thanks for sharing your insights into your workflow. I found it very informative and helpful.
Would you mind sharing the preset with me by email? I would greatly appreciate it.
Hi Jamie, I recently came across your site via a Reddit comment and I’ve throughly enjoyed reading some of your posts. You are such a talented photographer. I’ve set up the Summer recipe and I can’t wait to give it a proper go soon.
Are you able to share the S curve settings in your Lightroom please? Would it be possible to attach a screenshot of the settings on this post? I’ve been a lifelong JPG shooter, but I can see the difference your edits are making. Thanks!
Thank you so much, really appreciate that.
That’s such a good idea and I’m surprised no-one’s mentioned that before – I’ll get that added asap!
Thanks
Jamie
Thanks Jamie. Much appreciated!
Hello! Thank you for the article. Very interesting and informative.
Please email me the Lightroom preset.
lila.schwarz25@gmail.com
Your pictures are amazing ! As a newbie waiting for my first camera to be delivered (X-T30 iii), I can’t wait to try these film simulations and manage to find my own recipe. Hopefuly everyone is free to do whatever he wants shooting pictures, and I will follow your blog since you do it well ^^
Thank you so much! Hopefully you’ve got your camera by now and are enjoying getting out there and shooting! Nice to have you here!
Interesting!
So you are importing the JPGs to Lightroom and edit or the RAWs? I thought the recipes are only for adjusting the JPGs in camera.
Thank you – yes the JPEGs come into Lightroom mostly for cataloguing purposes and sorting them; I’m so used to the interface now! The recipes adjust the JPEGS in camera and then you can still bring them into Lightroom or any other editing software for the finishing touches!
Thanks
Jamie
Interesting post! But to understand it correctly: you import the JPGs to Lightroom and make adjustments or the RAWs? I thought the Recipe only affects the JPGs.
Great post and good to see the side by sides and the extra punch these tweaks add.
Question – in terms of the slight S curve, do you use any of the Lightroom S curve presets (ie. ‘medium contrast’, etc.) or just manually move the input and output points (around 65 and 190)? I find the S curve in Lightroom very sensitive to the smallest of movements, so the S curve along with +10 contrast is a tricky balance not to make the image overly contrasty
Thanks Neil, really appreciate your comment and checking out the post! I don’t use any of the presets for the S Curve but I would say it’s very slight – on the 1/3 lines if you call them that! I can send you the exact preset for Lightroom if it helps, just let me know your email or the best way to send it across!