
This post is a good few years old now so it’s definitely been in need of some updating. It was the first of my posts focusing on separate Fujifilm film simulations and what better place to start than with Astia; what I call the most versatile of film simulations.
I’ve been shooting JPEGs with my Fujifilm X-T2 since 2018 and, pretty much that entire time, I used Astia most of all. I’ve used my custom JPEG recipe based on Astia through my travels, for weddings, for families and even for corporate headshots. If you’re looking for soft colours that will complement a wide range of scenes, Fujifilm’s Astia is the one.
Fast forward to 2022, Astia has been knocked down to 2nd place by Classic Chrome. I cannot stop using Classic Chrome anymore and, the more I use it, the more I feel it’s developed into my style. I saw a comment recently from someone new to using Fujifilm’s JPEG settings around how on earth do you settle on just one setting; I have through many years of trial and error settled on my Classic Chrome recipe. Classic Chrome is essentially me.
However, I know not everyone will get away with Classic Chrome’s grittier look on life and in my life there is still a time and place for Astia film simulations. Astia forms the basis of my colour images for weddings and I do often switch it up if a situation requires a little more ‘happiness’. I don’t know if that’s the right way to describe it but hopefully you’ll know what I mean!
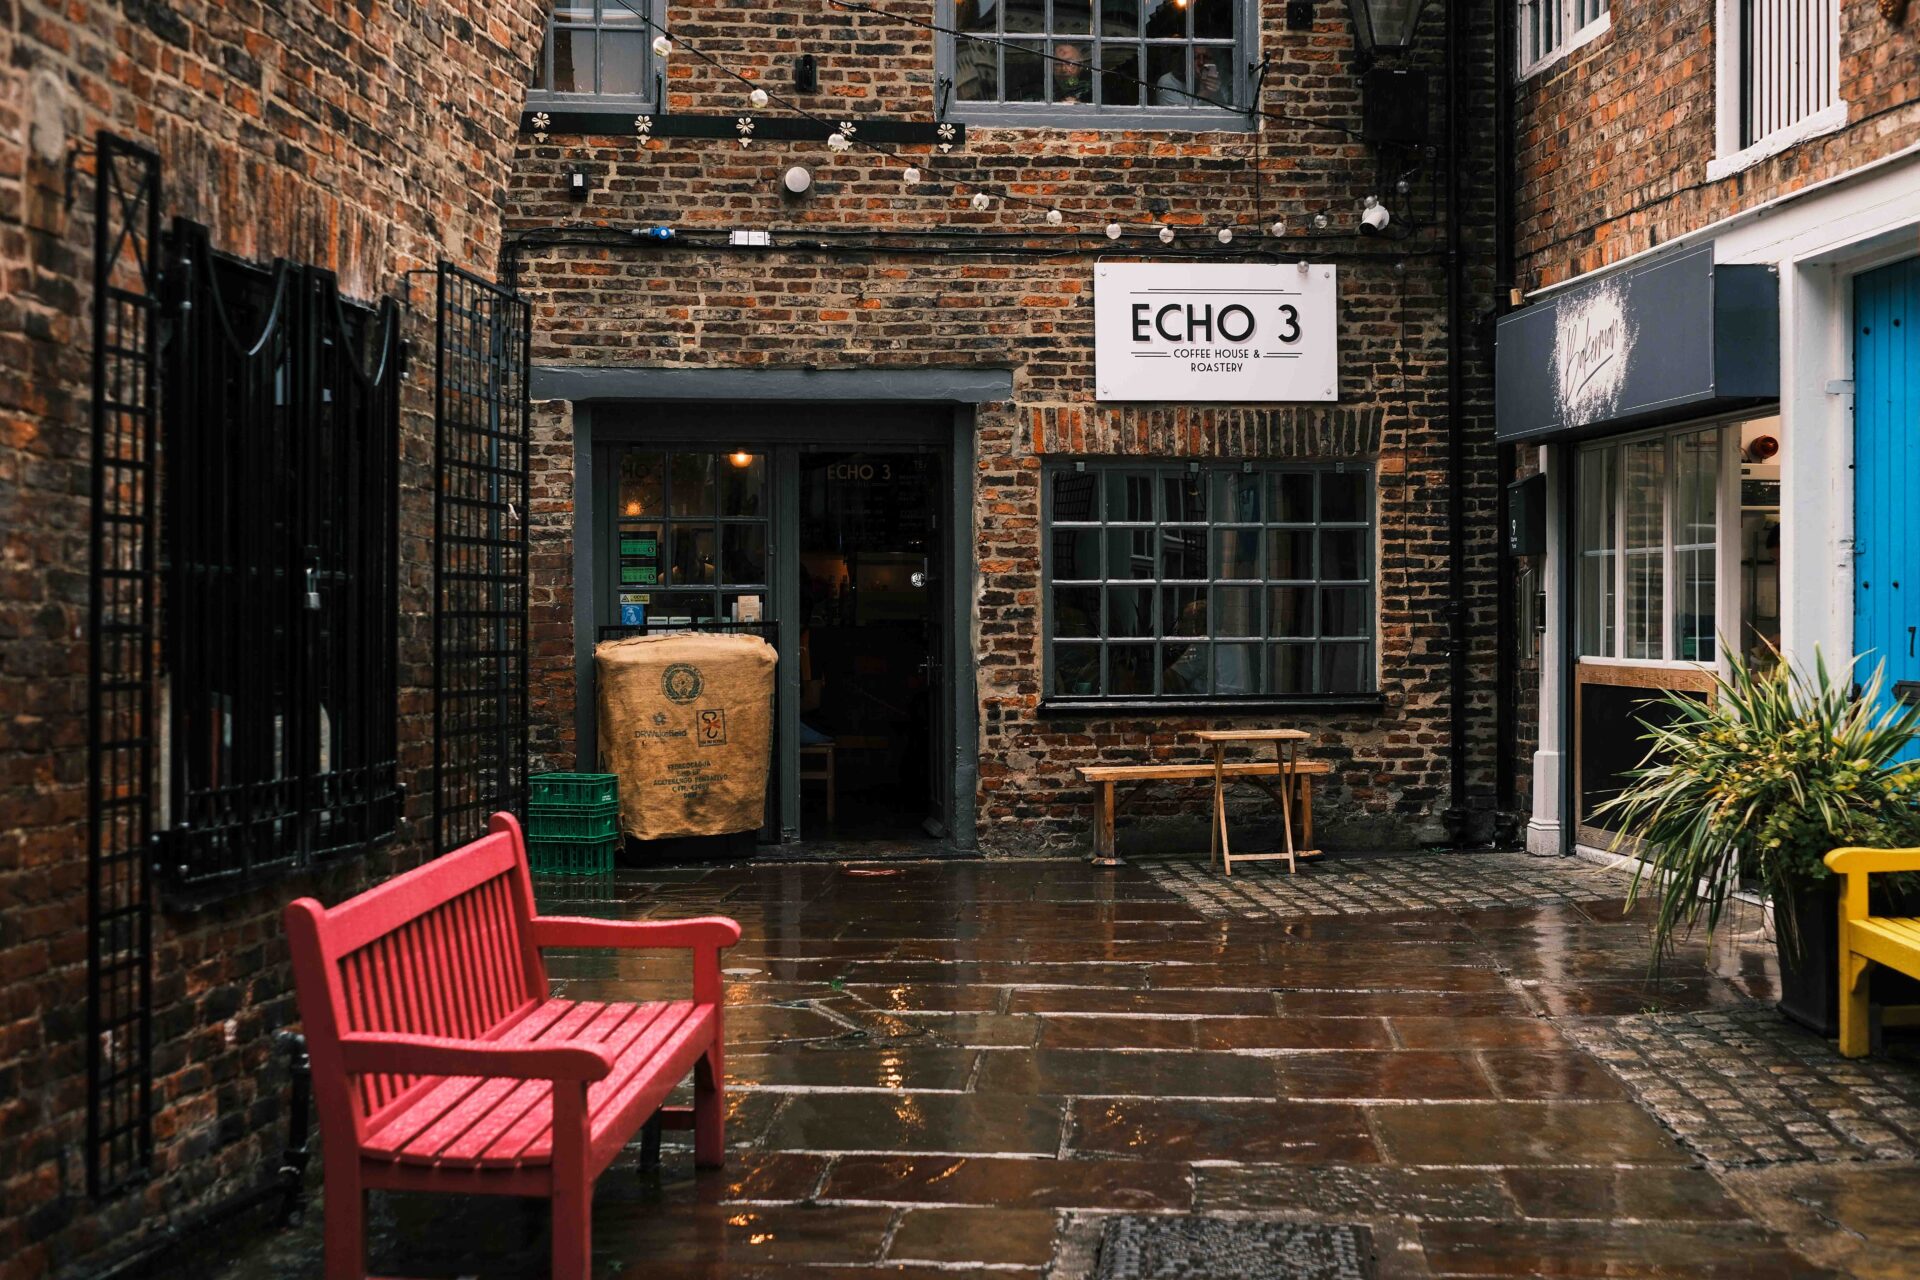
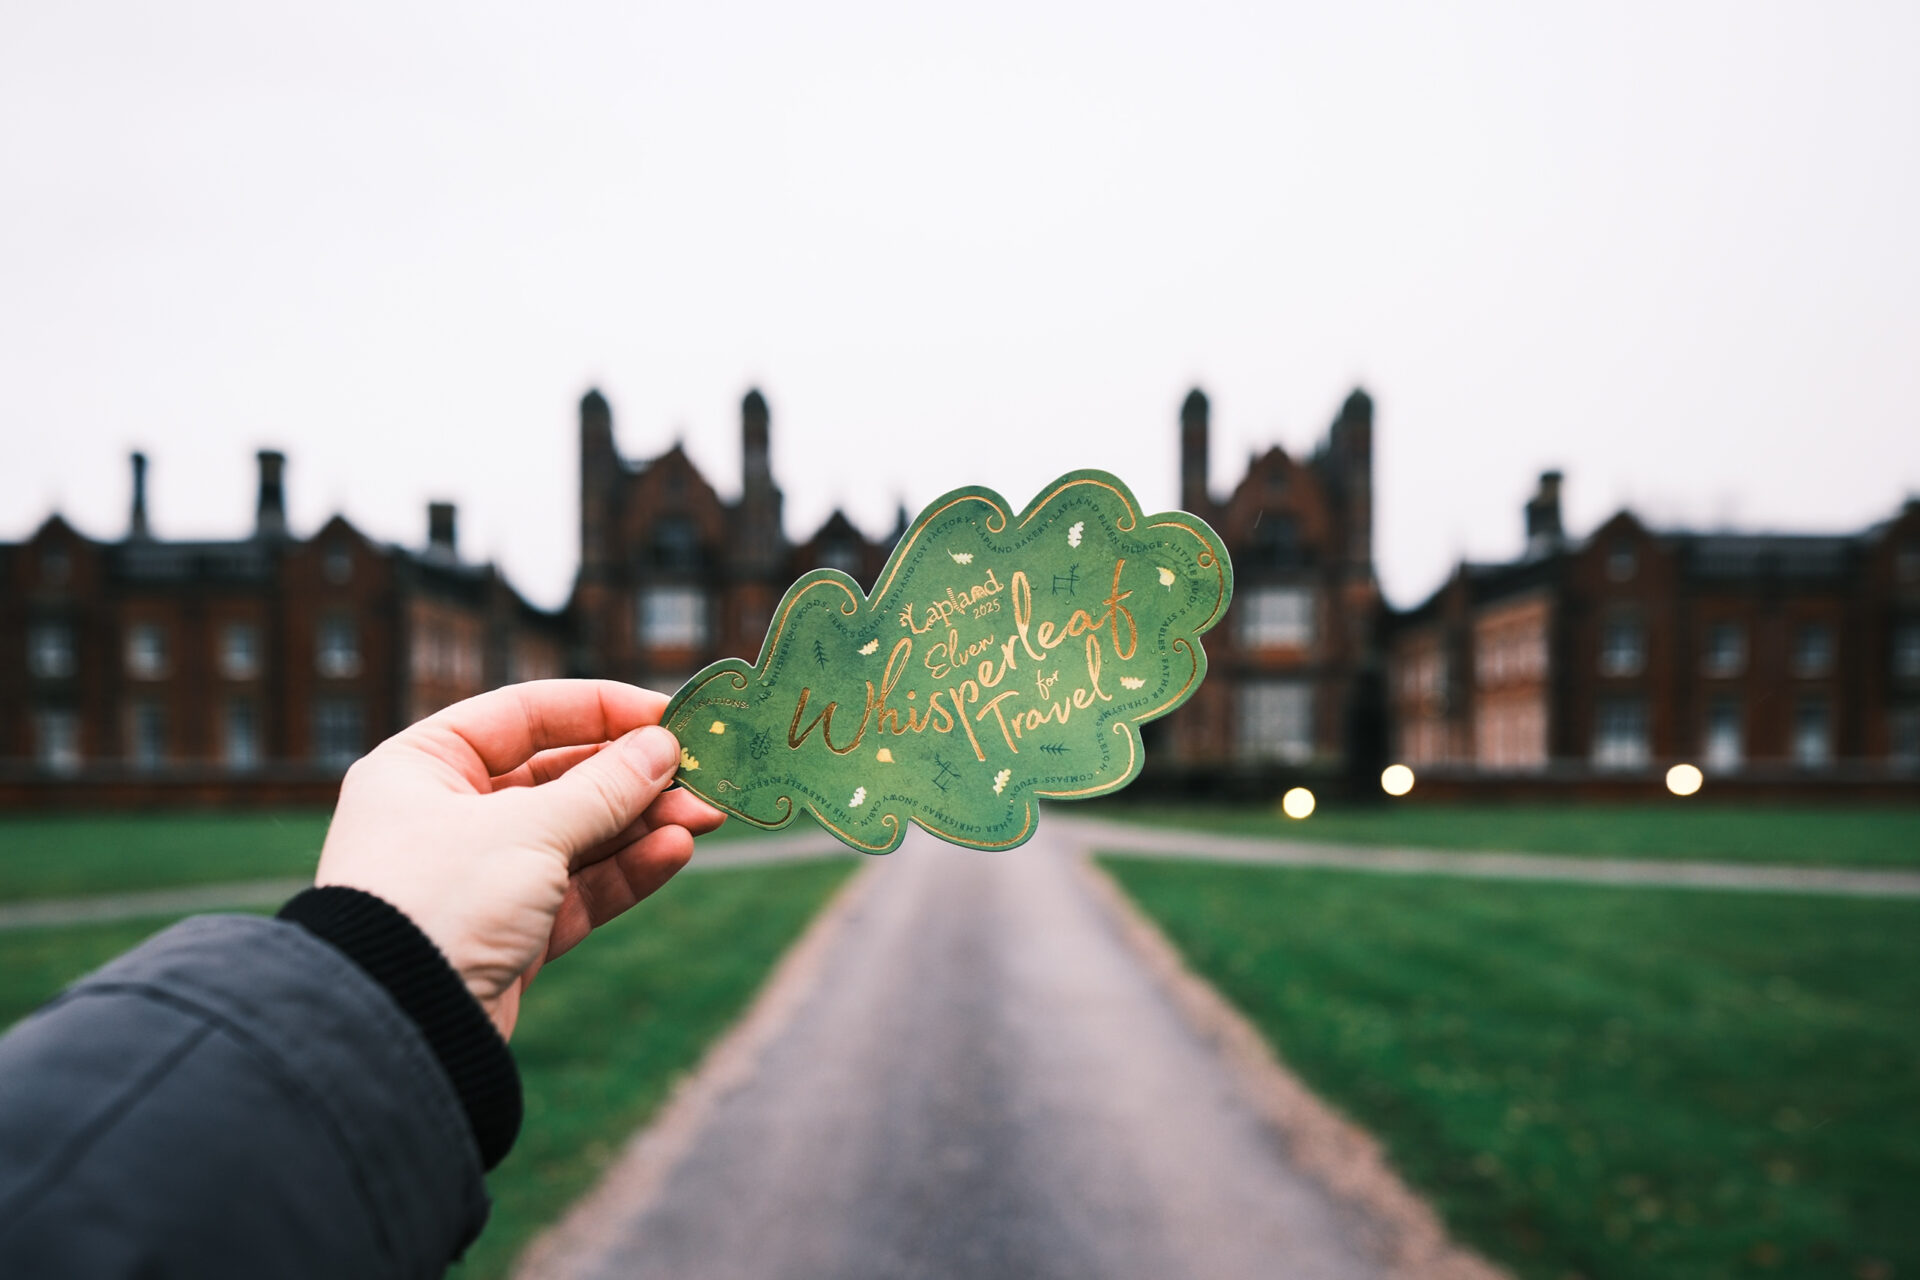
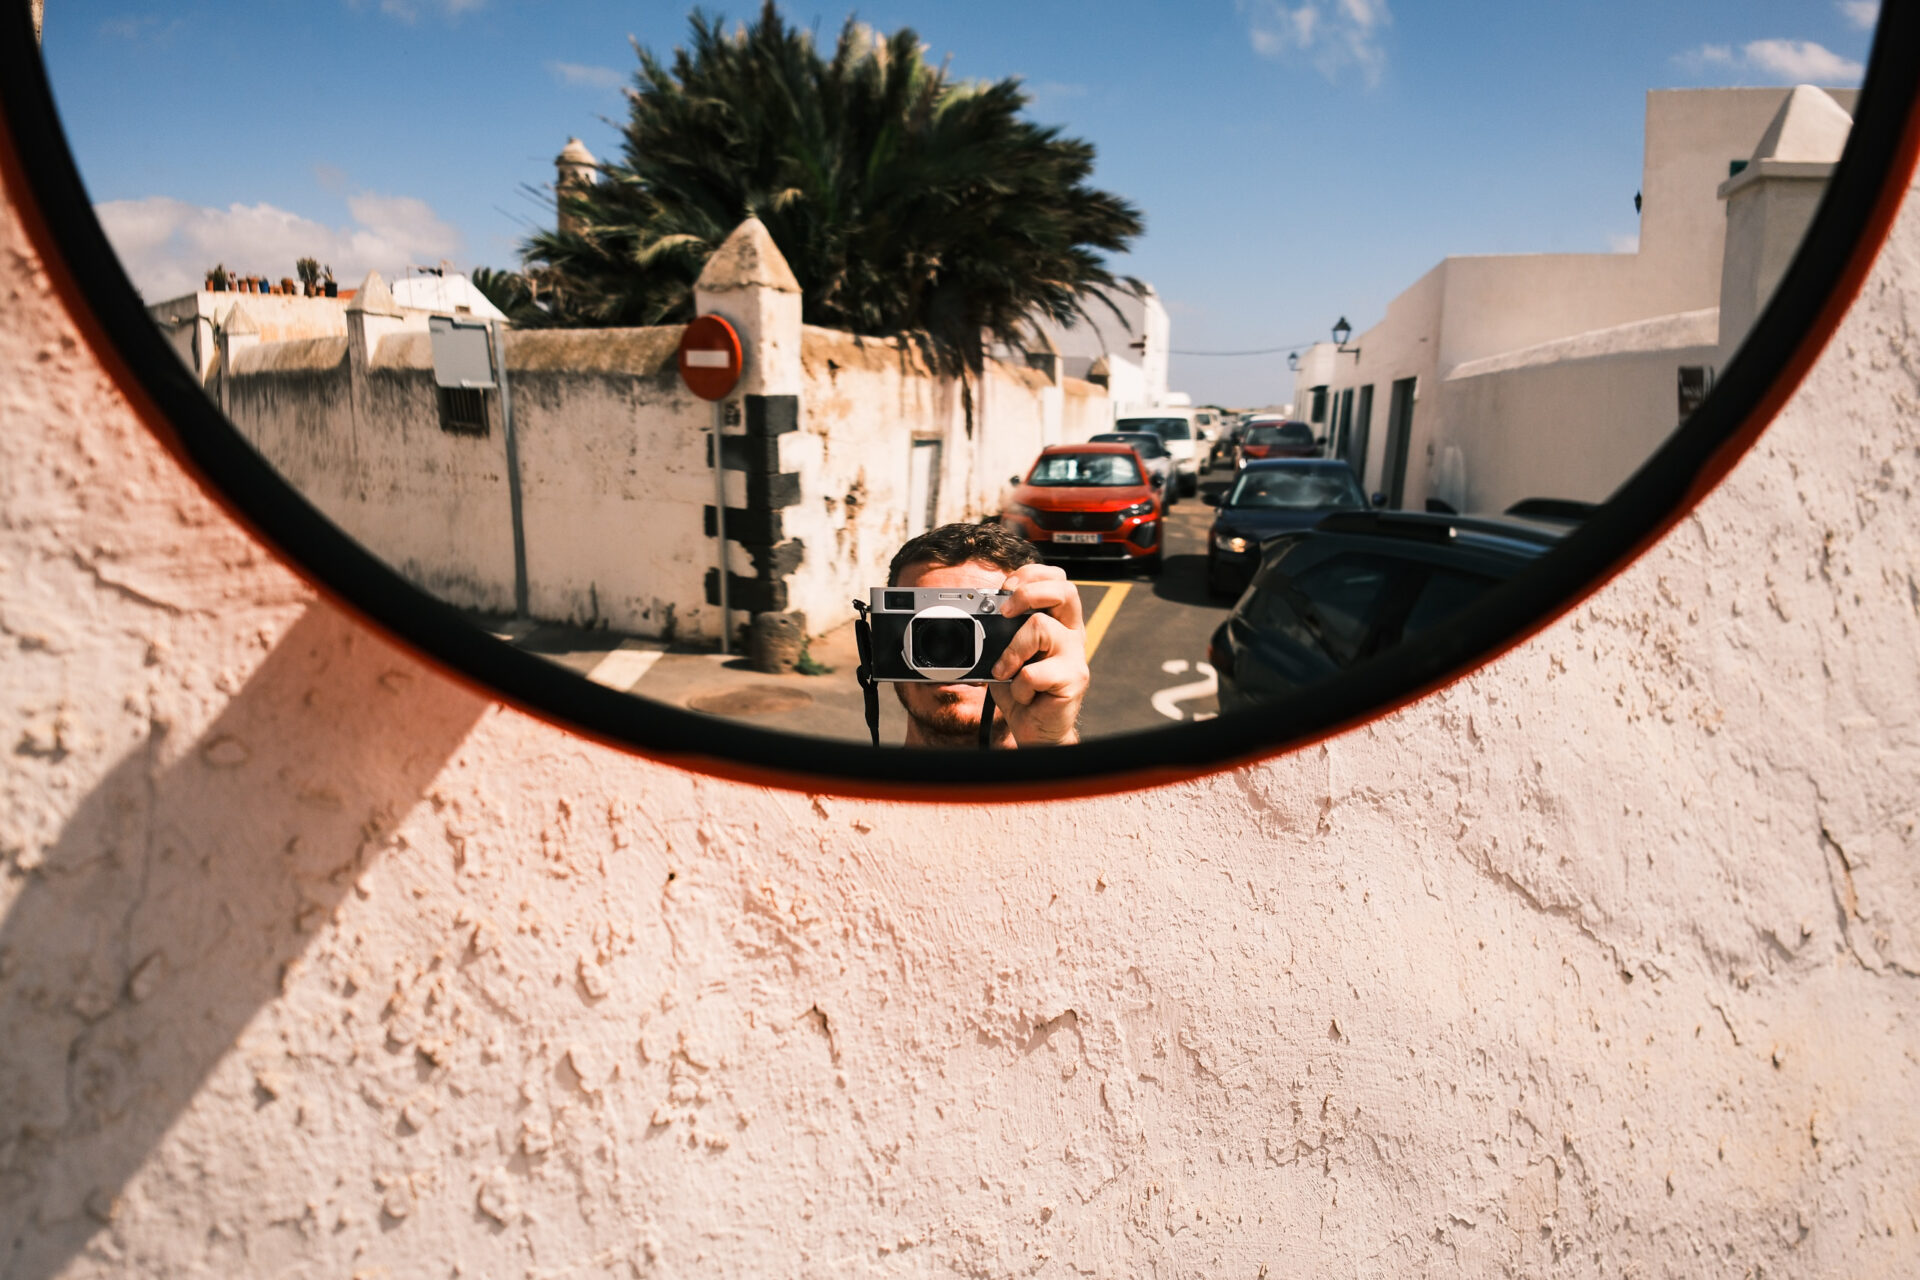
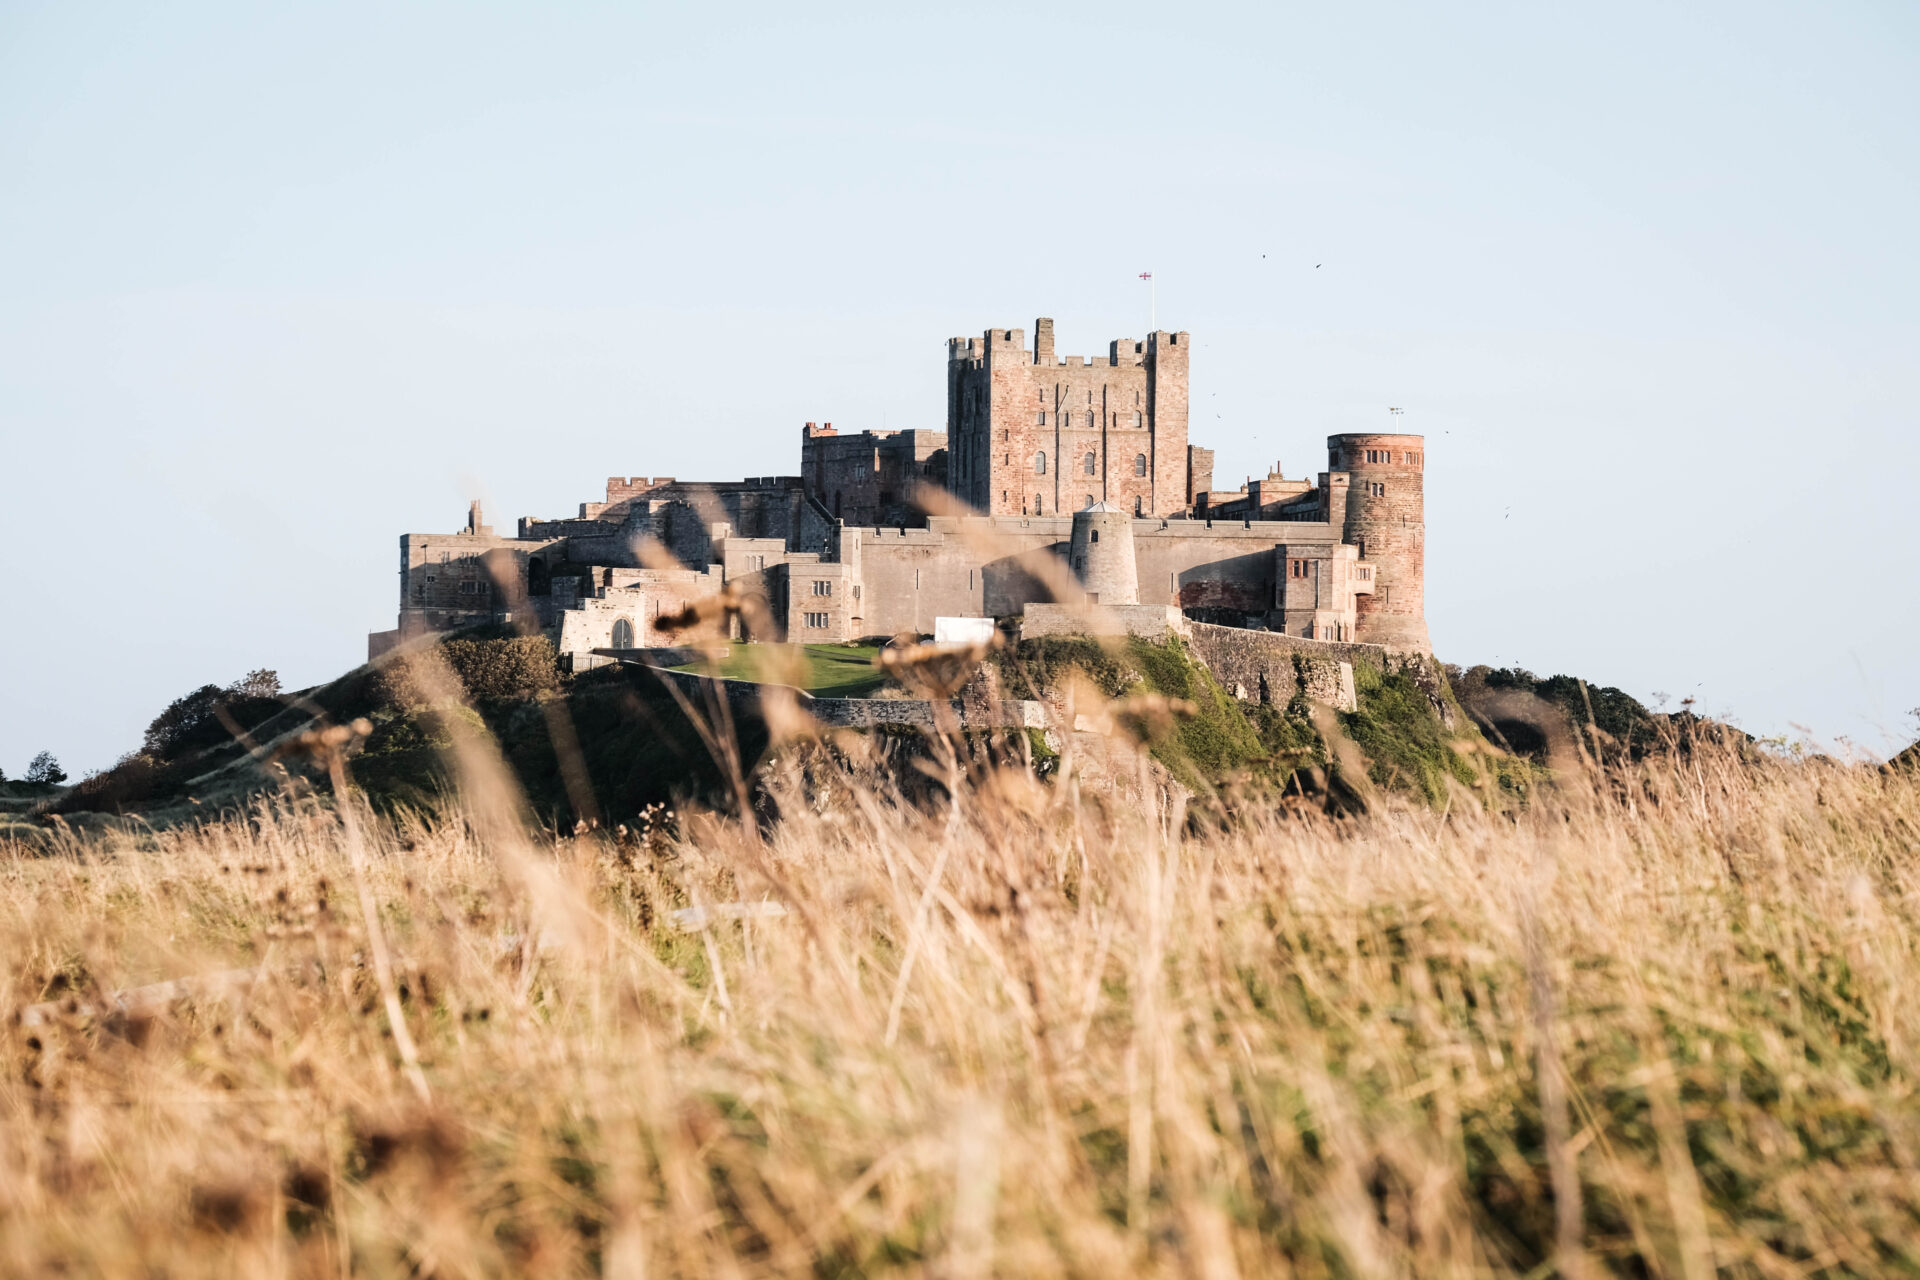
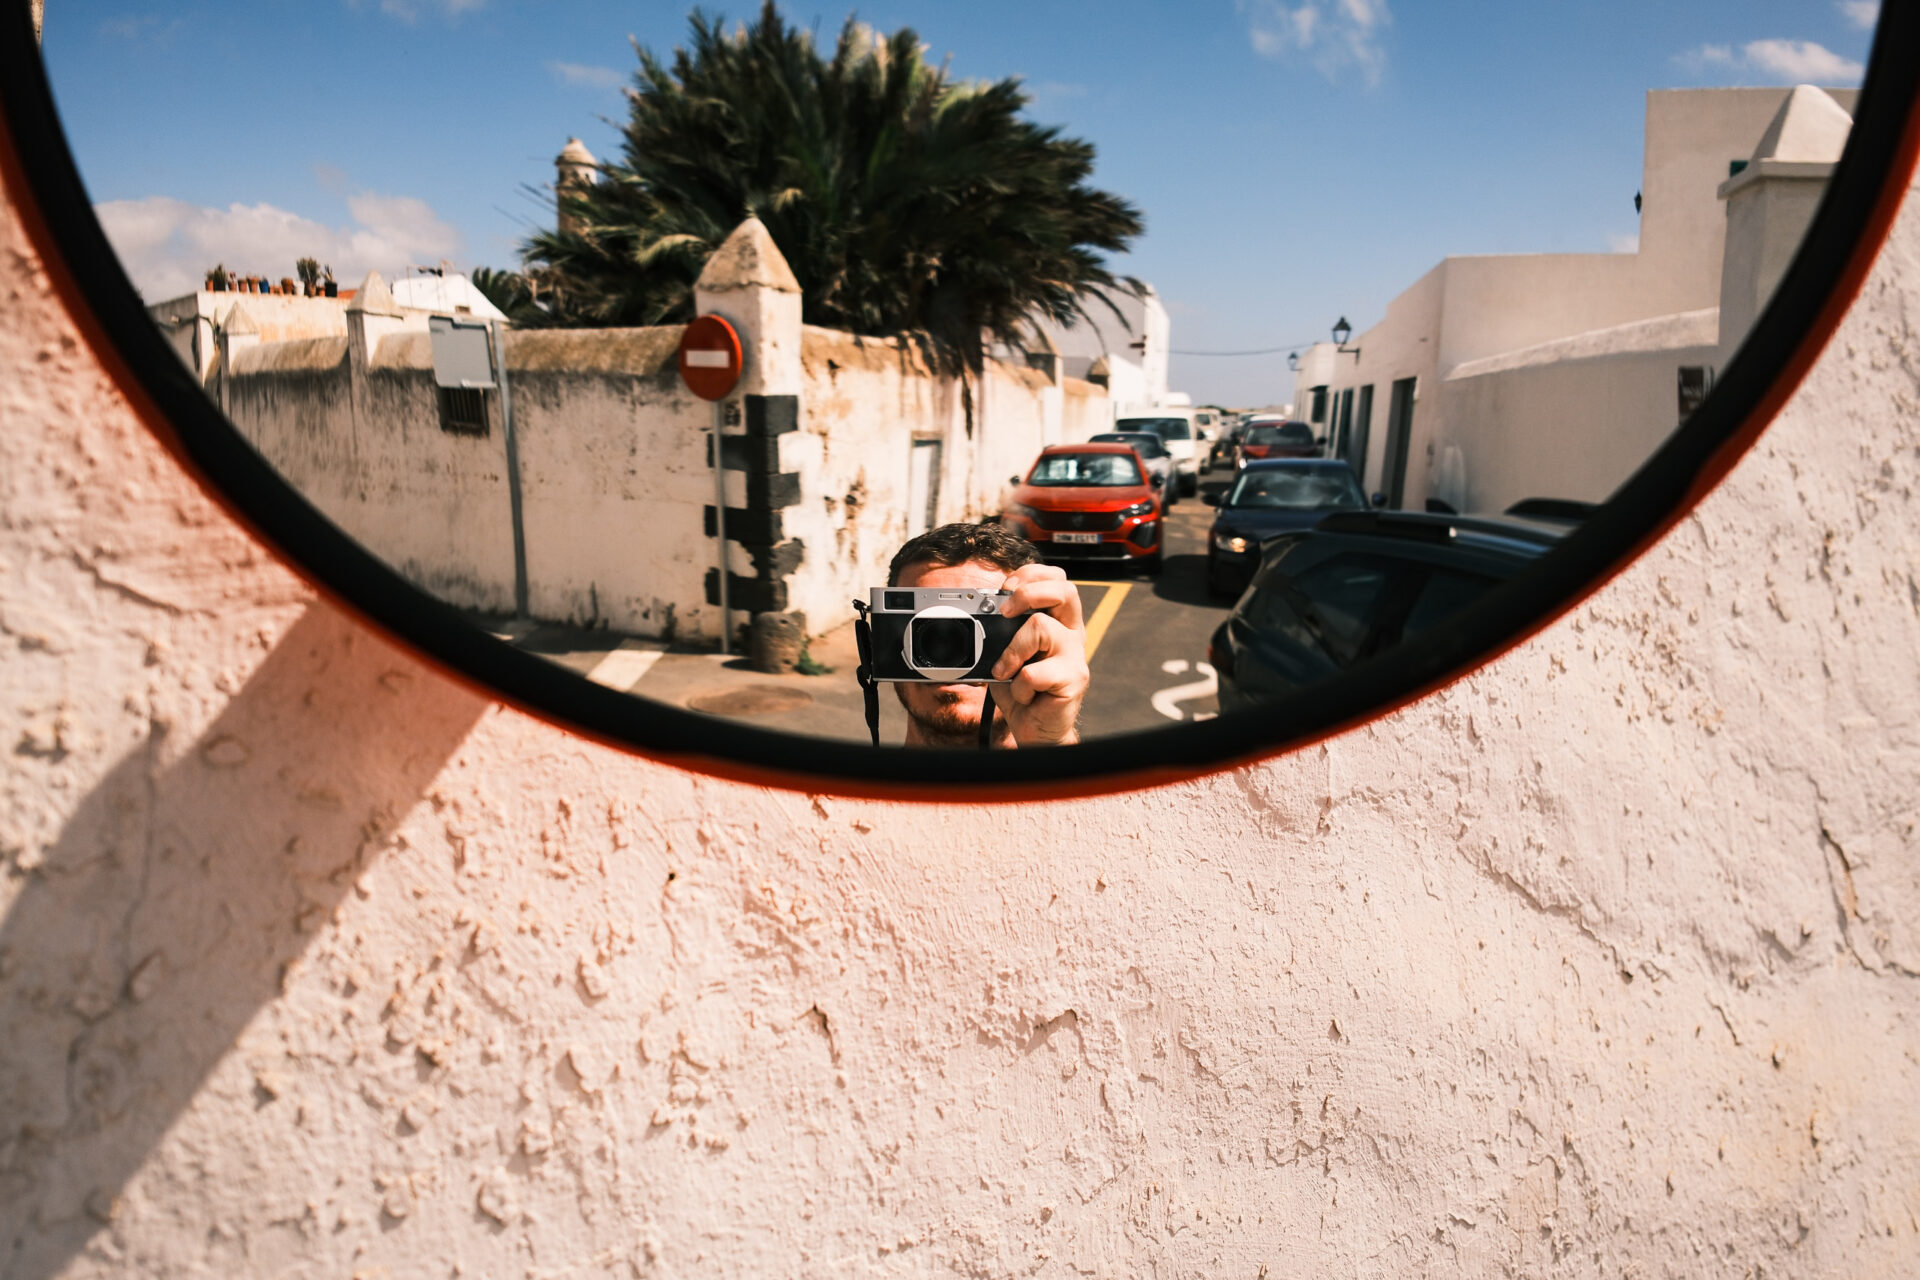
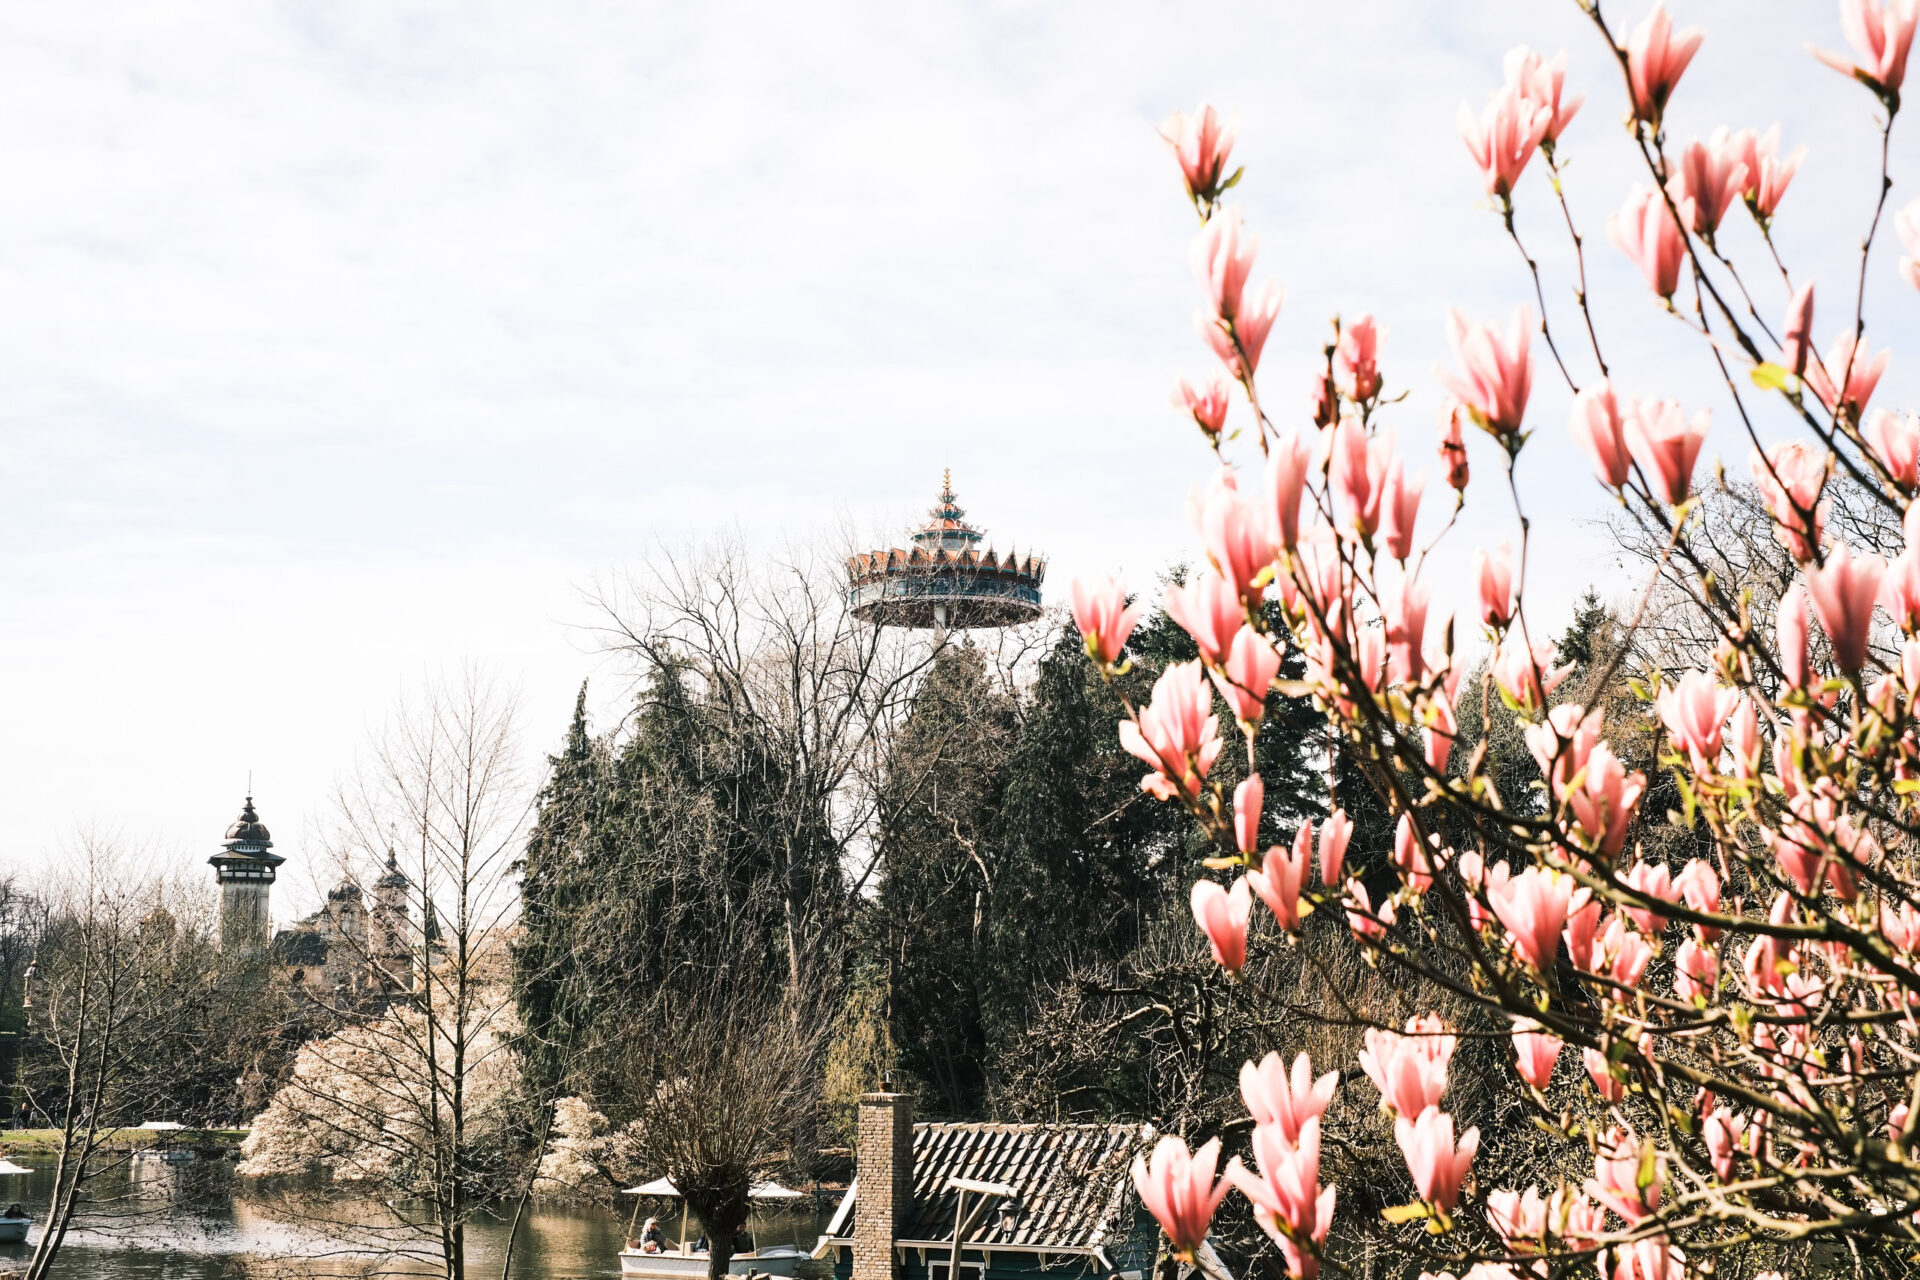
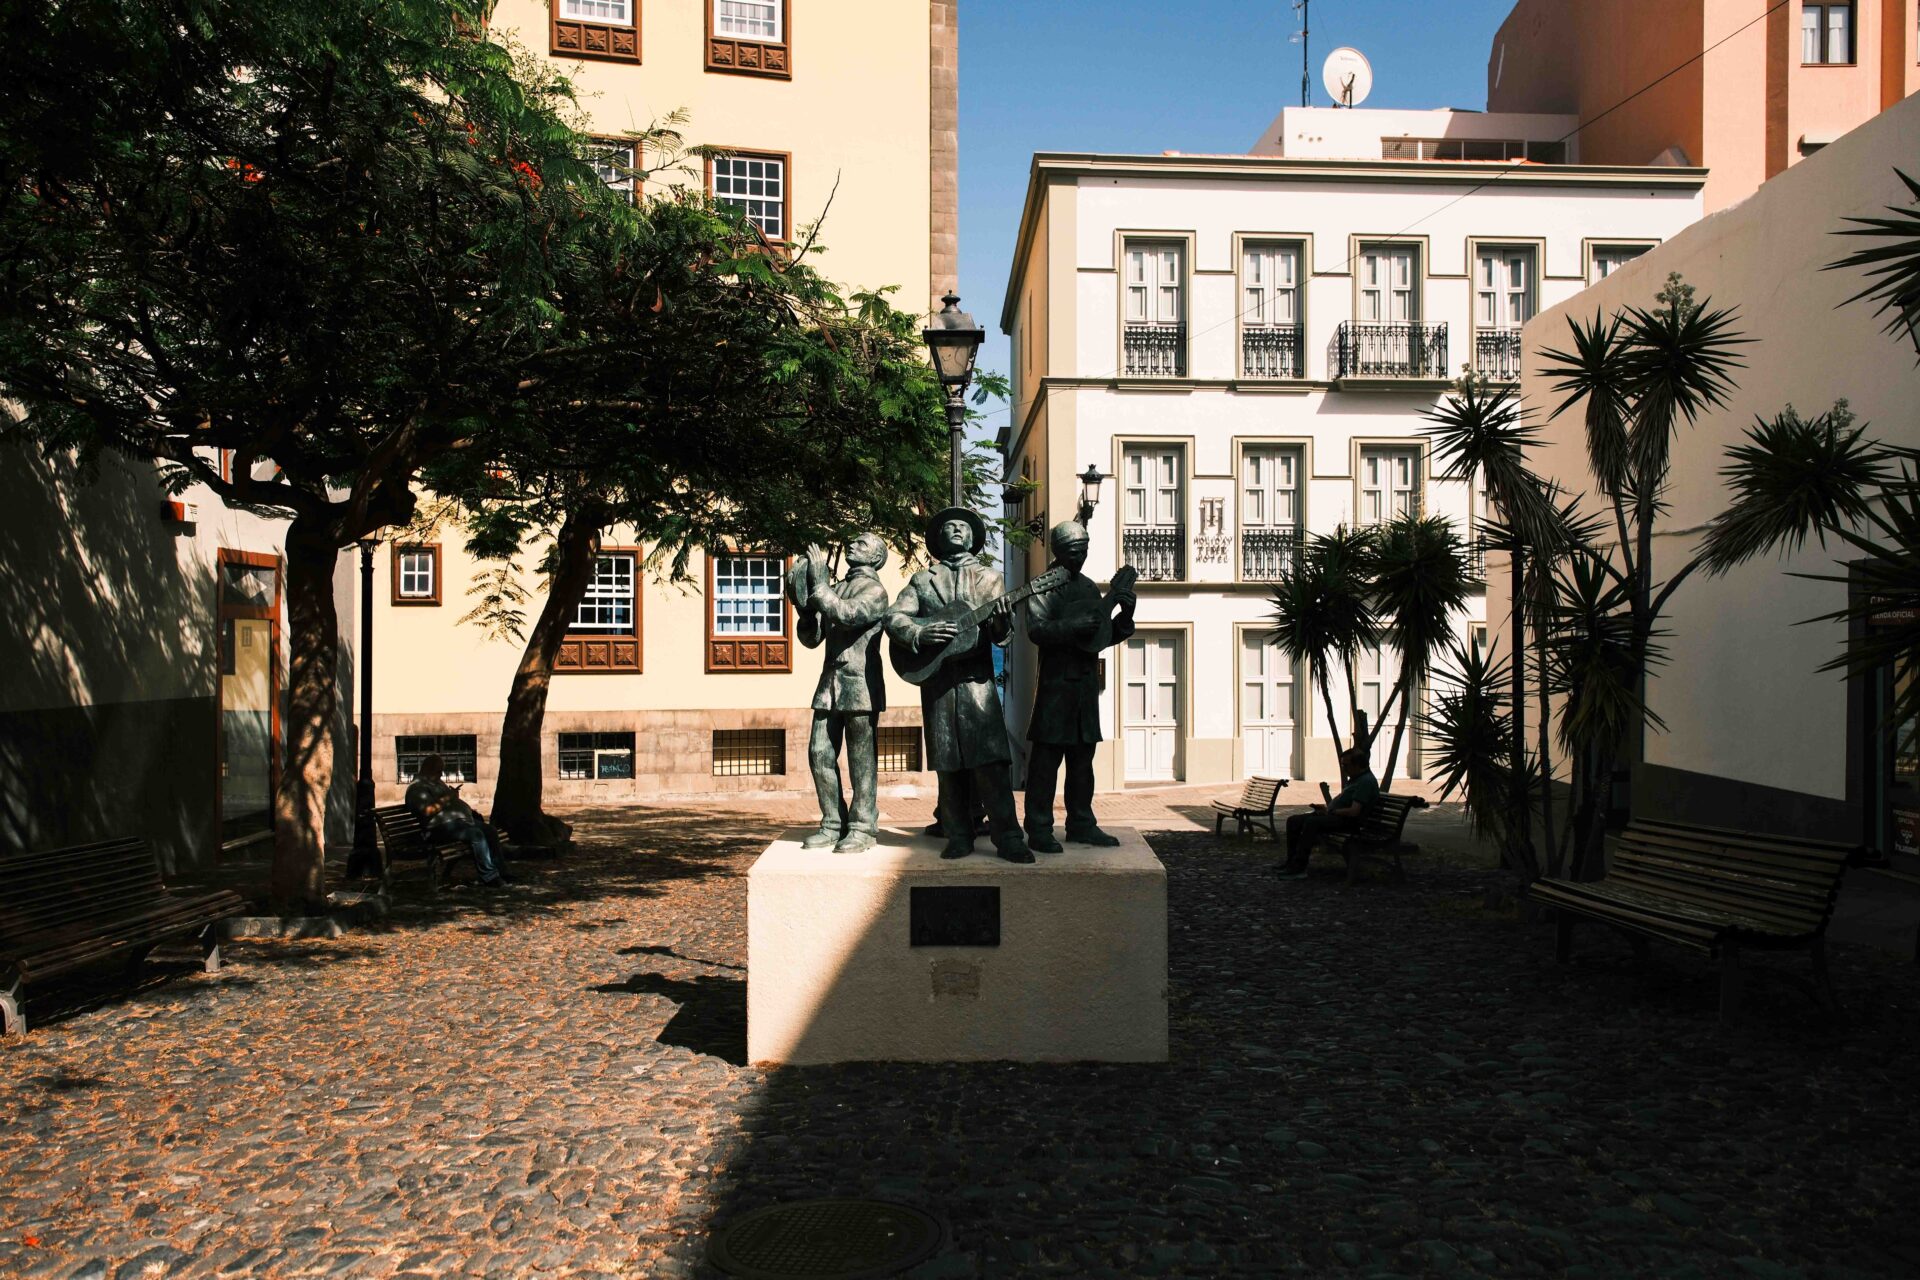
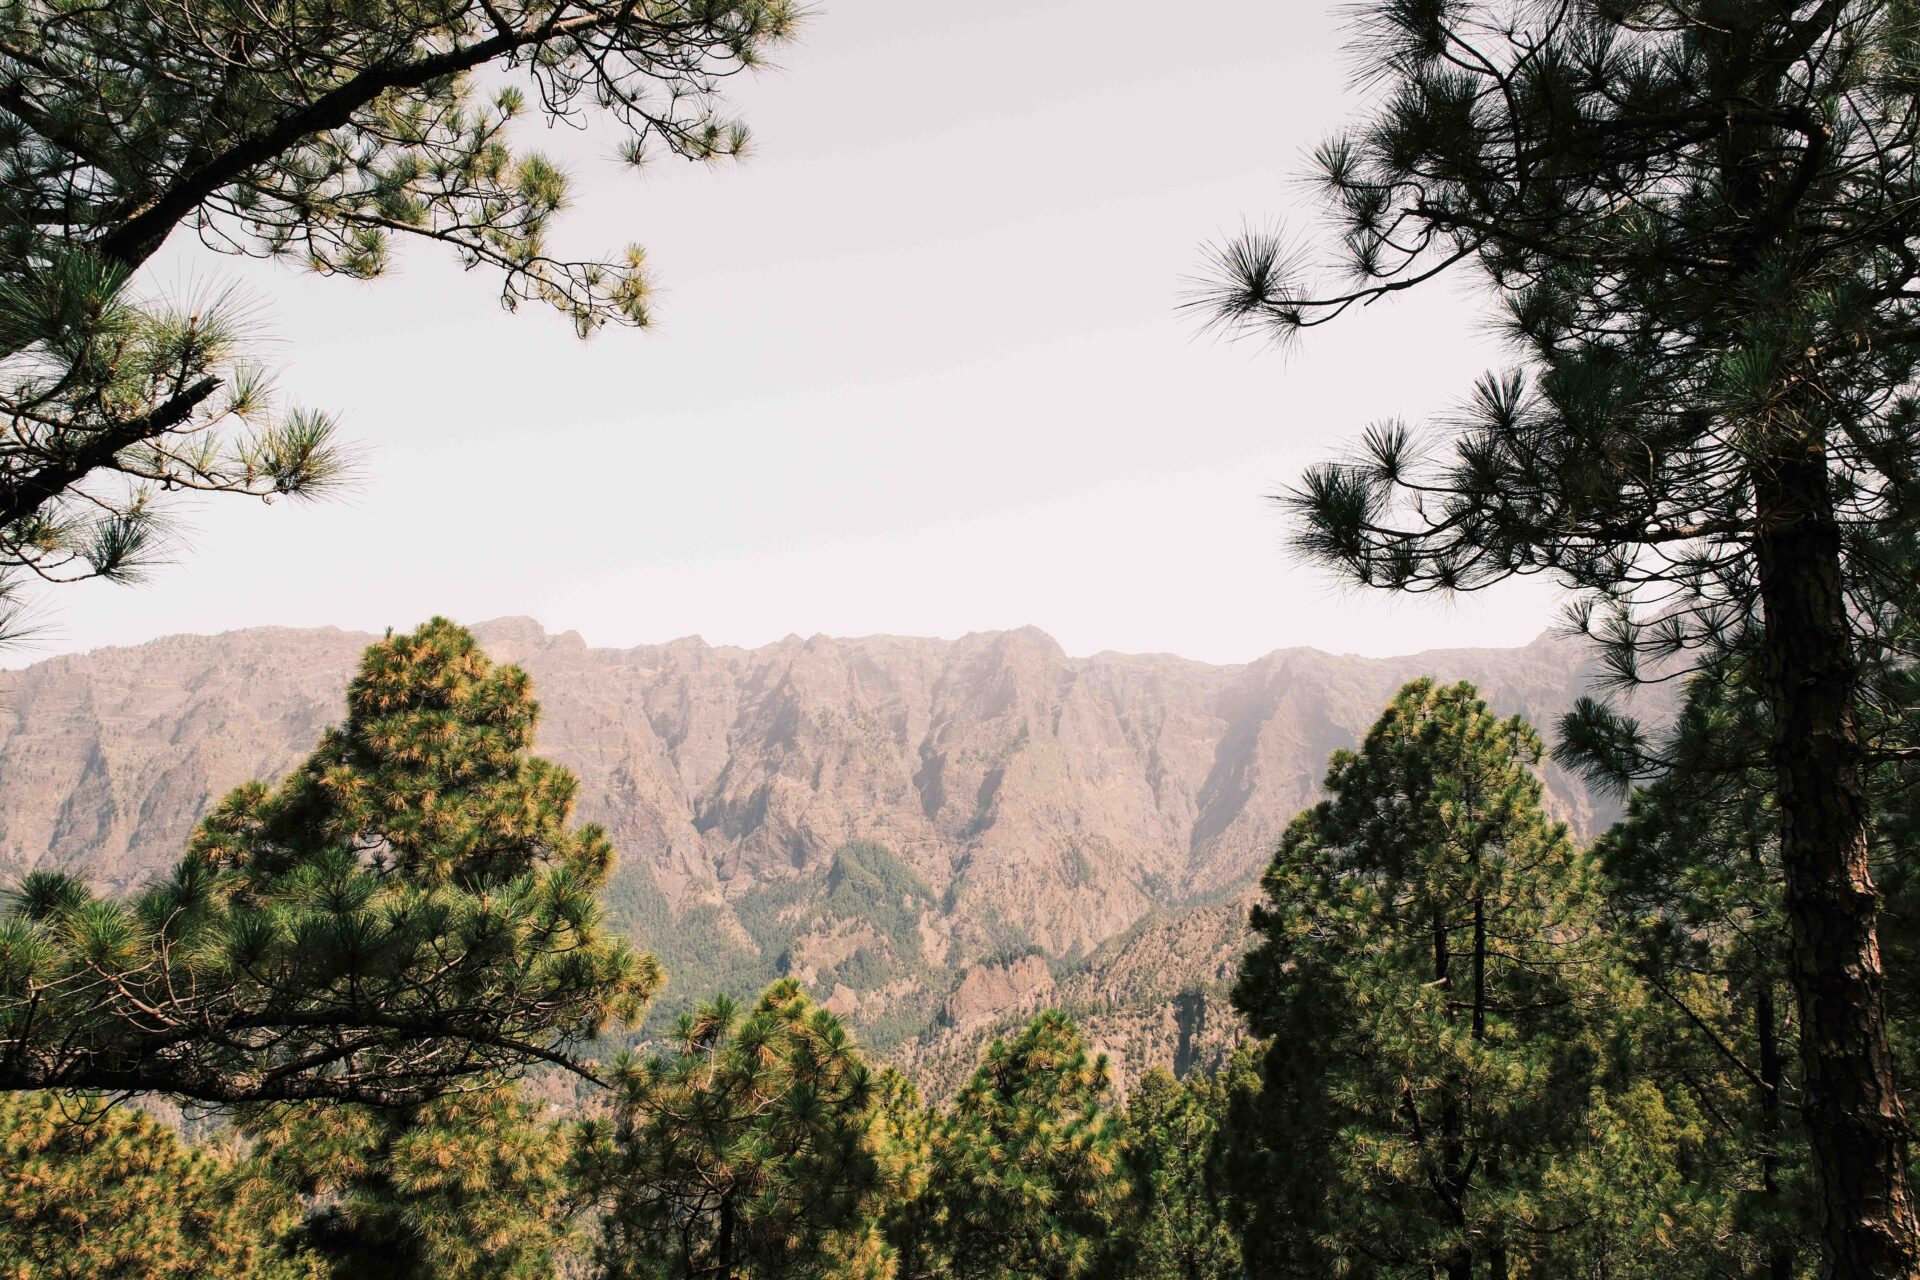
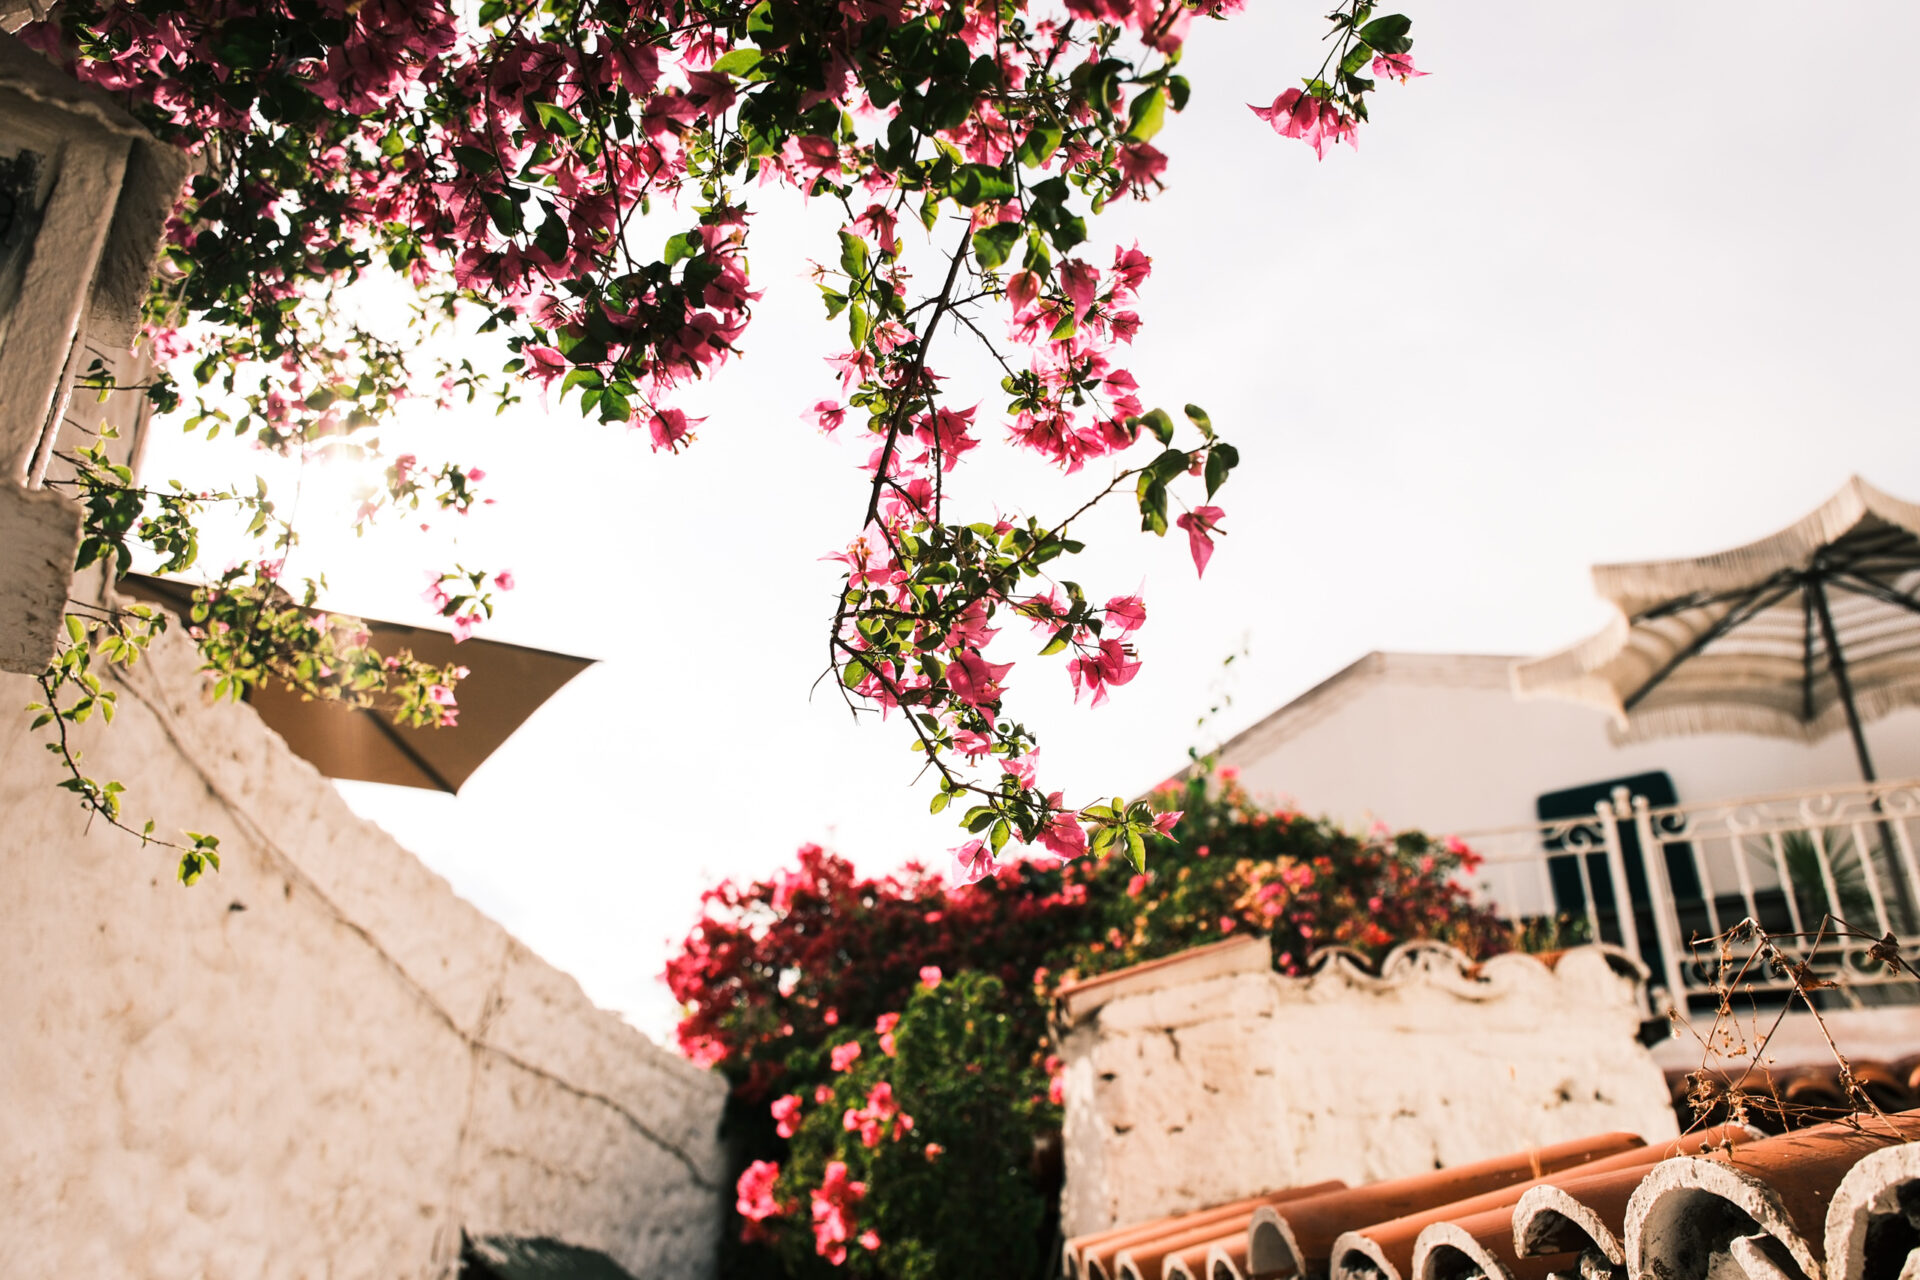
All the images below use my ‘Astia Travel’ settings on the Fujifilm X-T2 though some will definitely be the RAW version as I’ve re-edited a lot of my earlier travel photos (one benefit of shooting RAW in the early days) to bring them more in line with my current style.
If you aren’t shooting JPEG yet and own a Fujifilm camera, dial some settings in now as I’m confident it will transform your outlook on photography.
Check out my 2021 Fujifilm JPEG Simulations or my Fujifilm X-T5 settings for more inspiration.
‘Astia Travel’ Settings
For the JPEG simulation, dial these settings in but feel free to change the name – it shouldn’t be limited to just travel situations:
DR Auto
FS Astia
Grain Off
WB Auto +1 Red
Highlight -1
Shadow +2
Colour +2
Sharpness+2
NR -4
I’ll always try and get as much ‘right’ in camera as possible including exposure but I always apply some further processing when importing my images into Litghtroom. The preset I use is +10 Contrast, +15 Clarity, a slight S Curve and a -5 vignette.
I’ve had so many requests to share the Lightroom settings I use for RAW files so this is what I use. It probably won’t be a perfect match (my mantra at the moment seems to be done is better than perfect) but I’m happy with it:
Contrast +10
Highlights +16
Shadows +7
Whites +29
Blacks -47
Texture +10
Clarity +35
Saturation +20
Green Luminance +34
Sharpening +65, Radius 1.0, Detail 10, Masking 30
Vignette -5
Now I don’t think I’ve got anything else to say and instead of rambling on, let’s look at some photos with Fujifilm’s Astia film simulation dialled in.


MY 2026 TRAVEL PHOTOGRAPHY GEAR
FUJIFILM X-T5
FUJIFILM X100VI
FUJIFILM 18MM F/1.4
FUJIFILM 23MM F/1.4
FUJIFILM 35MM F/1.4
FUJIFILM 50MM F/2
FUJIFILM 50-140MM F/2.8
PEAK DESIGN STRAPS
RECOMMENDED TRAVEL RESOURCES
BOOKING.COM
EXPEDIA
HOTELS.COM
GET YOUR GUIDE
SKYSCANNER
HOLAFLY E-SIM
DISCOVER CARS
READ MORE OF MY LATEST ARTICLES BELOW
If you liked ‘Fujifilm’s Astia: The Versatile Film Simulation’ why not pin the image below?

Some links on this site are affiliate links. If you make a purchase through them, I may earn a small commission at no extra cost to you.