


I’ve been a Fujifilm user for many years now and have primarily utilised the beautiful colours the cameras produce in the form of JPEG images since 2018. When I first set out to shoot only JPEG (RAW for backup, I’m sensible sometimes), my number one film simulation was Astia and I would only use that for my photography. However, times have moved on, I love the grittier side of life and that’s where Fujifilm’s Classic Chrome stands out for me. It has captured my heart and my colour photography these days is shot almost exclusively in Classic Chrome.
This post has been around for three years and is one of my most popular across the entire blog so I felt it was only right to give it a refresh and an update for 2022.
I know the title of this post highlights using the Classic Chrome film simulation for travel photography. Travel photography for me encompasses a wide range of photography styles including street, portraits, food and general day to day life.
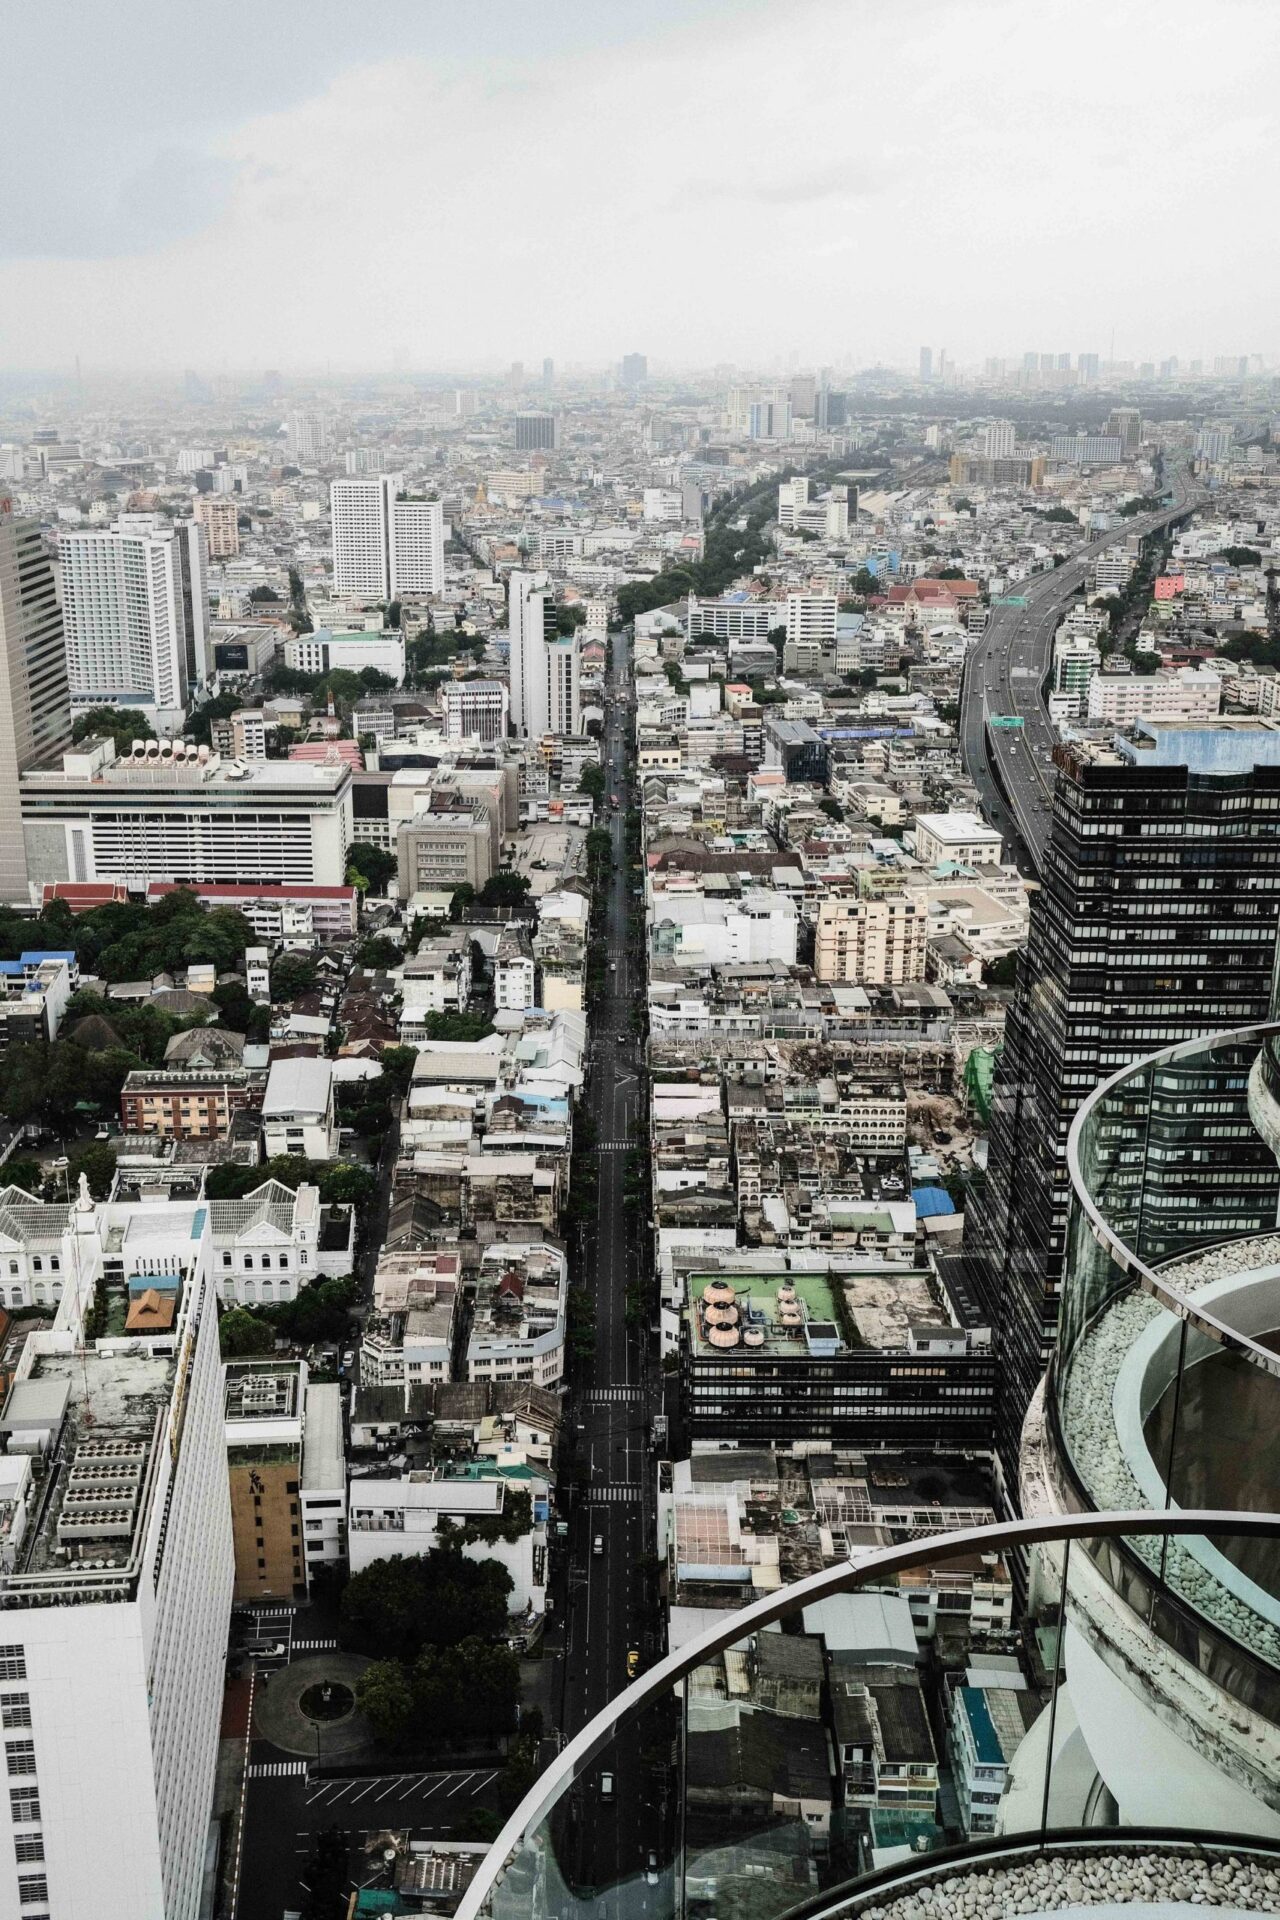
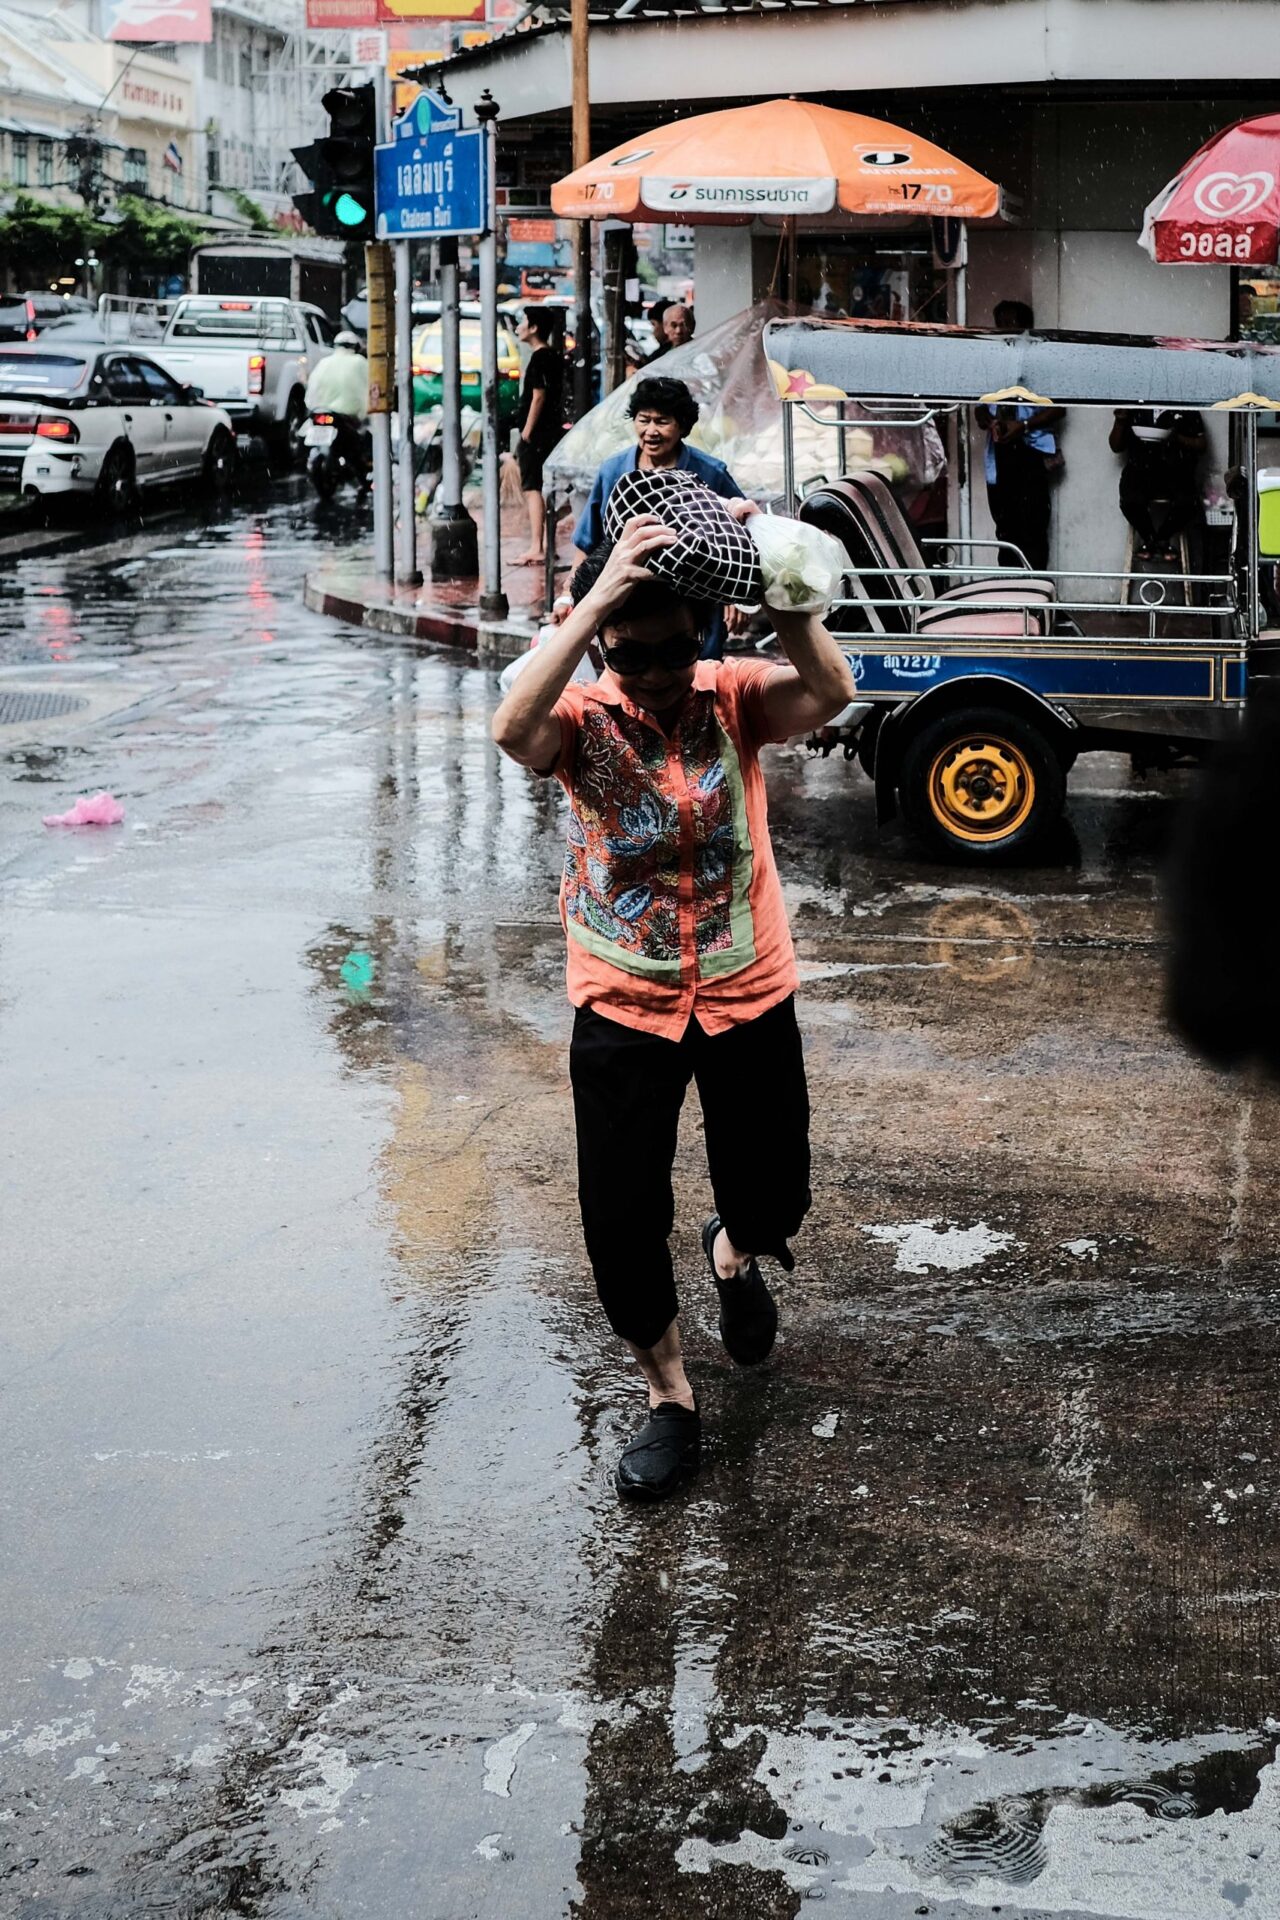
I do love Fujifilm’s Classic Chrome’s ability to turn even the prettiest scenes into something else completely with slightly desaturated and gritty images. I’ve used Classic Chrome on the streets of Bangkok during monsoon season, whilst wandering through Edinburgh and Cork and, hell, I’ve even used it at Walt Disney World and Universal Studios in Florida…
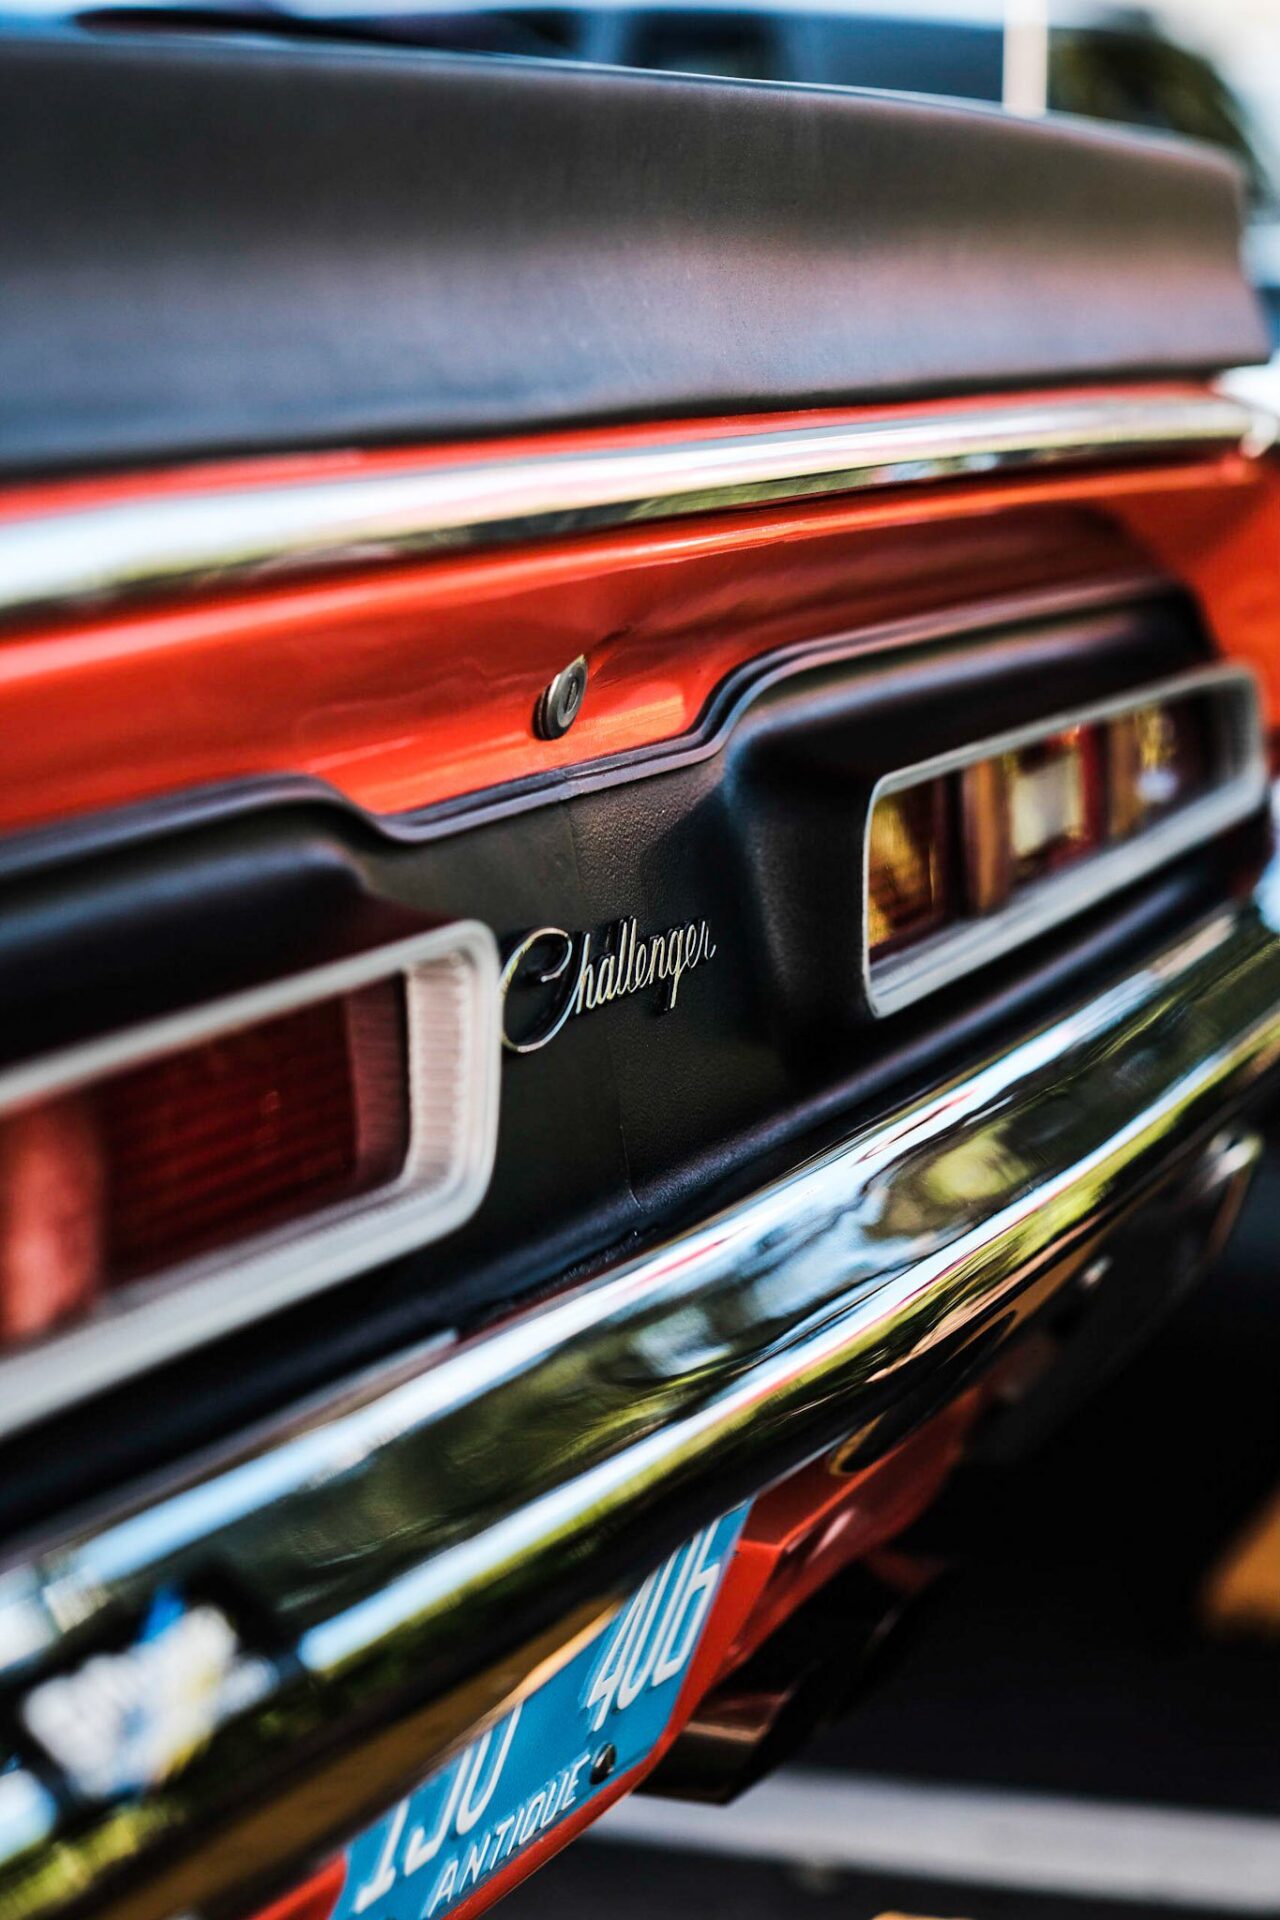
As I said above, I now use Classic Chrome for a wide range of subjects. I’ve shot food and drink for a local cafe, taken photos of my newborn baby girl, covered charity events, festivals and car shows. All with Classic Chrome. Even my first paid press trip covering an Ultimate Guide to the Tees Valley here in North East England was shot using Classic Chrome. It can relied upon for almost anything (I don’t use it for weddings but there’s a post coming soon all about that).
So, what I’m saying is, use Fujifilm’s Classic Chrome for whatever situation you want. You don’t have to be ‘travelling’ to use it and I’ll hopefully show below just how well this film simulation fits into ordinary life.
If you’re a Fujifilm user and aren’t yet shooting JPEG, what are you waiting for? Seriously, you’ll be blown away by the magic that can be created straight from your camera. Check out my 2021 Fujifilm JPEG Simulations as a starting place.
**UPDATE – 2023**
I now have a Fujifilm X-T5 and have transferred all of these Chrome Urban settings across – stay tuned for an update as to whether I’m still just as blown away by these colours!
In the meantime, I’ve written a few articles about the newer film simulations that haven’t been accessible to me with the X-T2:
The Classic Negative Film Simulation on the Fujifilm X-T5
A Simple Nostalgic Negative Recipe for the Fujifilm X-T5
My Fujifilm X-T5 JPEG Settings
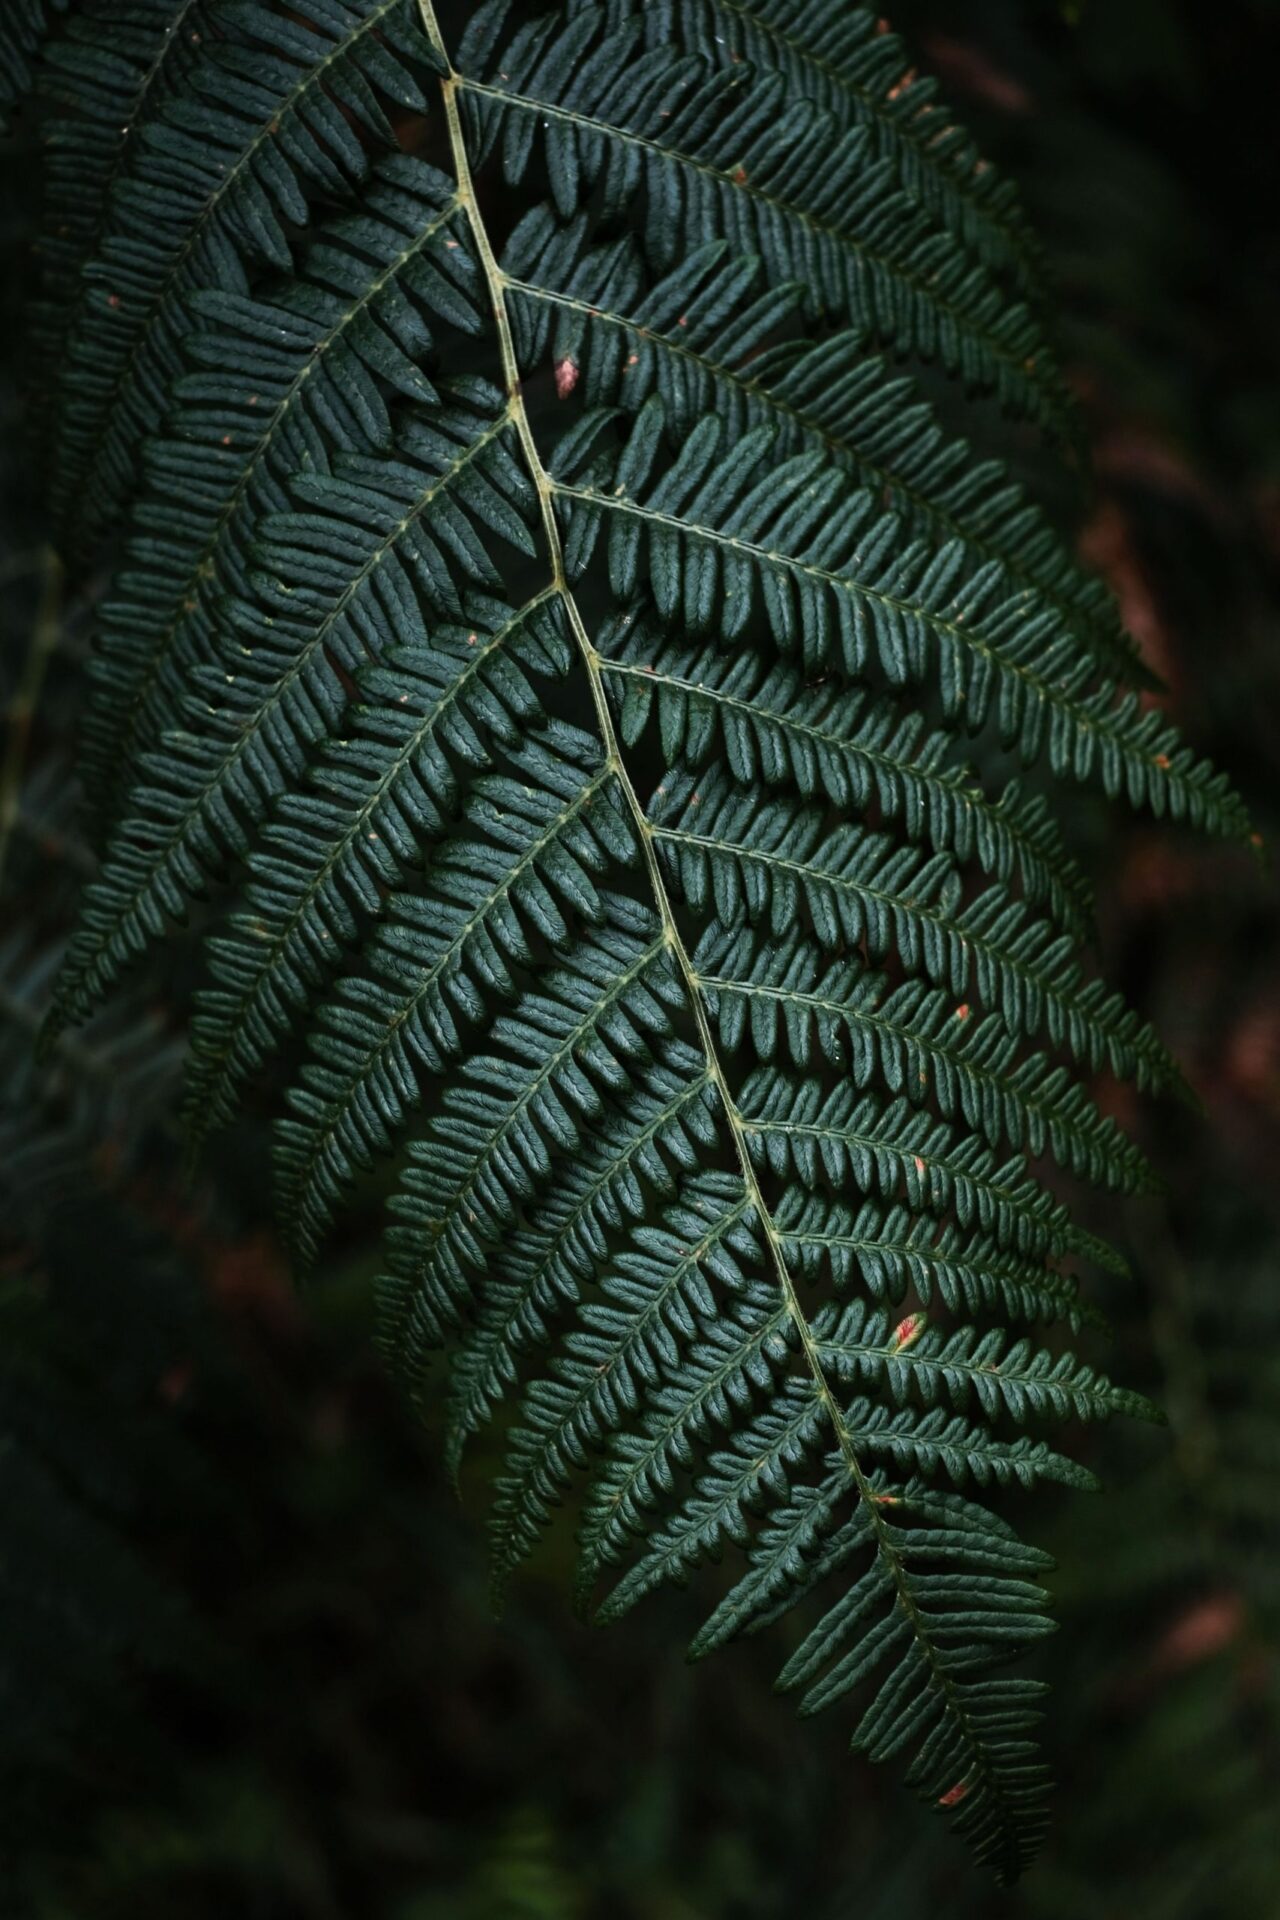
All the images below use the ‘Chrome Urban’ settings on the Fujifilm X-T2 and if you keep scrolling I’ve now helpfully put the settings in this article.



‘Chrome Urban’ Settings
For the JPEG simulation, dial these settings in:
Dynamic Range (DR) Auto
Film Simulation (FS) Classic Chrome
Grain Off
White Balance (WB) Auto +1 Red
Highlight 0
Shadow +2
Colour +3
Sharpness +2
Noise Reduction (NR) -4
My photos are quite ‘straight out of camera’ but they are pretty damn close. I always use Lightroom for organising my photo collections and so easily set up an import preset for my JPEGs which is simply +10 Contrast, +15 Clarity, a slight S Curve and -5 vignette. I’ll deal with exposure too in Lightroom often adding +1.00 but just whatever suits.
After many requests, here are the Lightroom settings I use for RAW files. I’m not saying that this is a perfect match but it’s close enough which is good enough for me:
Contrast +10
Highlights +39
Shadows -43
PromotedDon't miss out on today's trending deals!
Join thousands of users enjoying exclusive benefits right now.
AdLooking for the best online services?
Explore top-rated platforms and secure your discount before it expires.
Blacks -22
Texture +10
Clarity +35
Saturation +20
Slight S Curve
Sharpening 80, Radius 0.8, Detail 10, Masking 29
Vignette -5
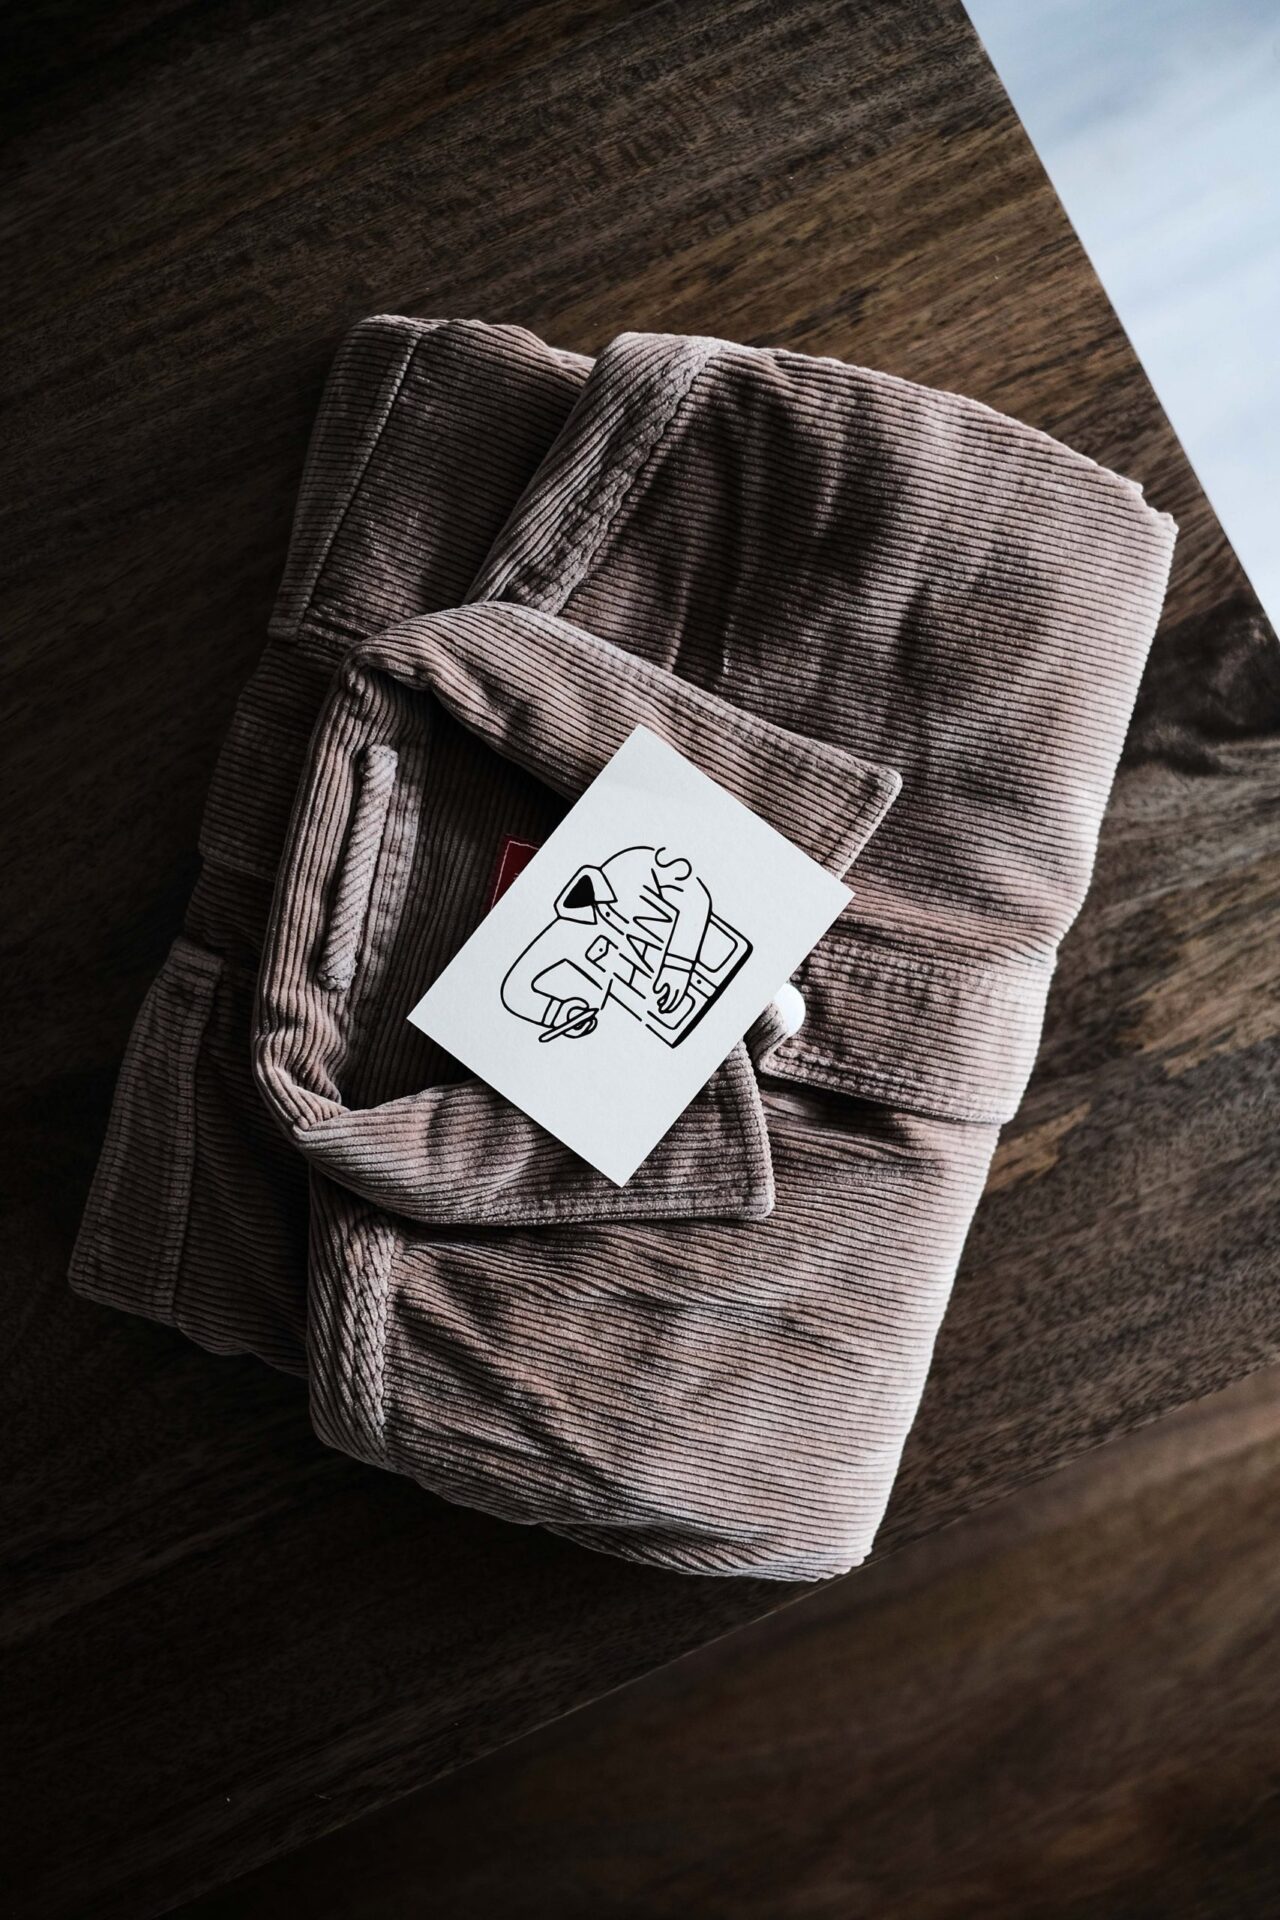
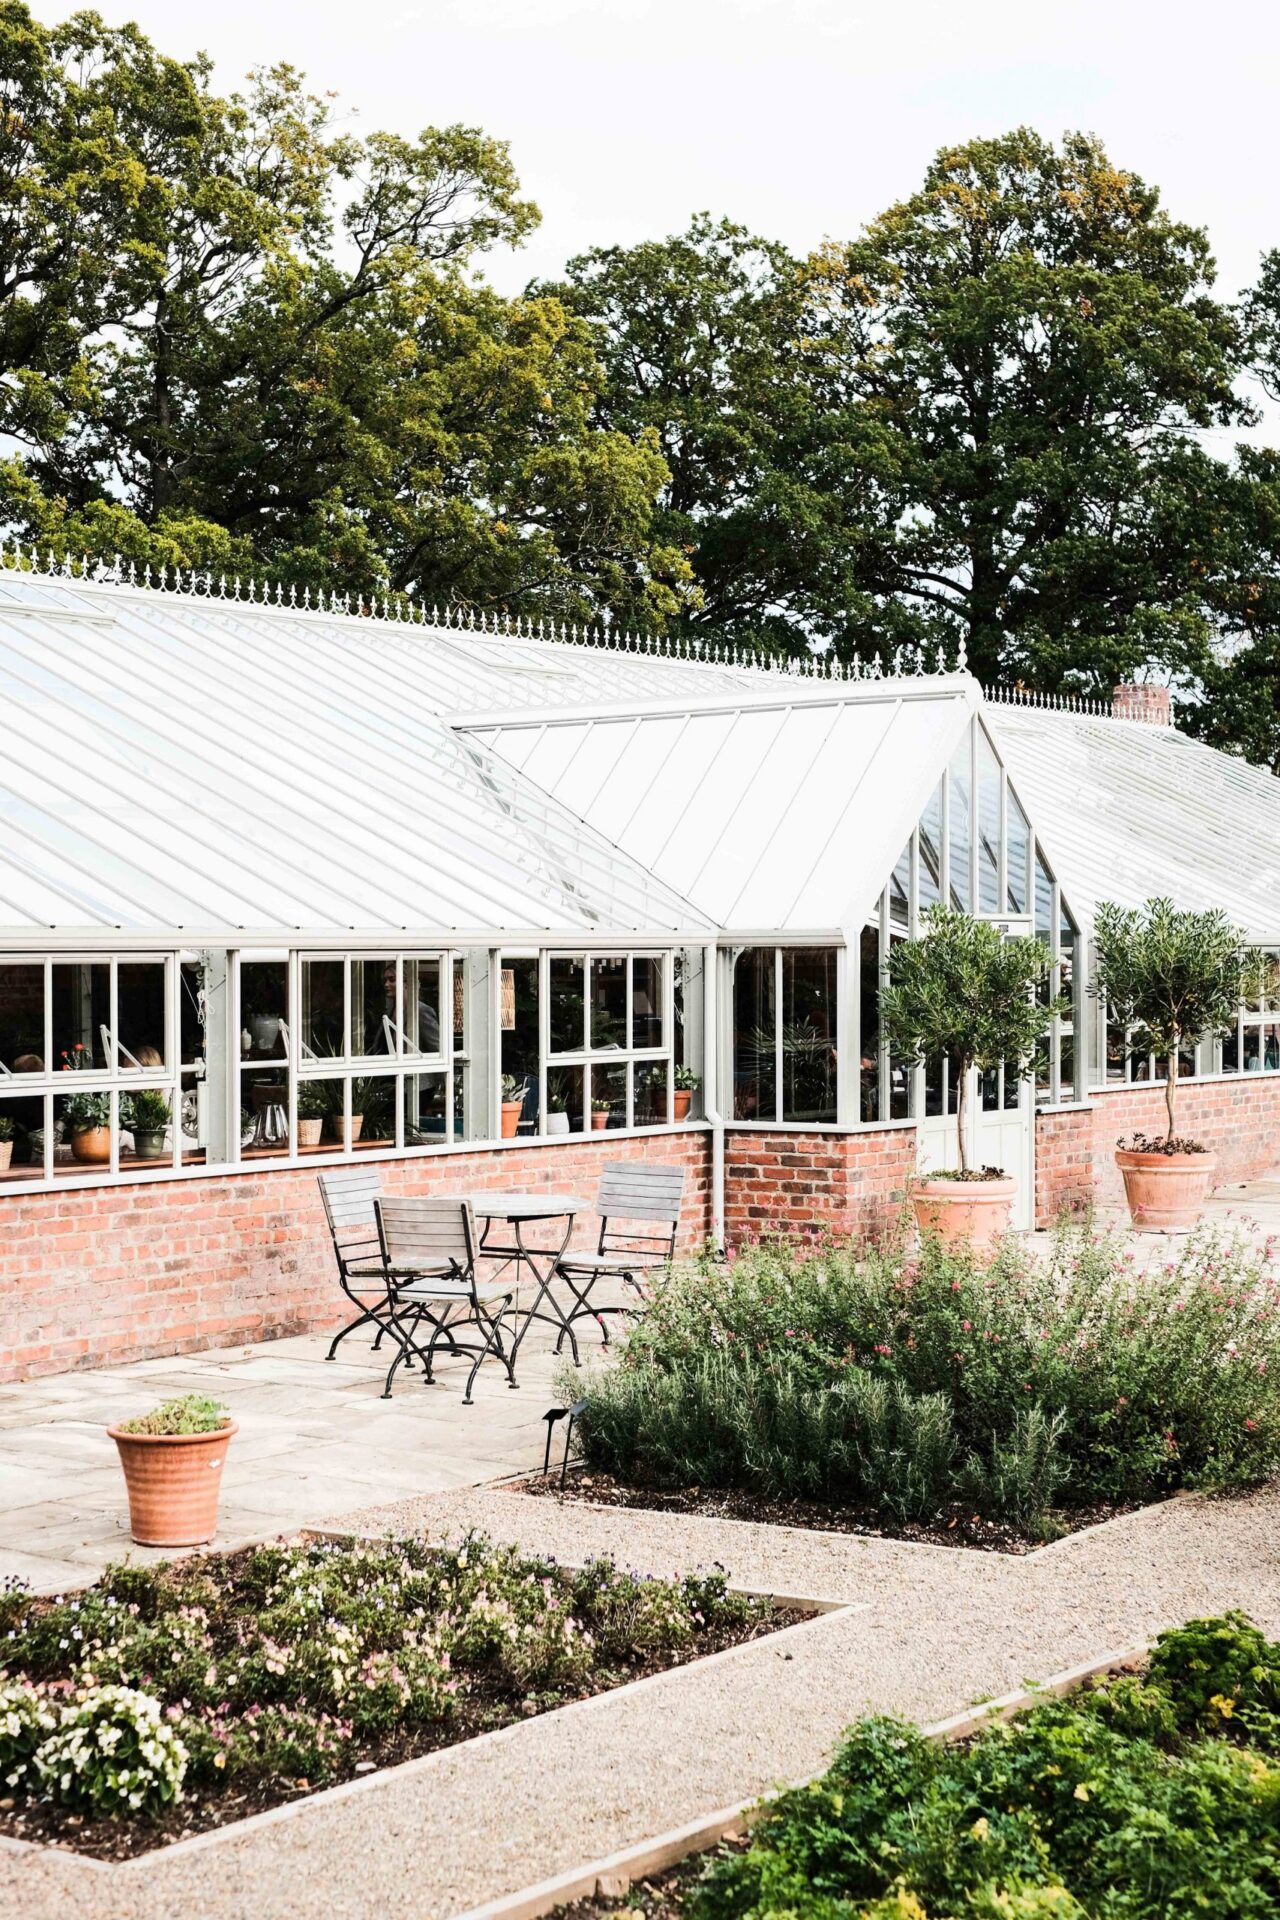
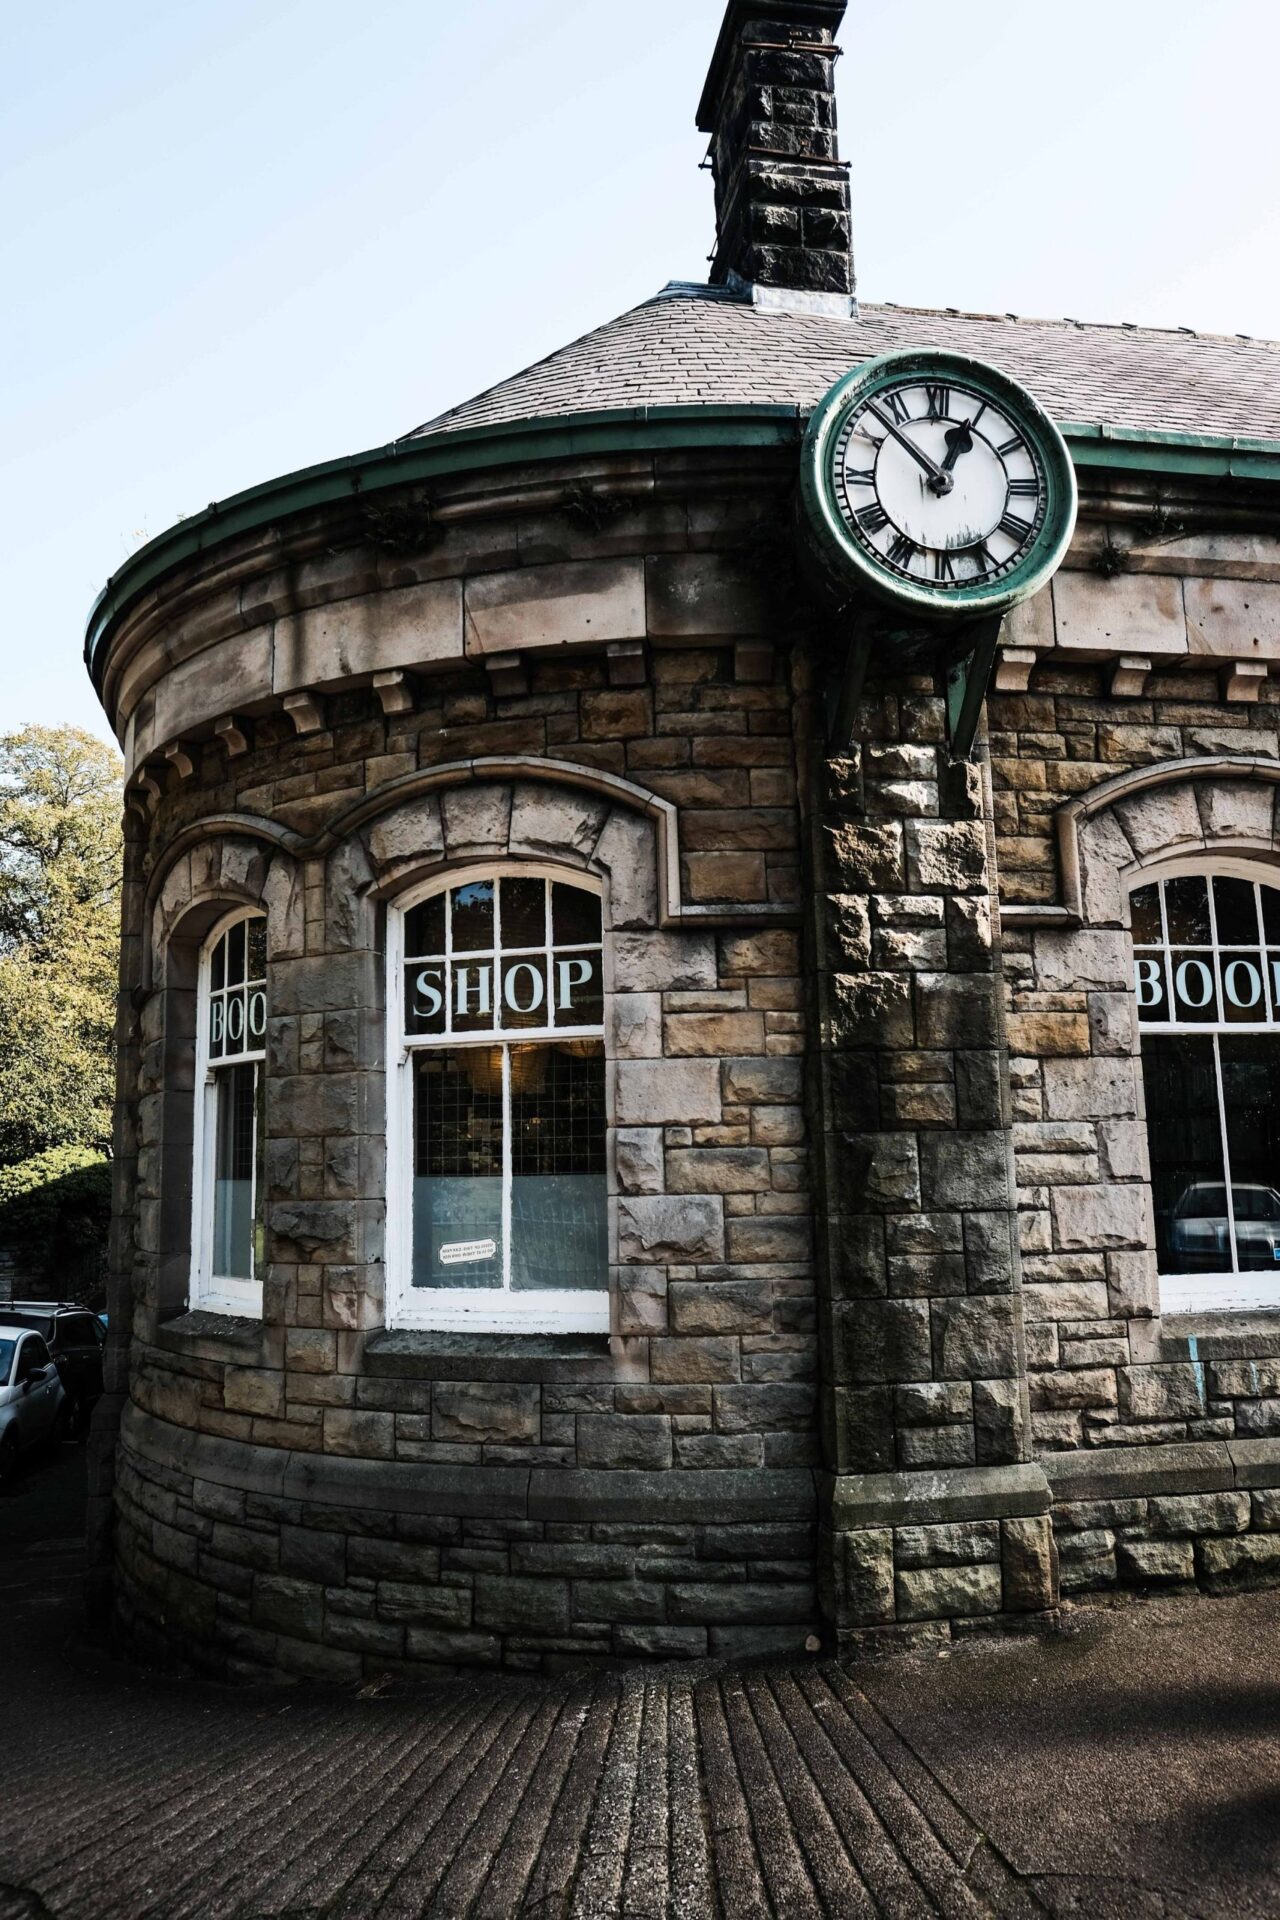
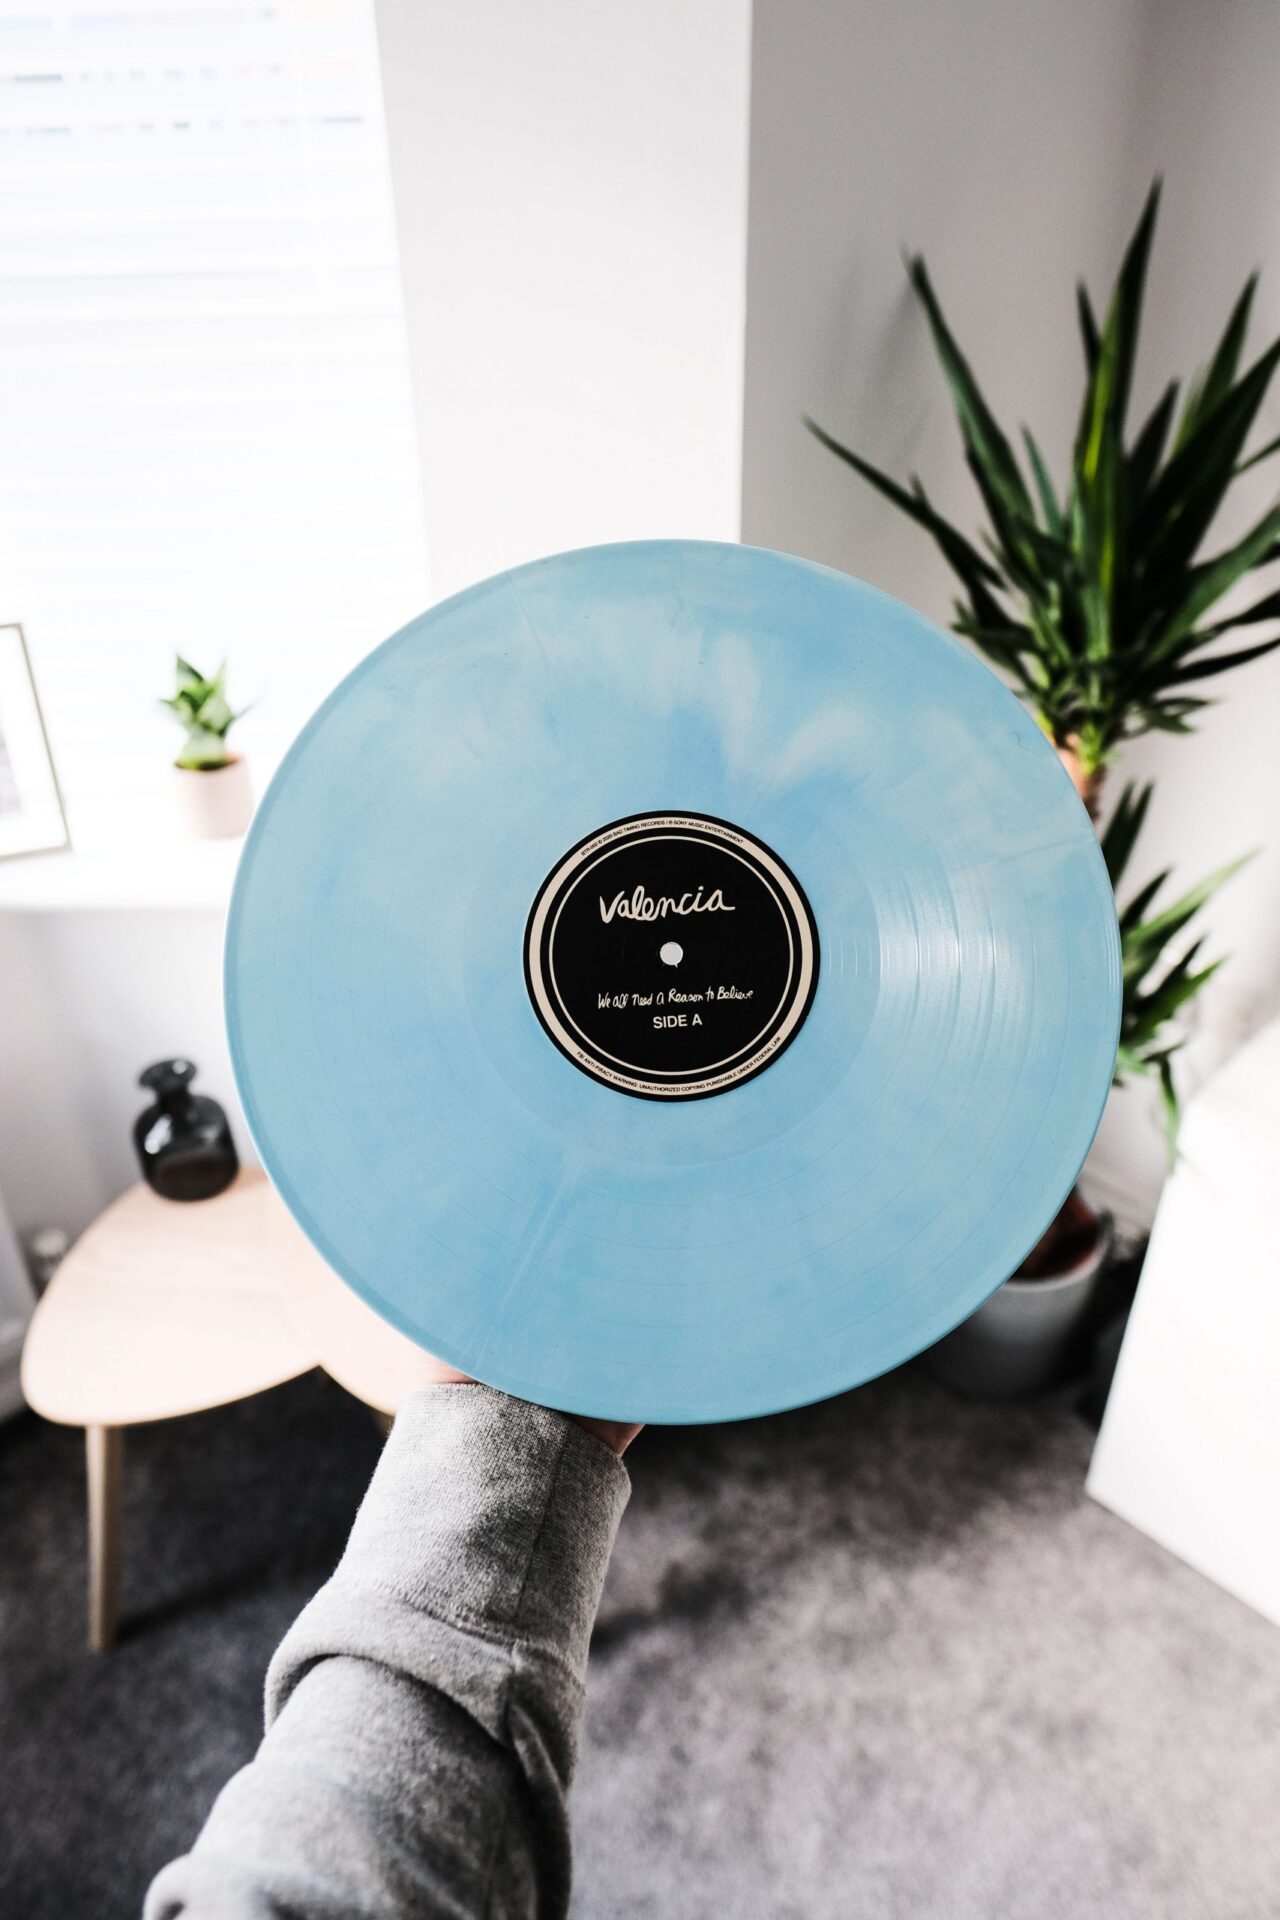
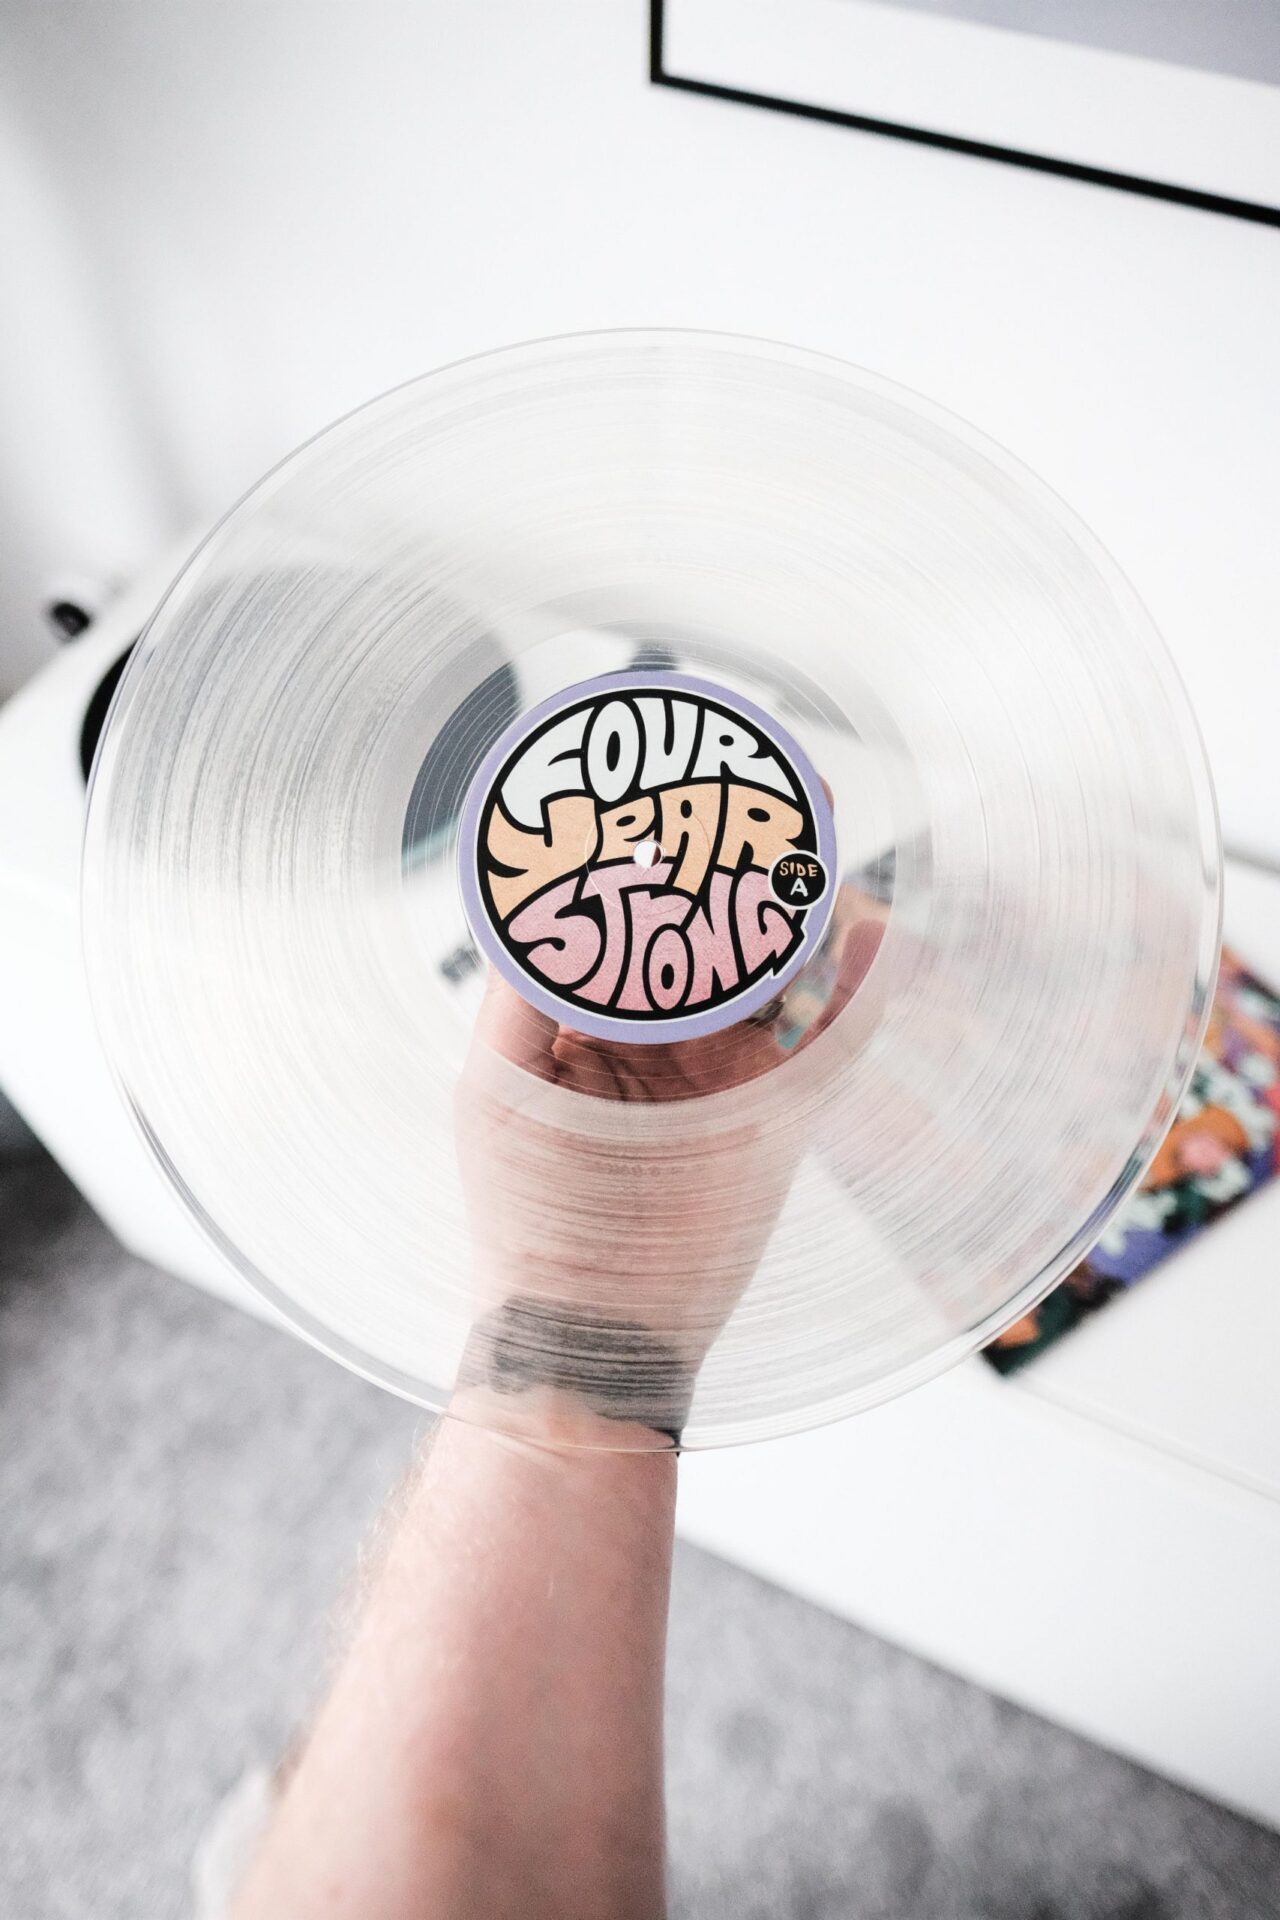
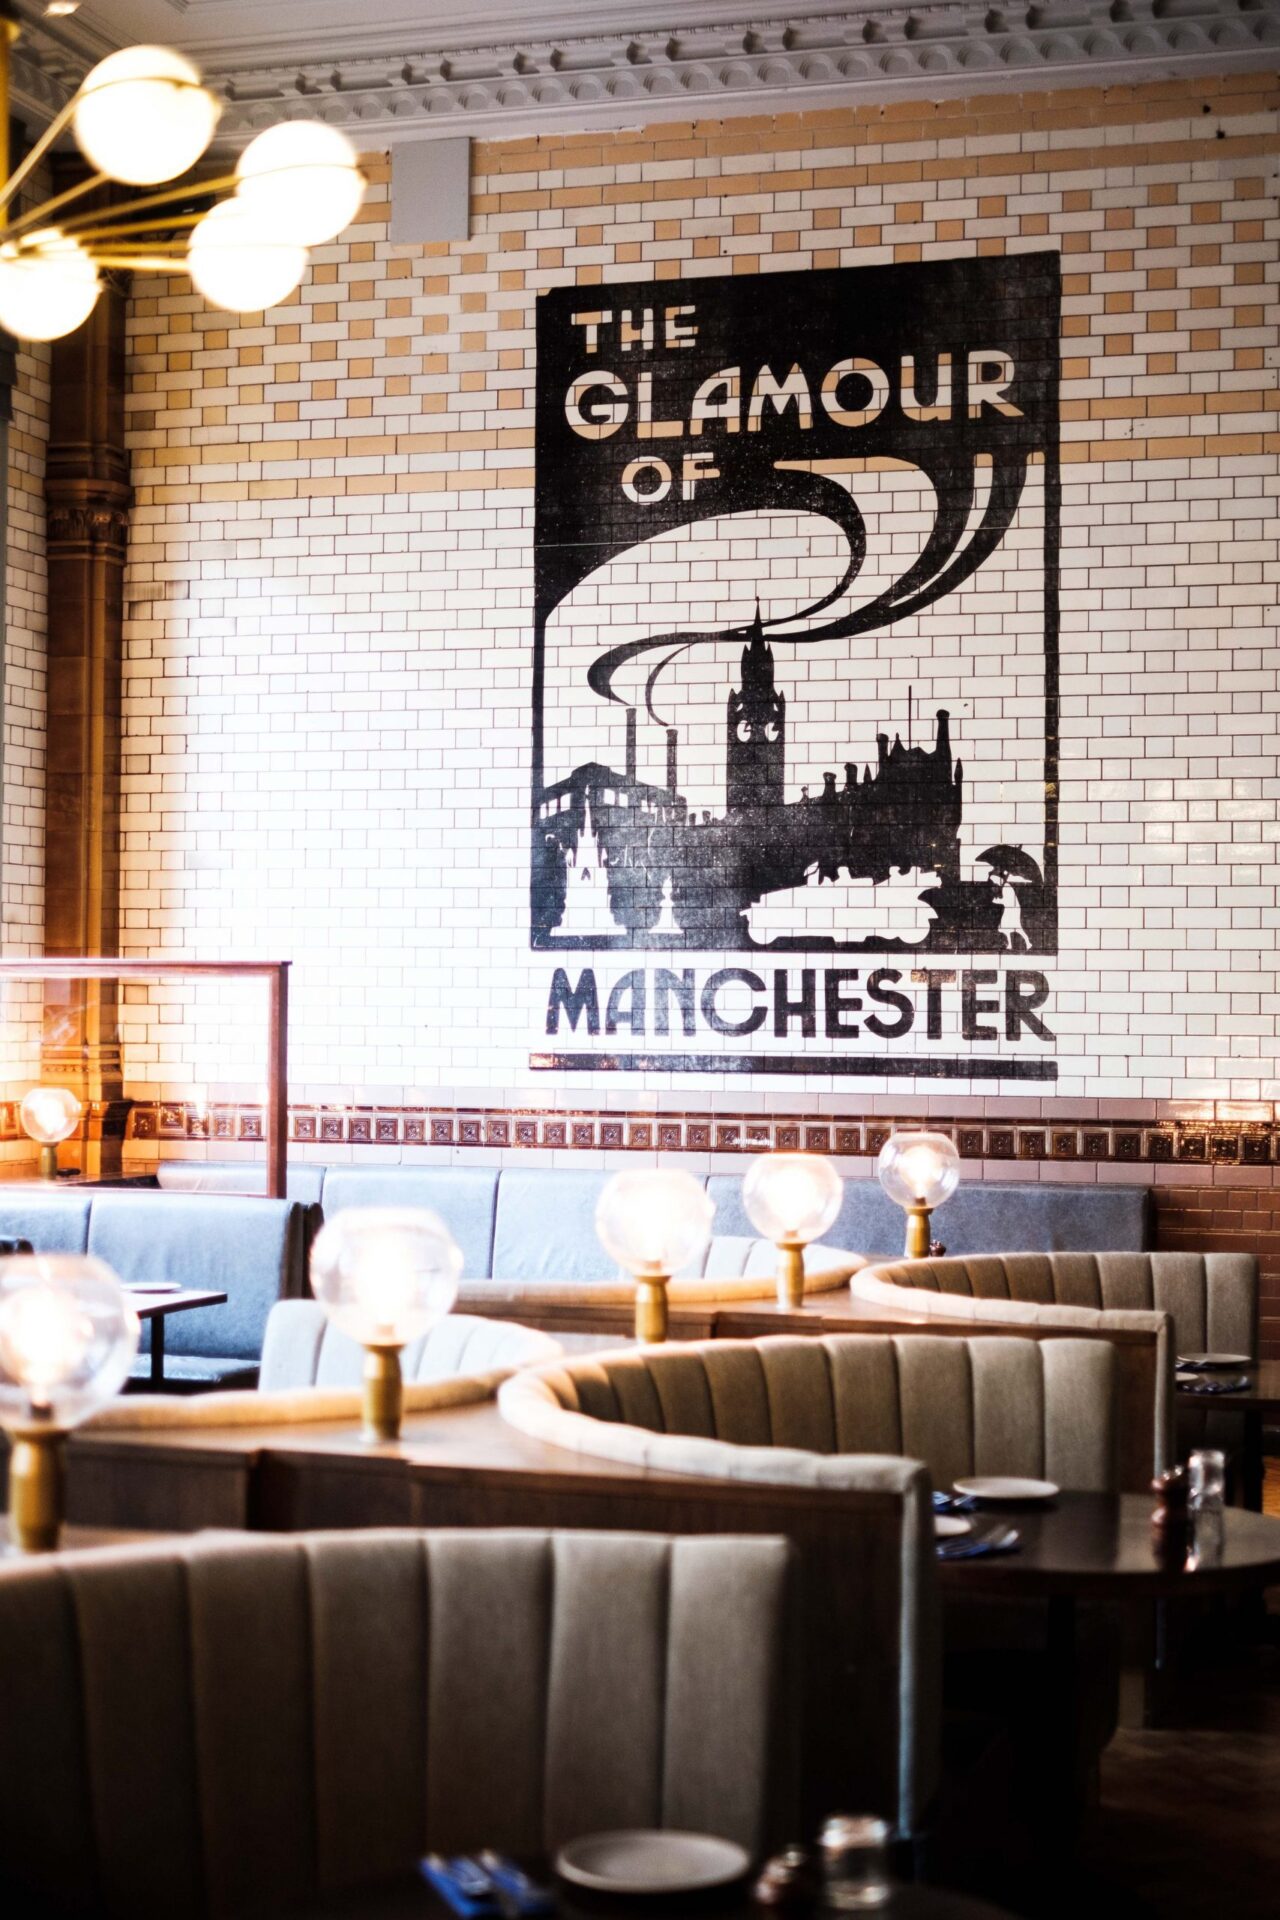
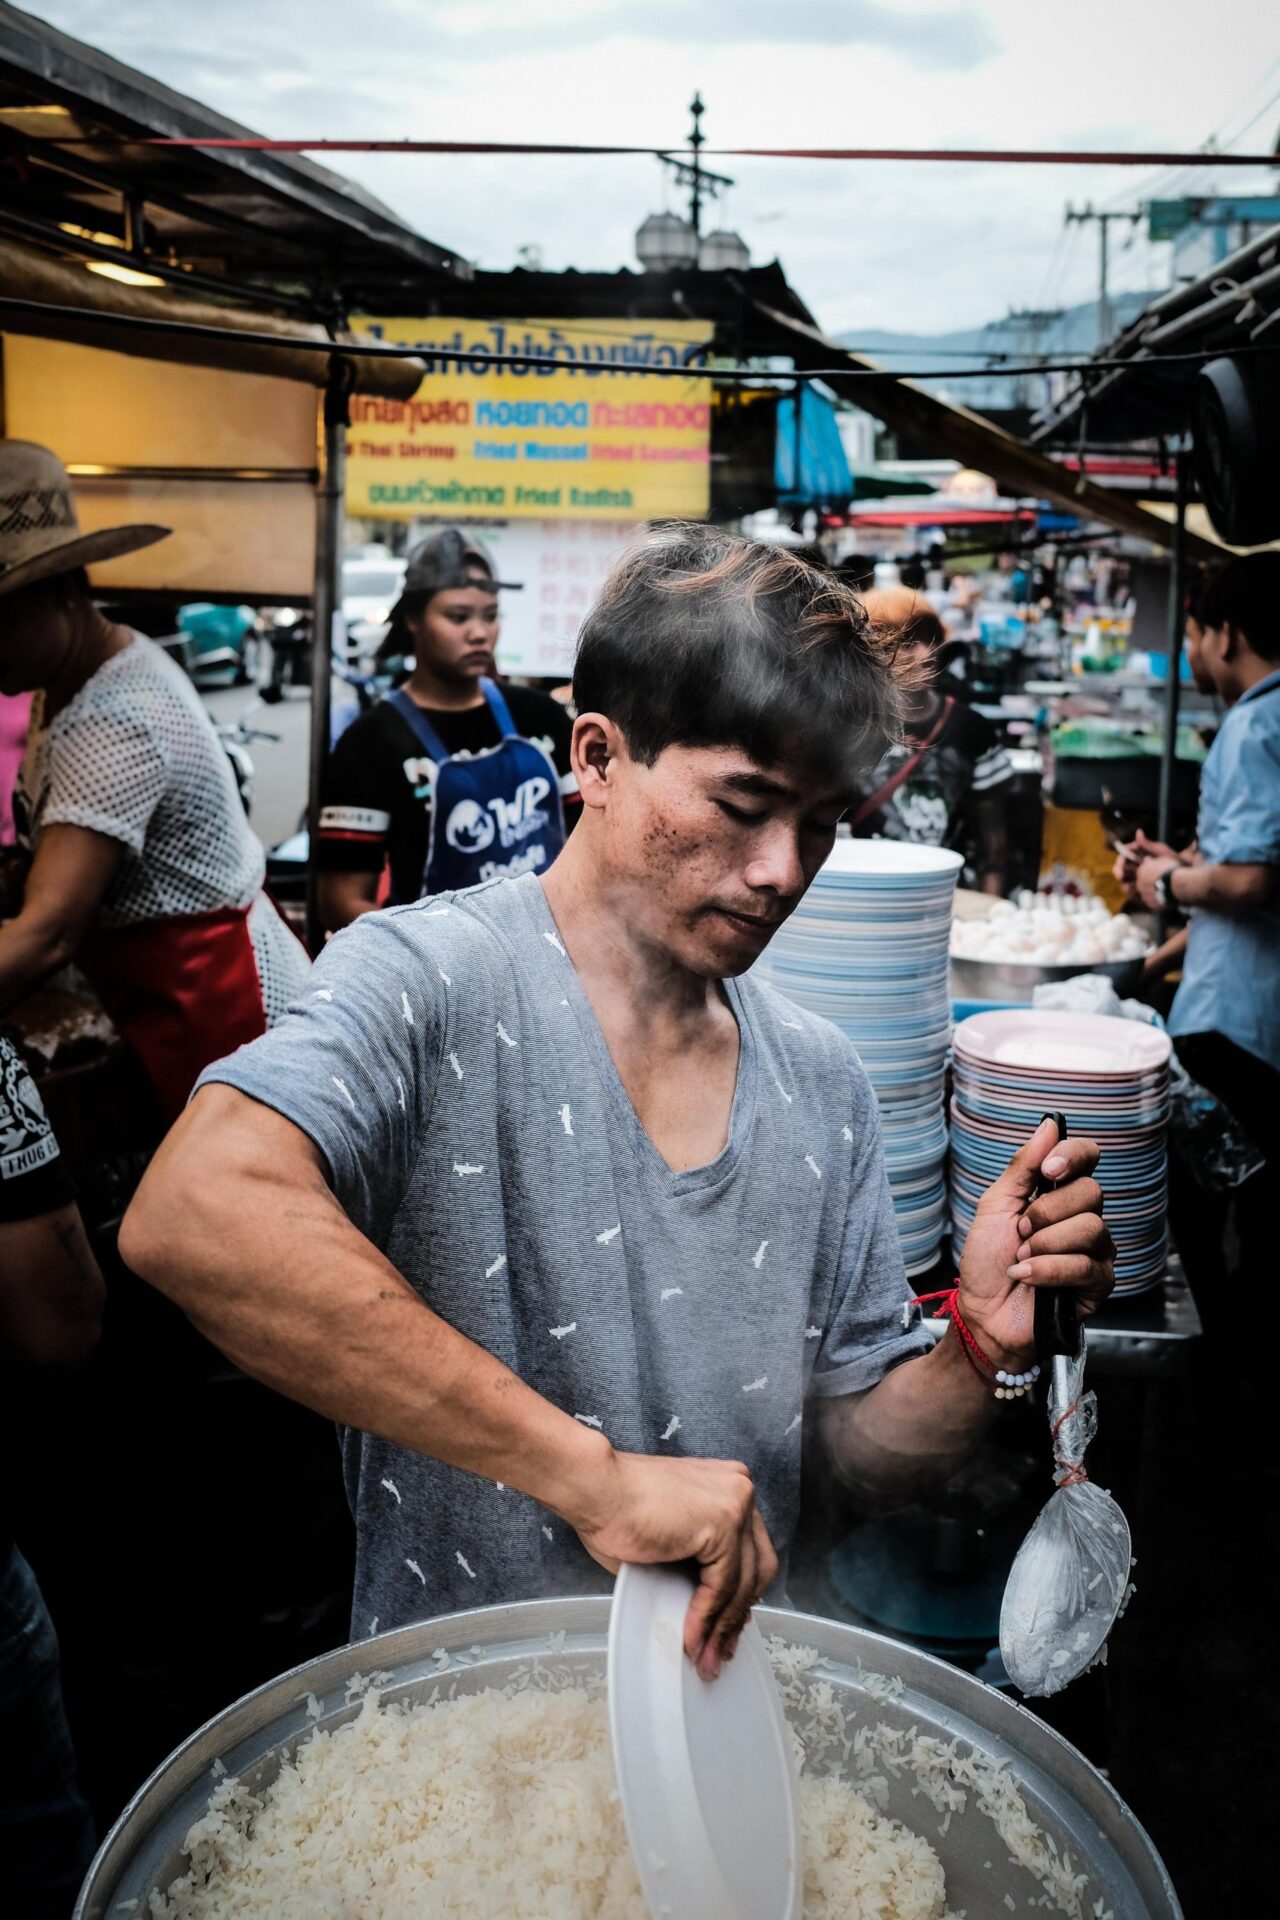
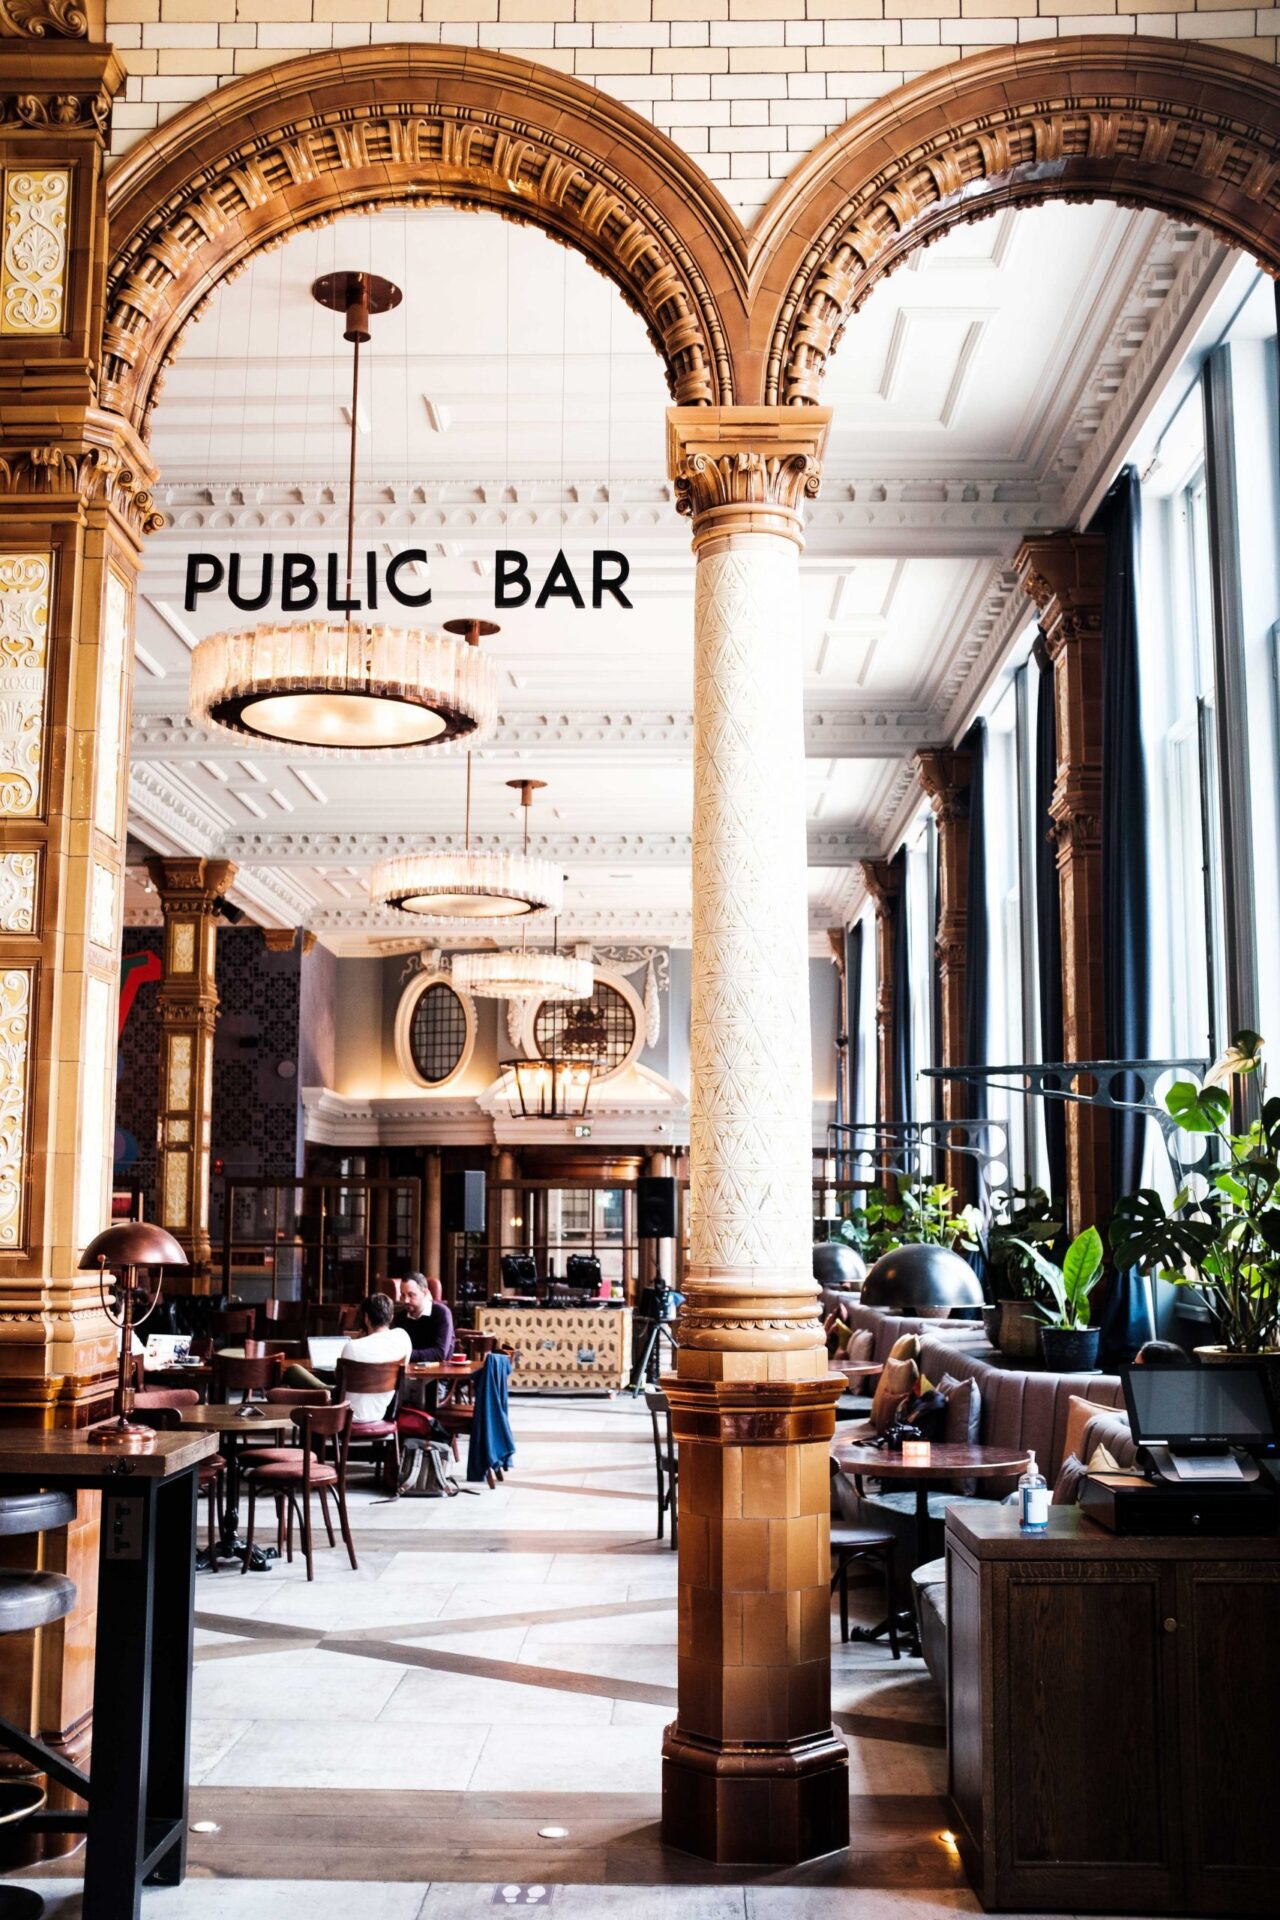
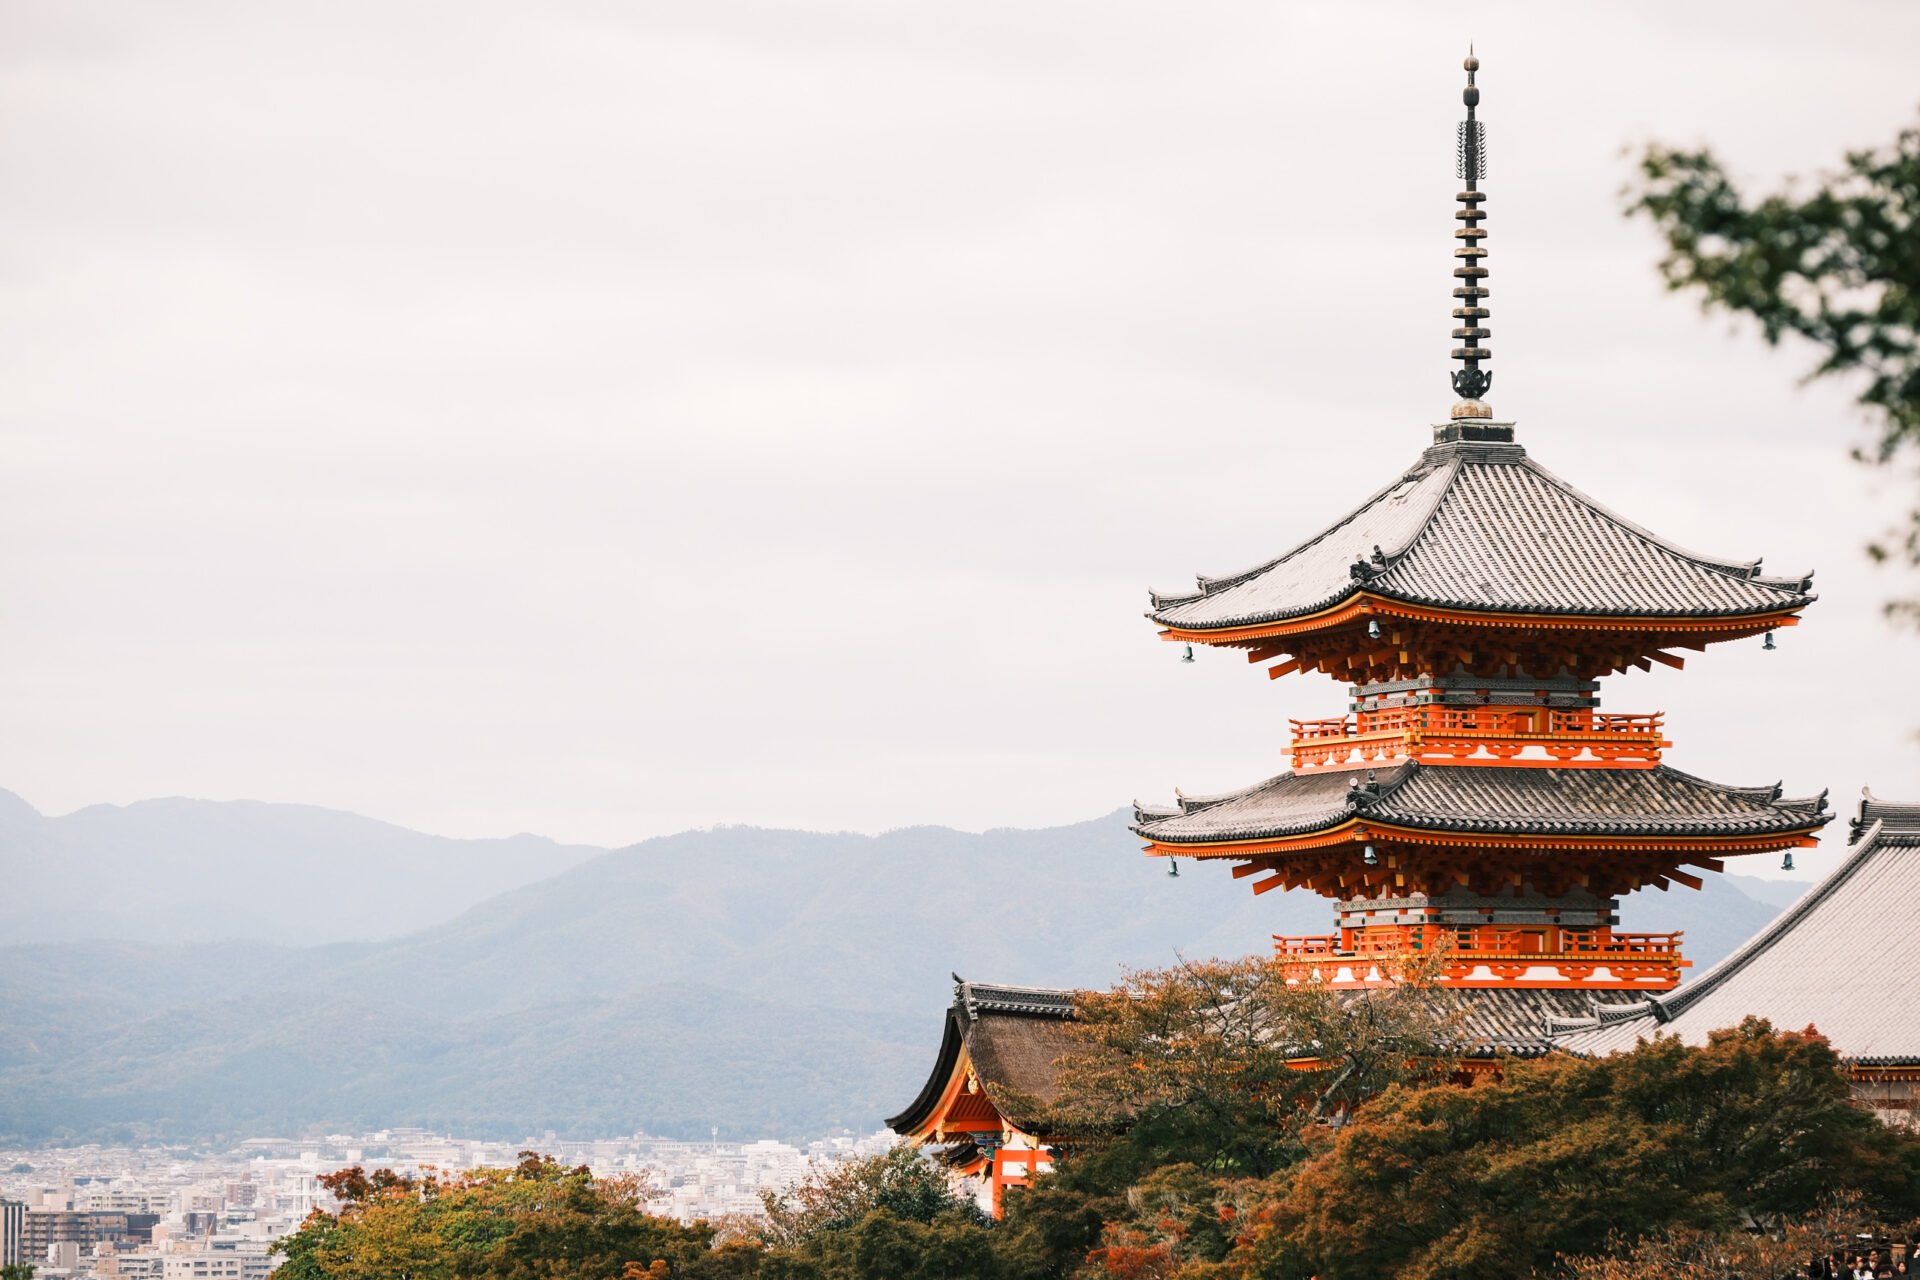
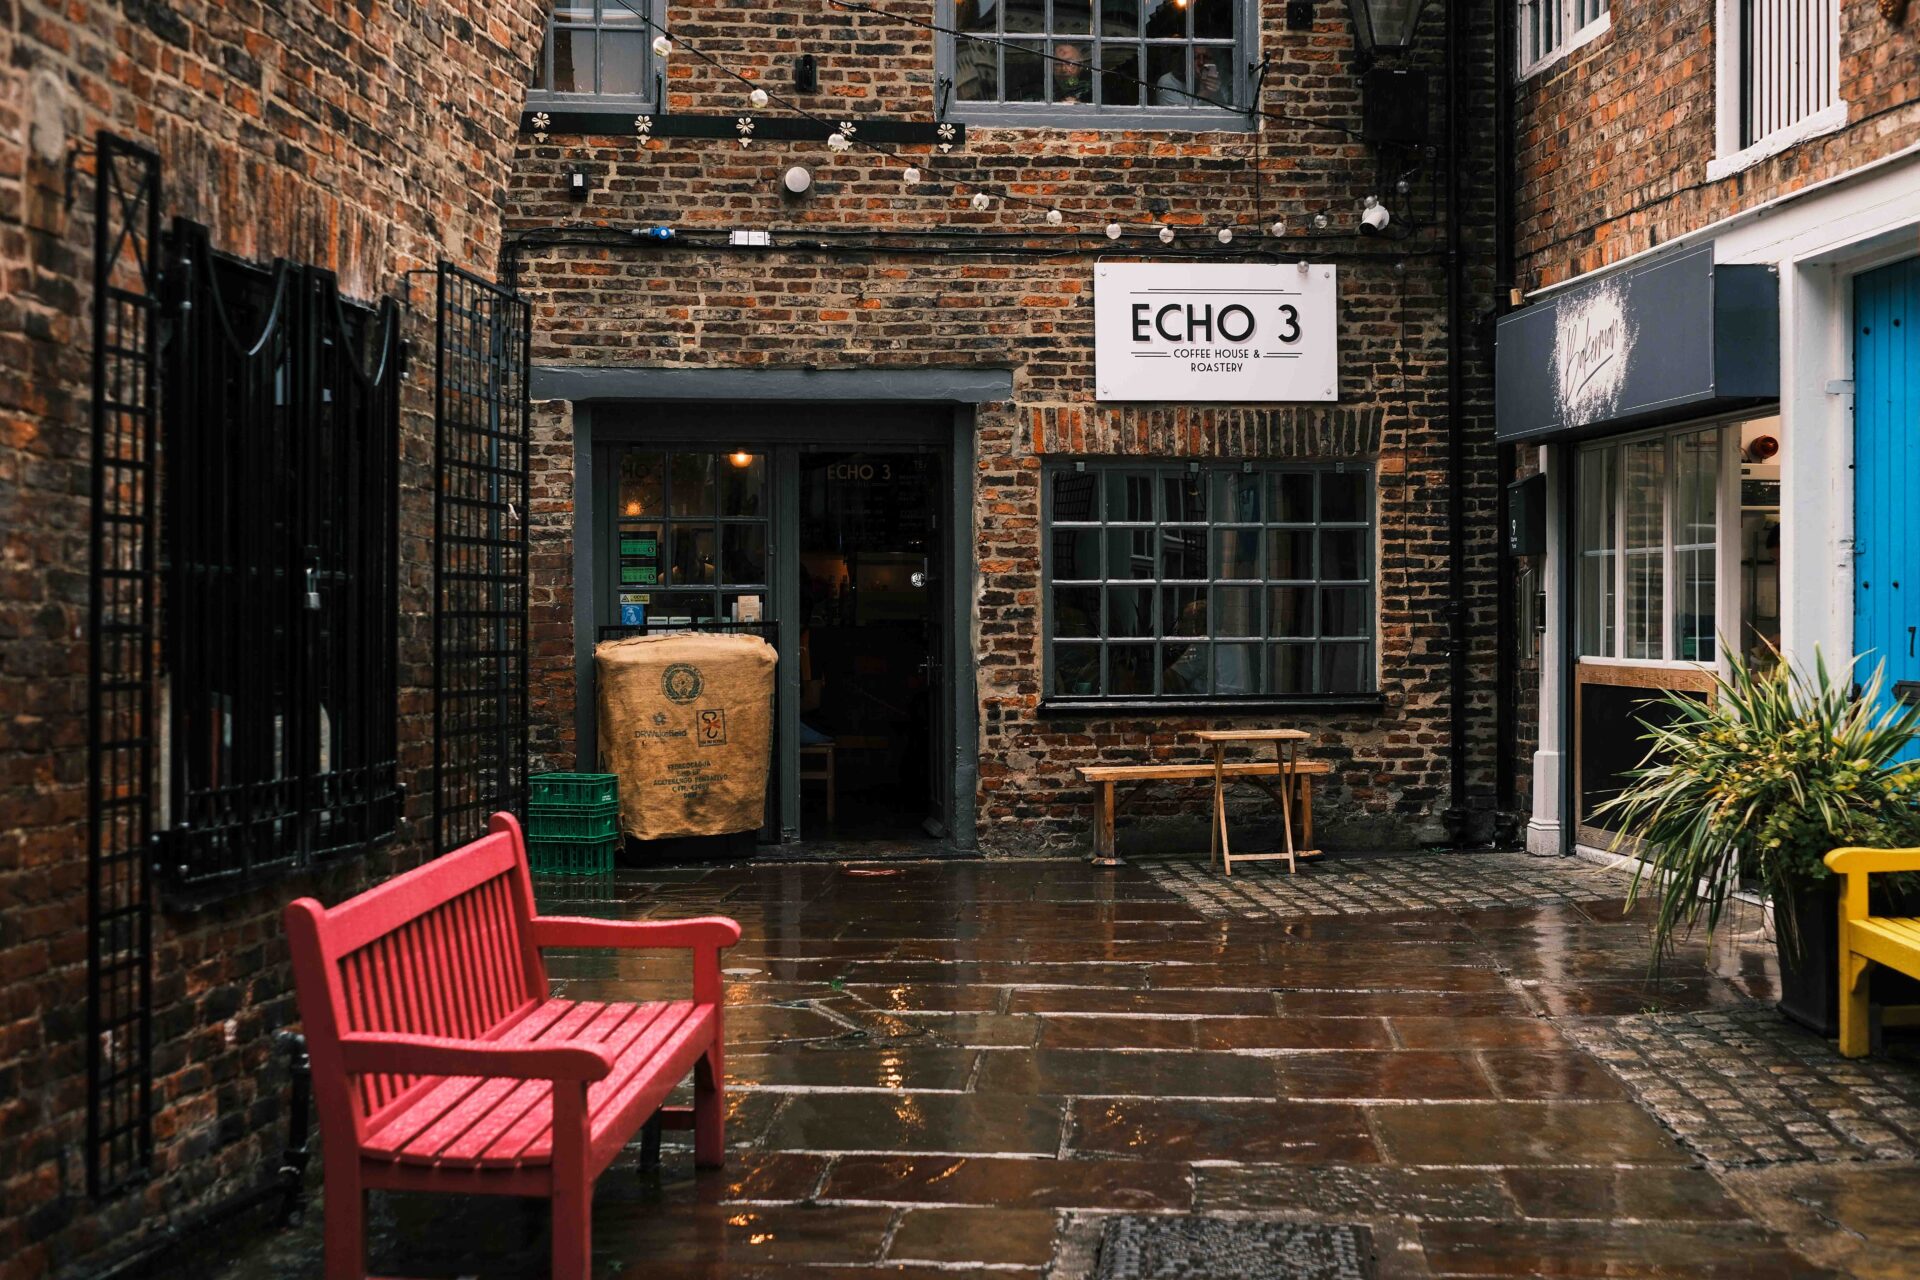
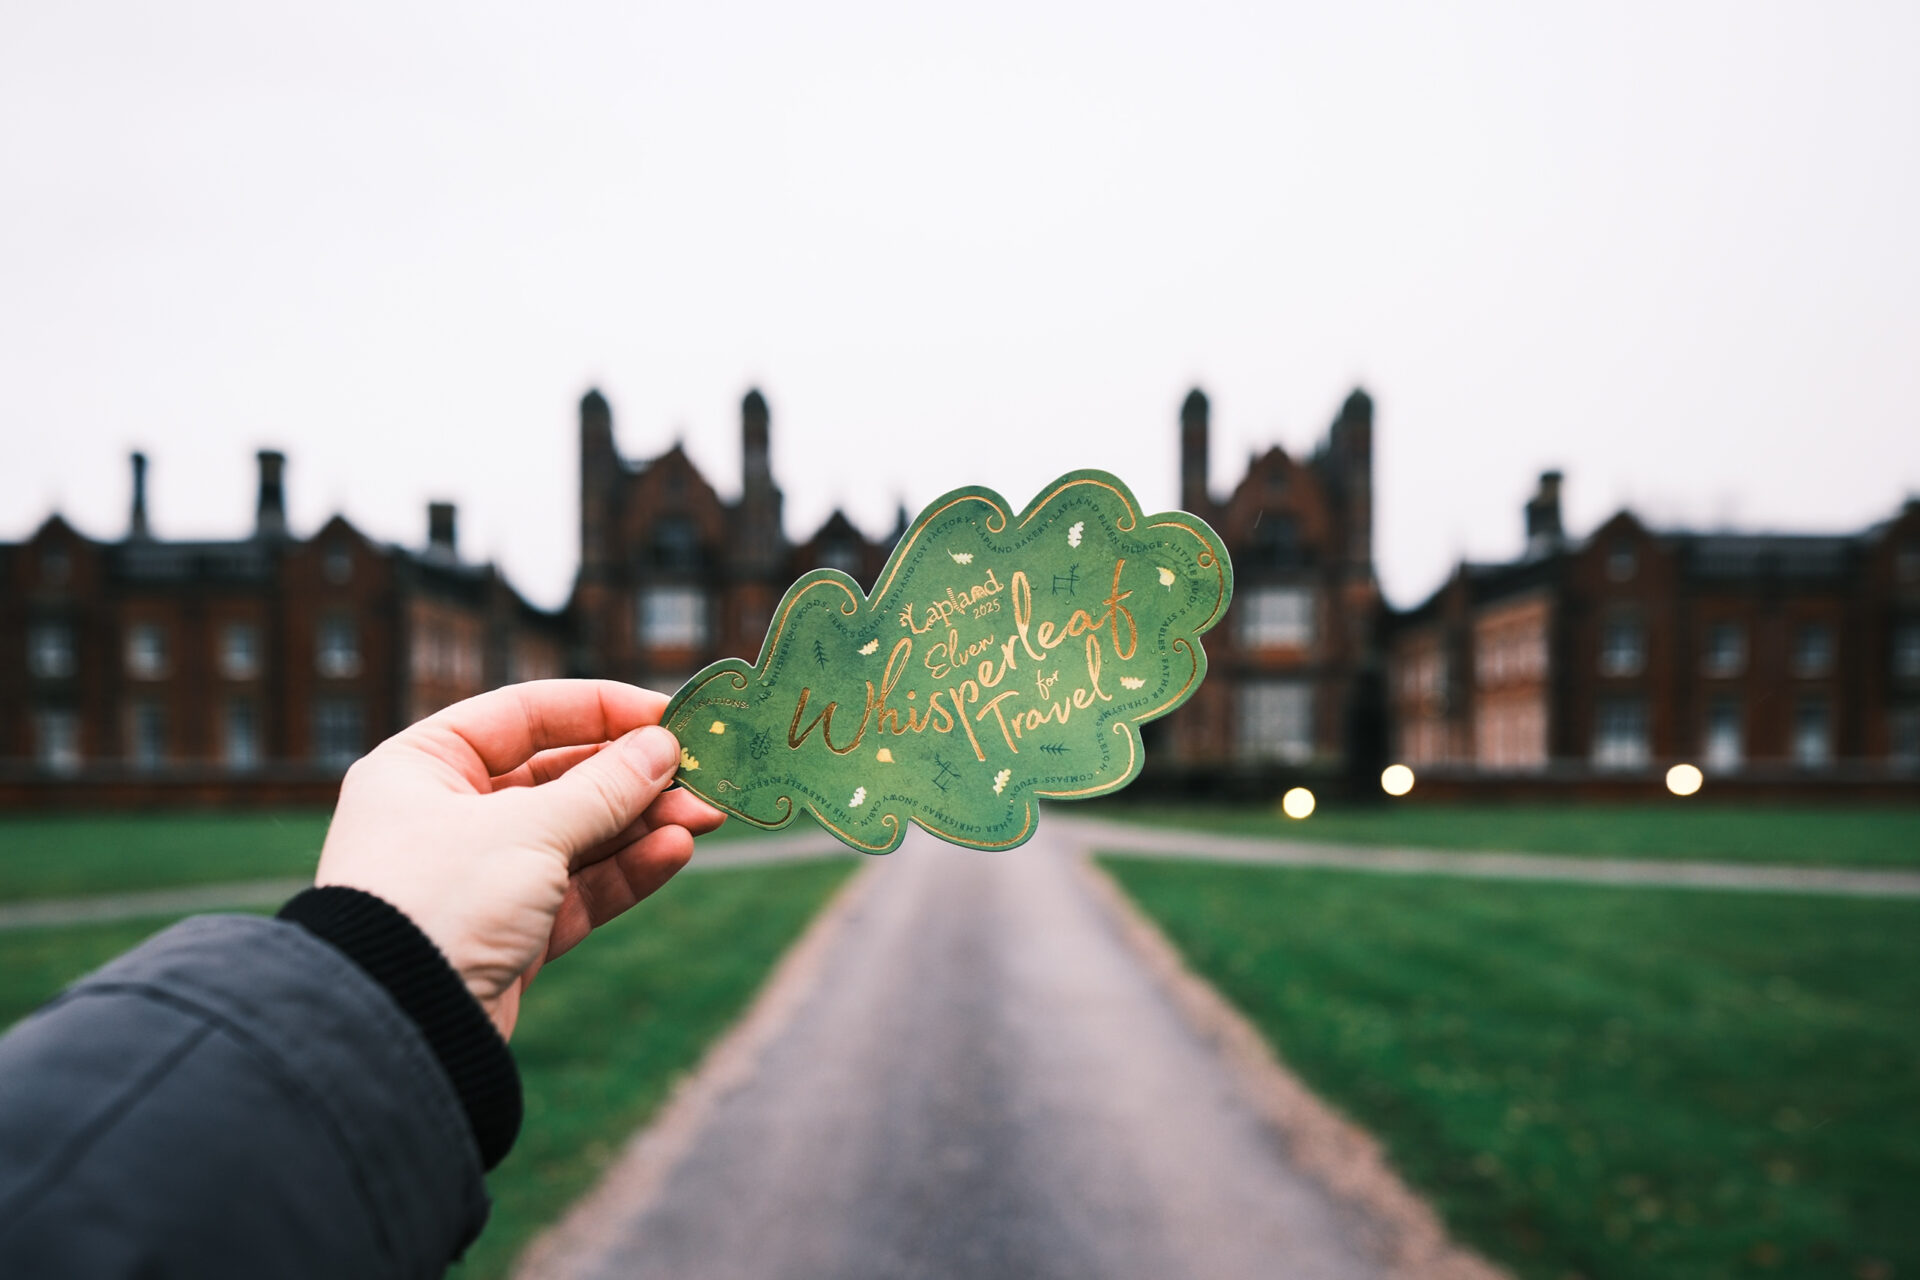
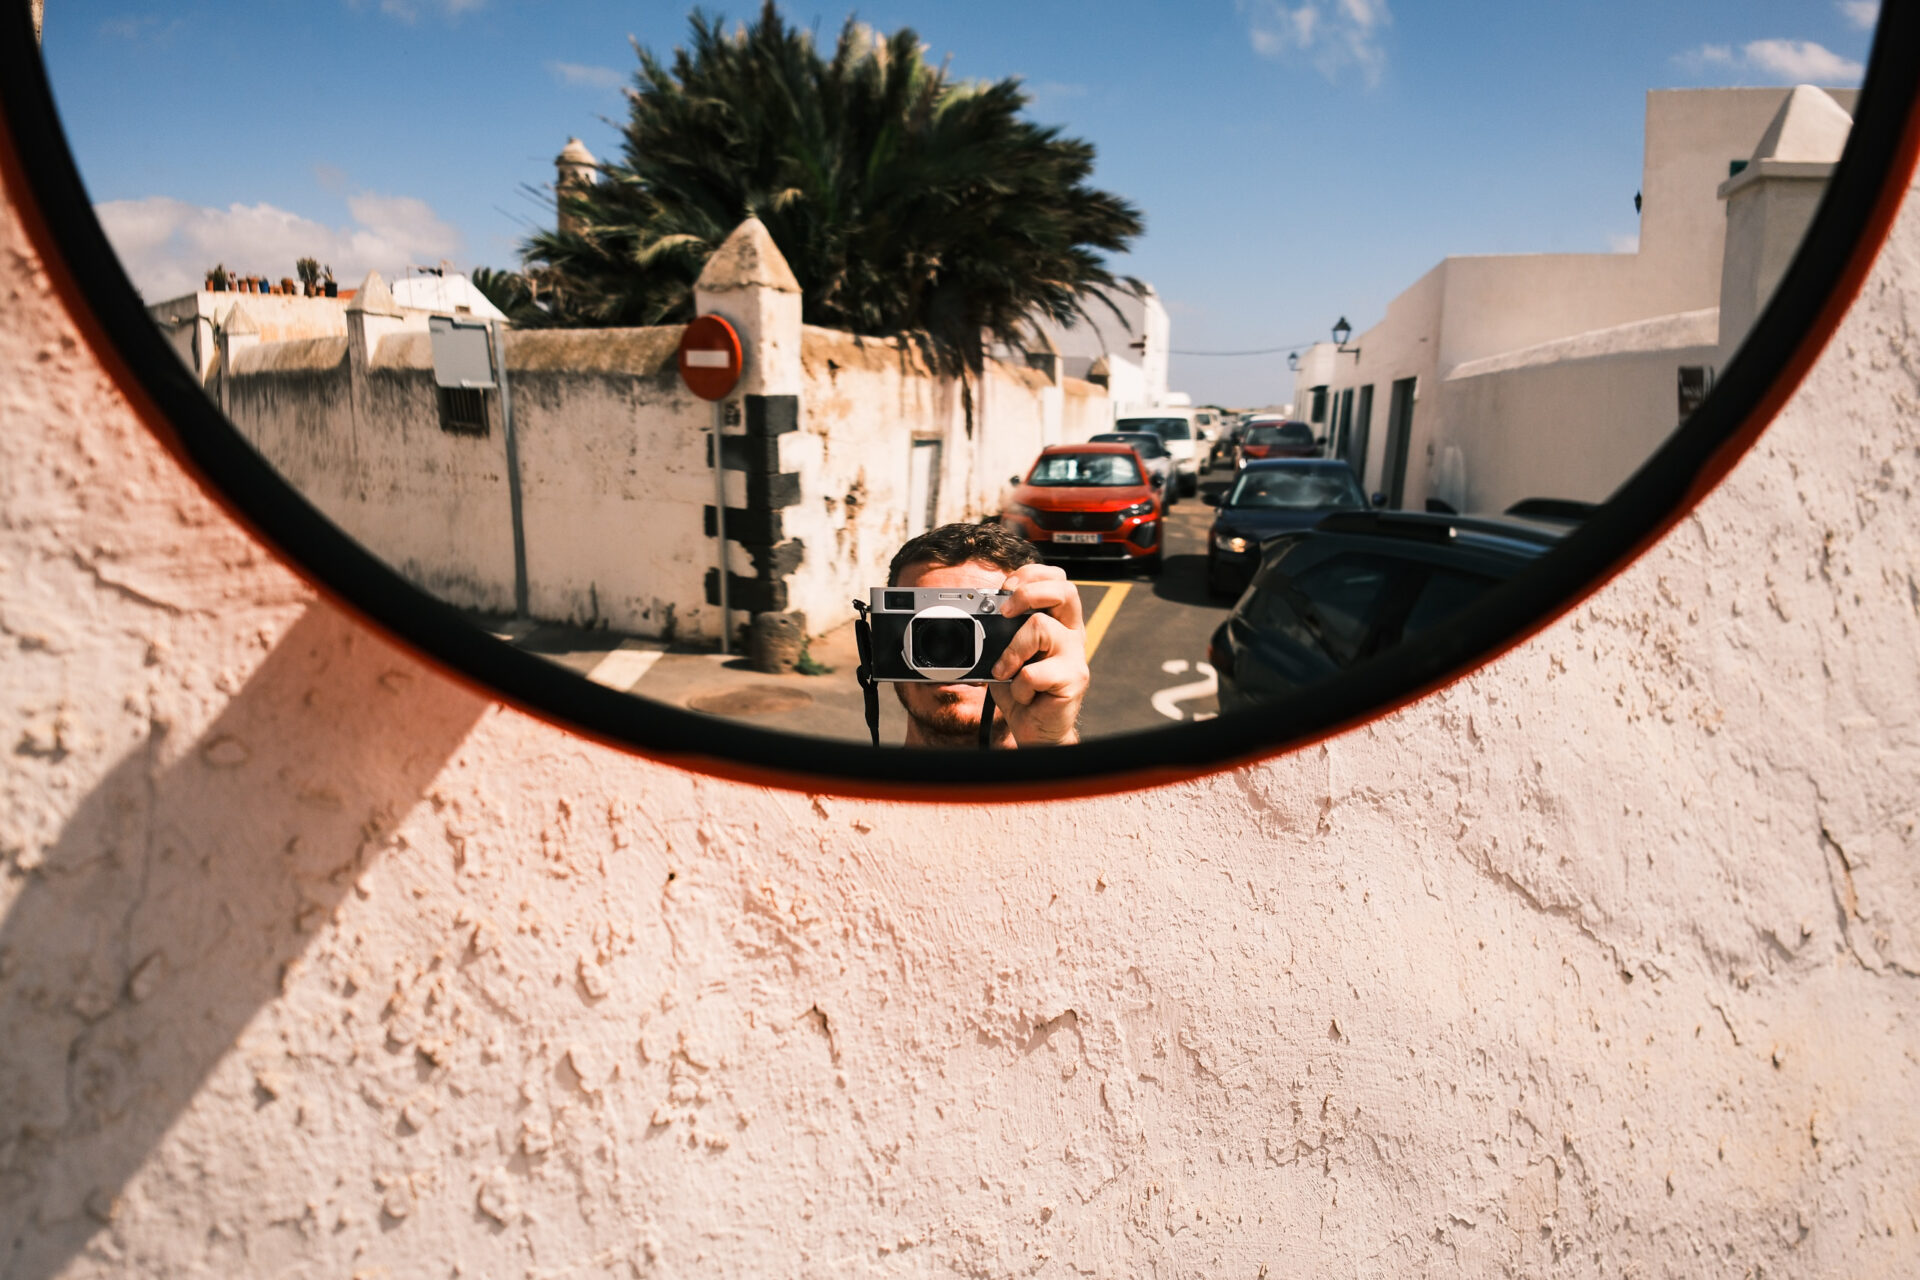
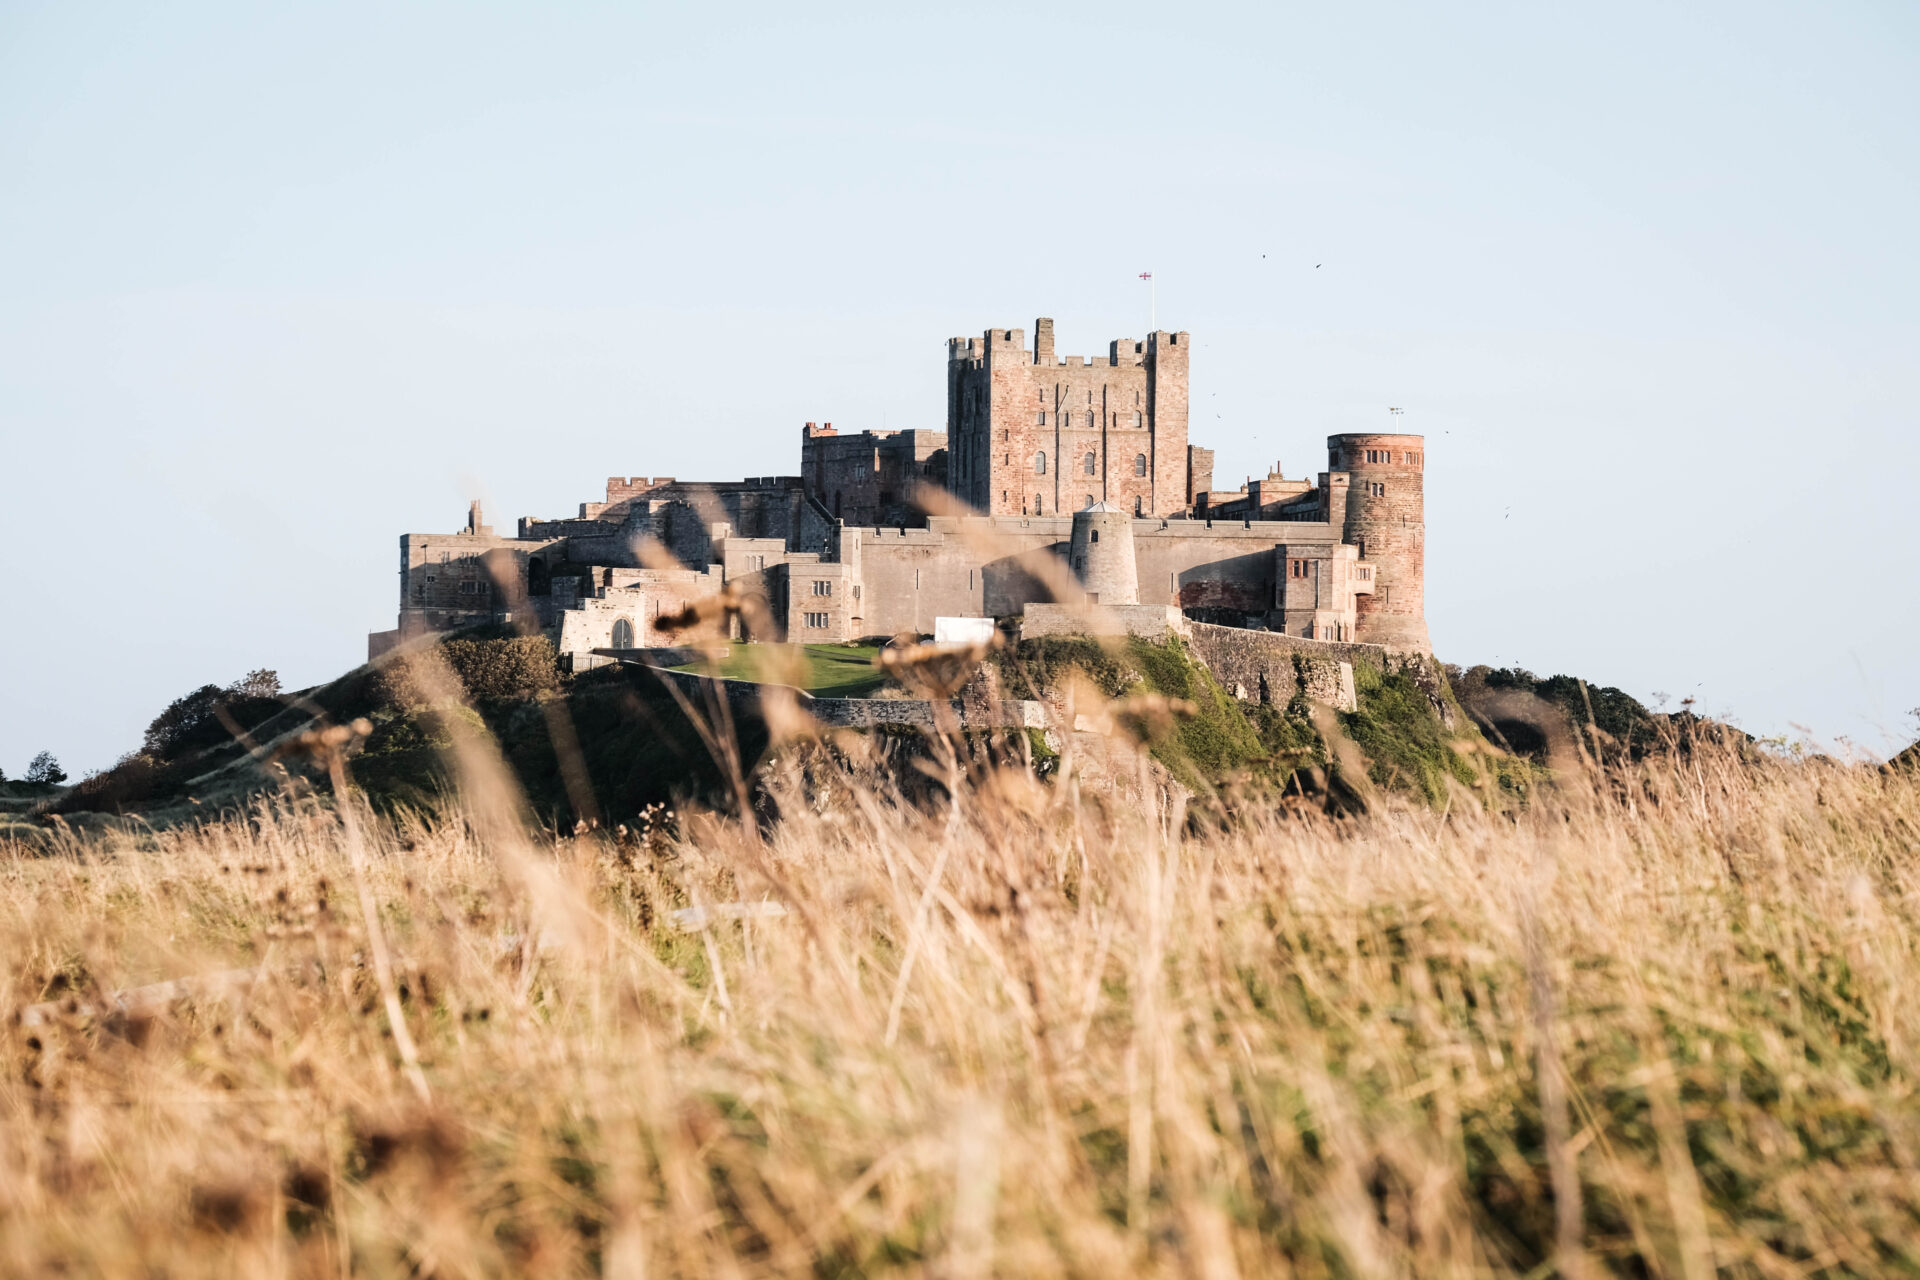
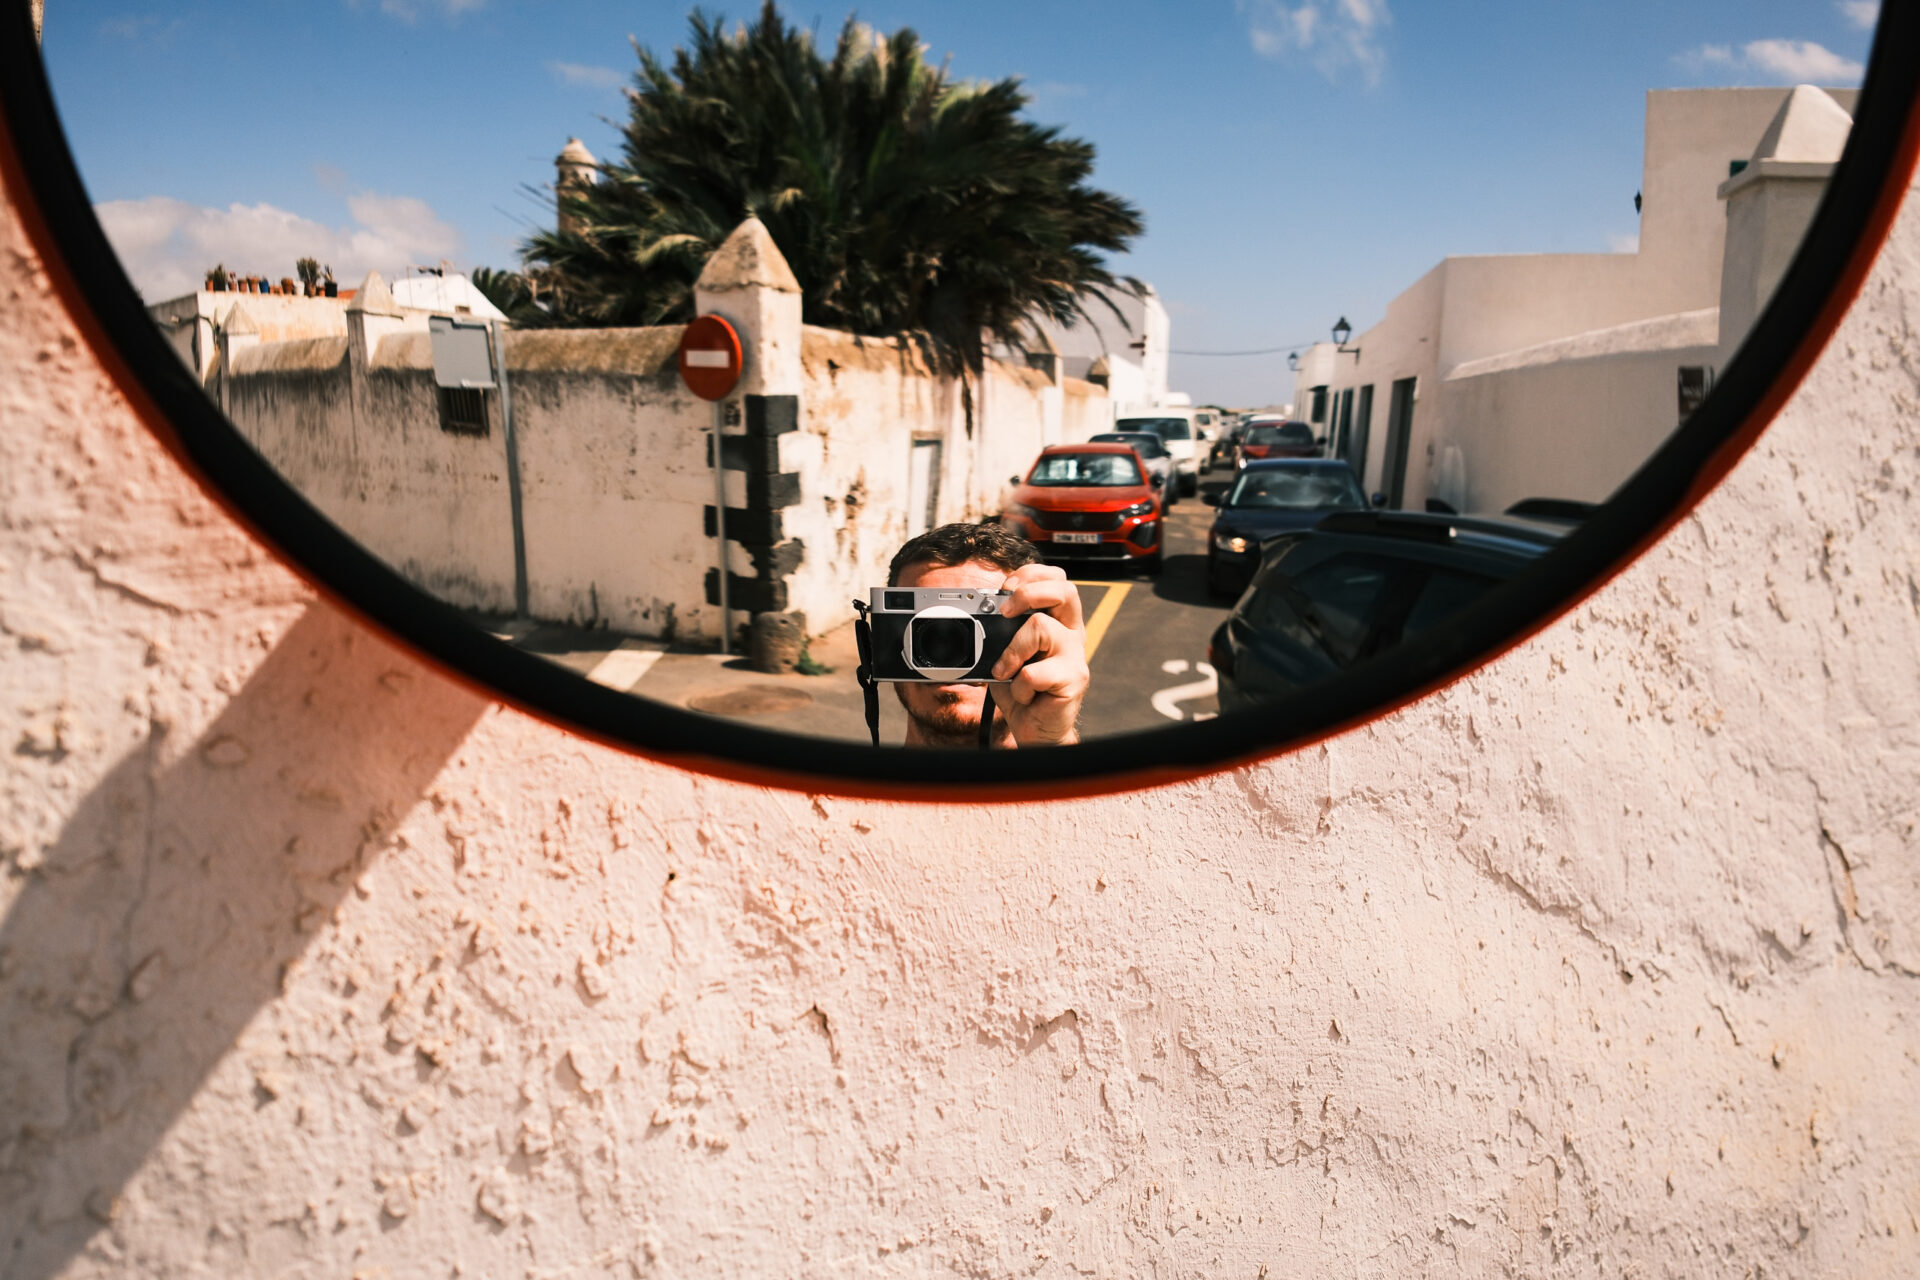
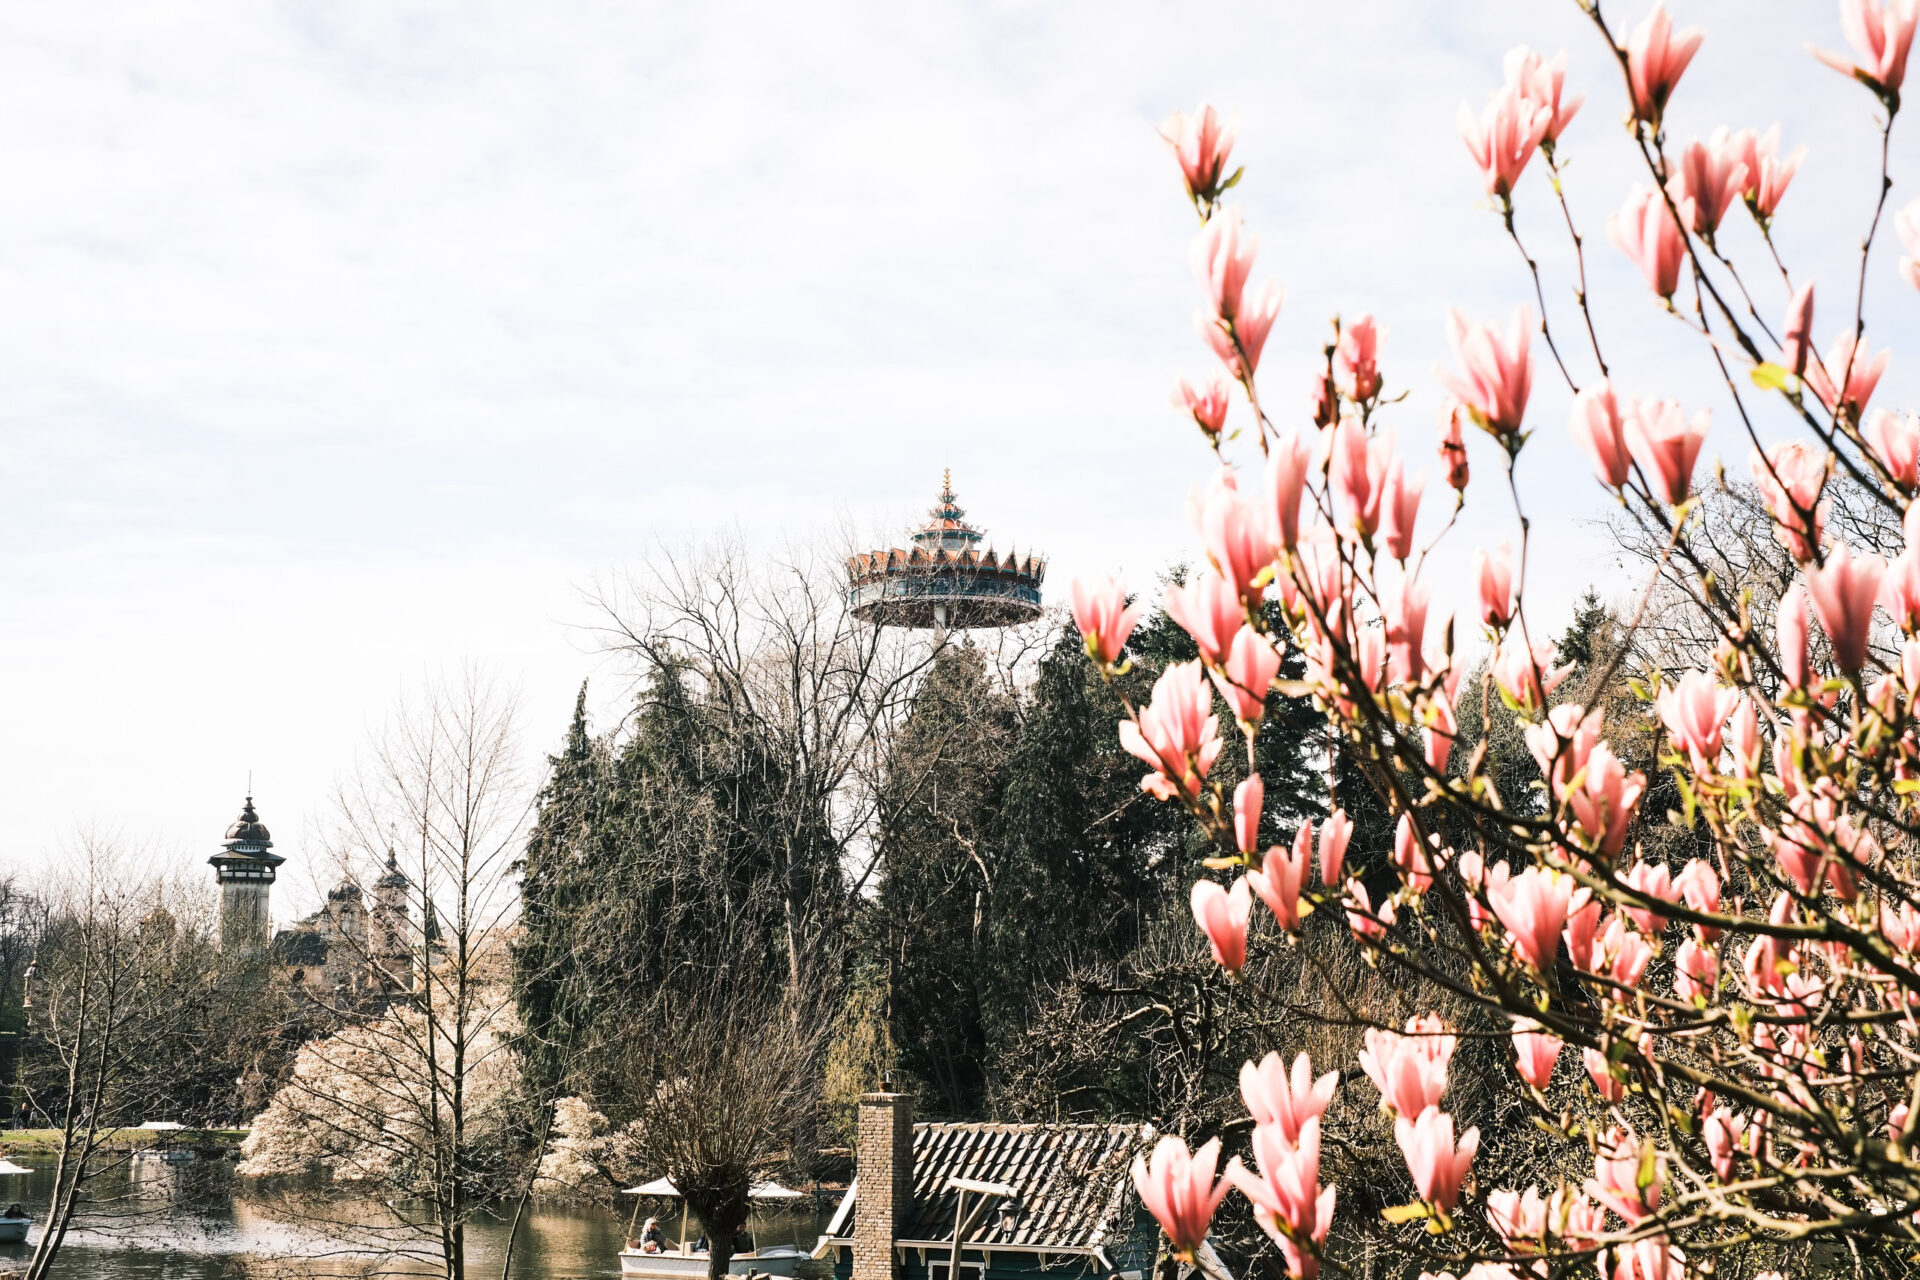
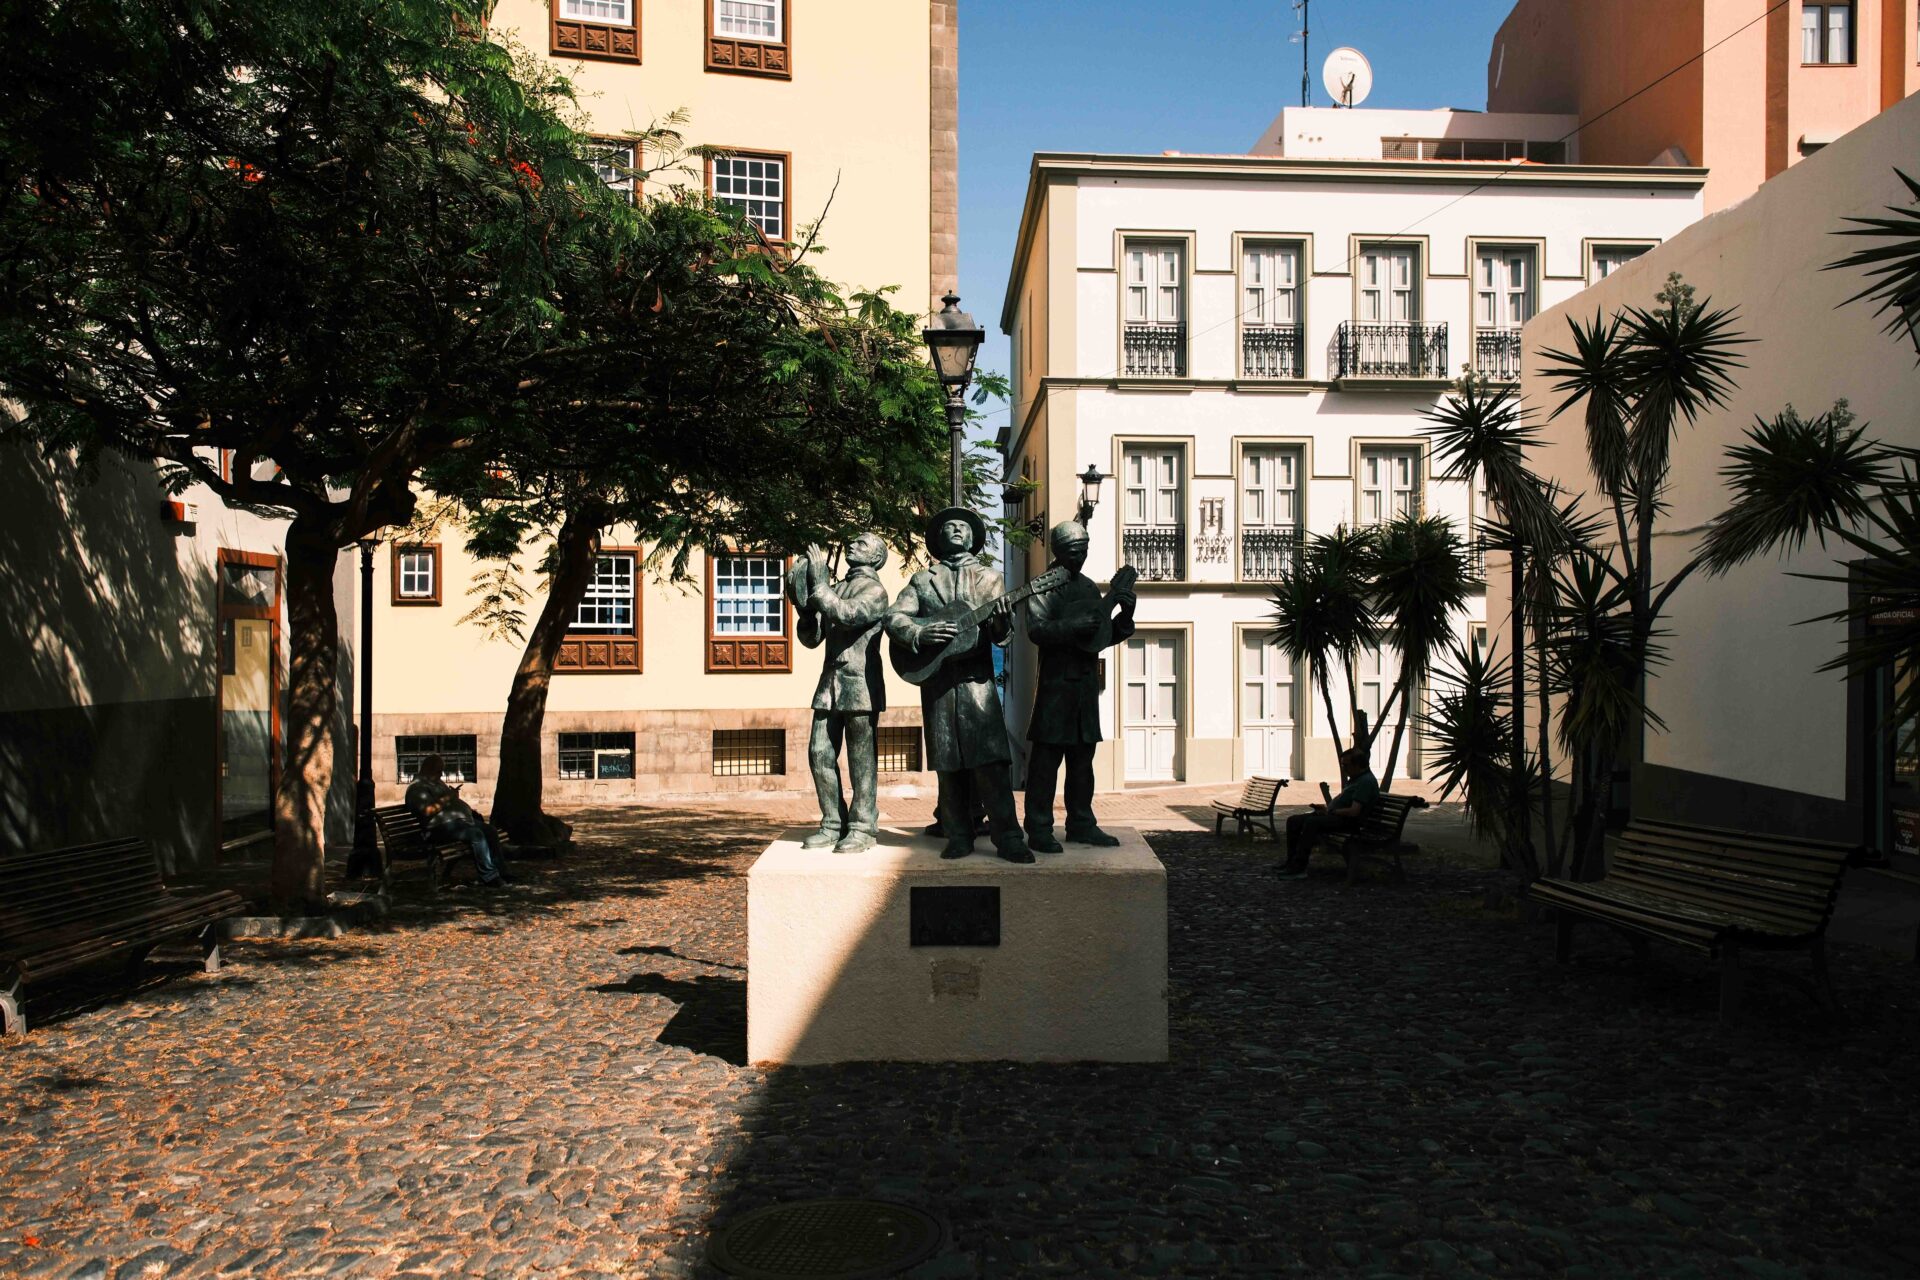
Now, for the part you’re really here for, the photos. Let’s see just what Fujifilm’s Classic Chrome can do shall we?















MY 2026 TRAVEL PHOTOGRAPHY GEAR
FUJIFILM X-T5
FUJIFILM X100VI
FUJIFILM 18MM F/1.4
FUJIFILM 23MM F/1.4
FUJIFILM 35MM F/1.4
FUJIFILM 50MM F/2
FUJIFILM 50-140MM F/2.8
PEAK DESIGN STRAPS
RECOMMENDED TRAVEL RESOURCES
BOOKING.COM
EXPEDIA
HOTELS.COM
GET YOUR GUIDE
SKYSCANNER
HOLAFLY E-SIM
DISCOVER CARS
READ MORE OF MY LATEST ARTICLES BELOW
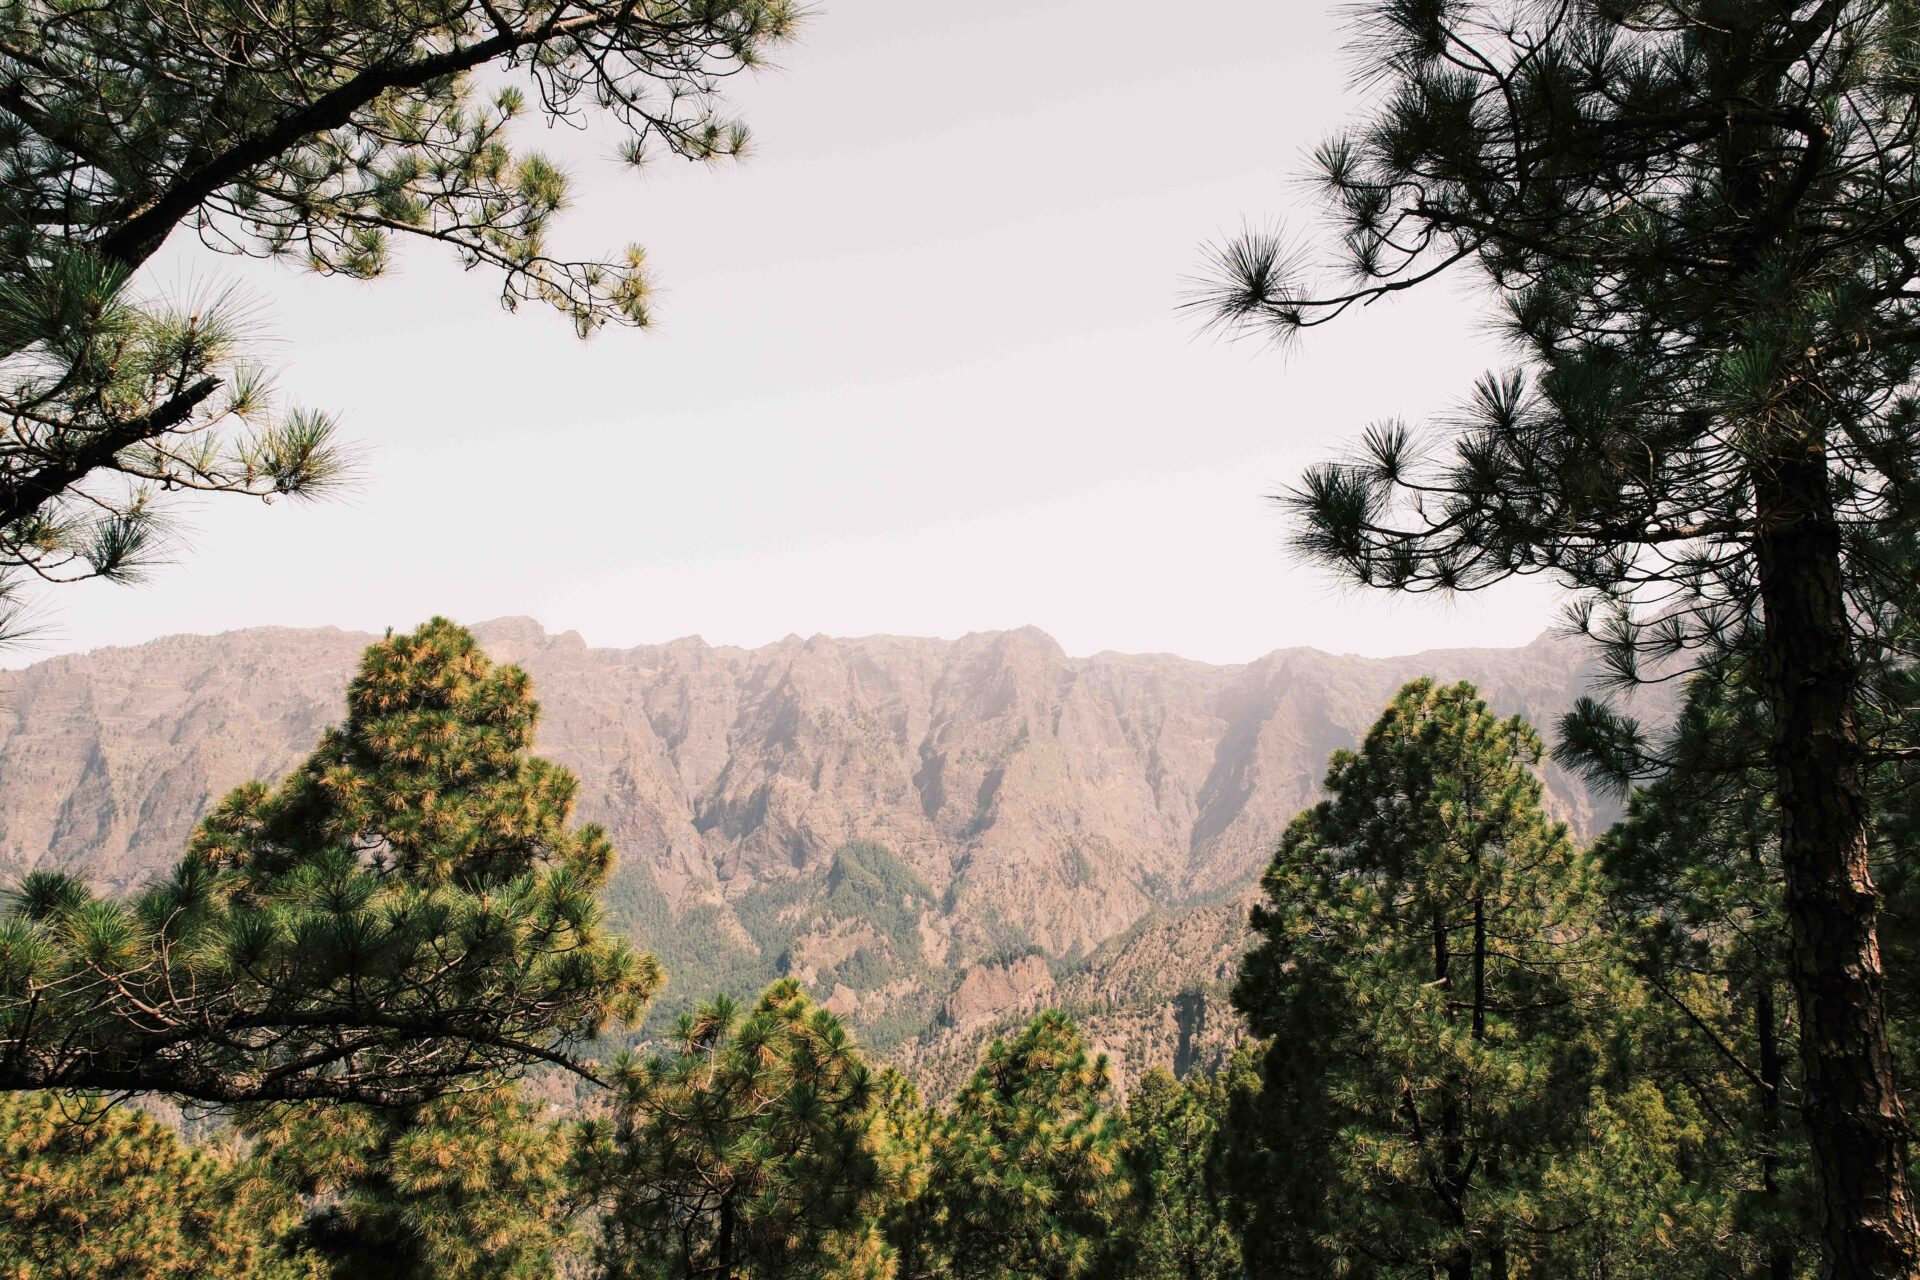
If you liked ‘Fujifilm’s Classic Chrome for Travel Photography’ why not pin the images below?


Some links on this site are affiliate links. If you make a purchase through them, I may earn a small commission at no extra cost to you.
Hey, great photos! They’ve inspired to me to use Fuji Recipes more often. One thing.. When I was checking your RAW settings, you have highlights up and shadows down? Just double checking.. That is the opposite of what I usually end up doing. Thanks for the great content!
Thank you Michael! Yeah so I did that to increase contrast, love darker shadows. To be fair however if I’m shooting food and on occasions people I will increase those shadows slightly on the JPEGs
Thanks again!